ESU LokSound 5 installation
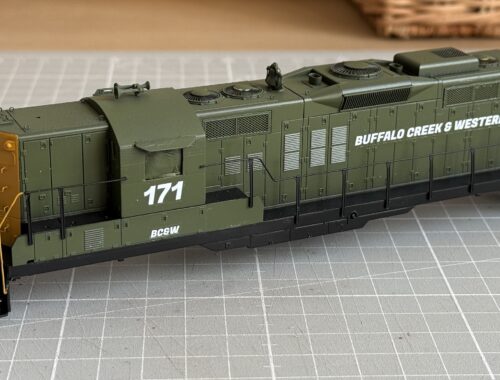
ESU LokSound 5 with built-in keep-alive installation on an Athearn Genesis GP9
Step-by-step installation of an ESU LokSound 5 DCC decoder with built-in keep-alive on the BC&W GP9 #171.
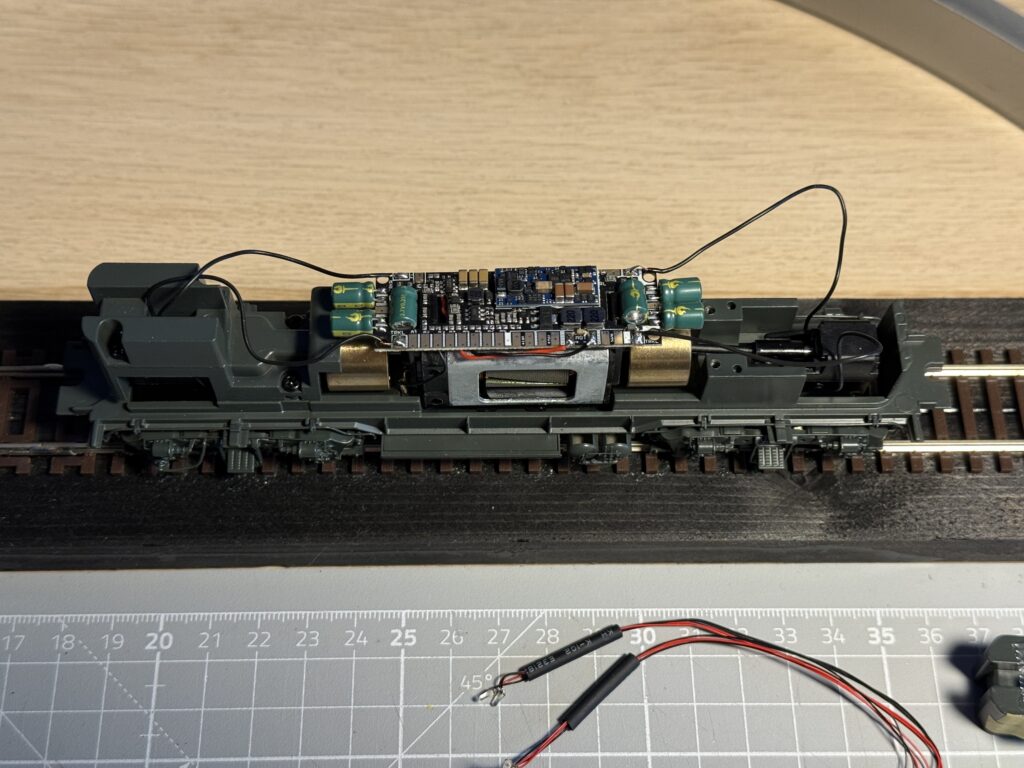
I started by removing the clips that held the cables on the factory PCB. Once everything was free, I traced each wire to see where it connected. I paid special attention to the rail pickup wires and the red and black motor leads.
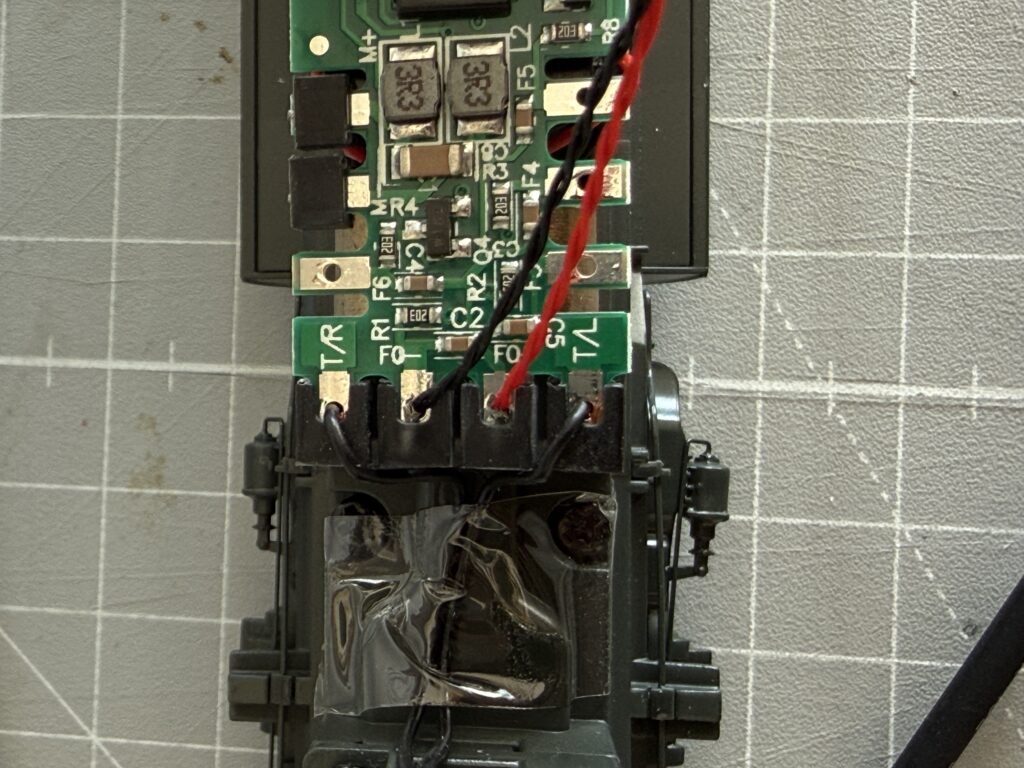

Then I installed an ESU LokSound 5 DCC Direct with the integrated PowerPack (keep alive). It is a drop-in solution for the Athearn Genesis GP9.
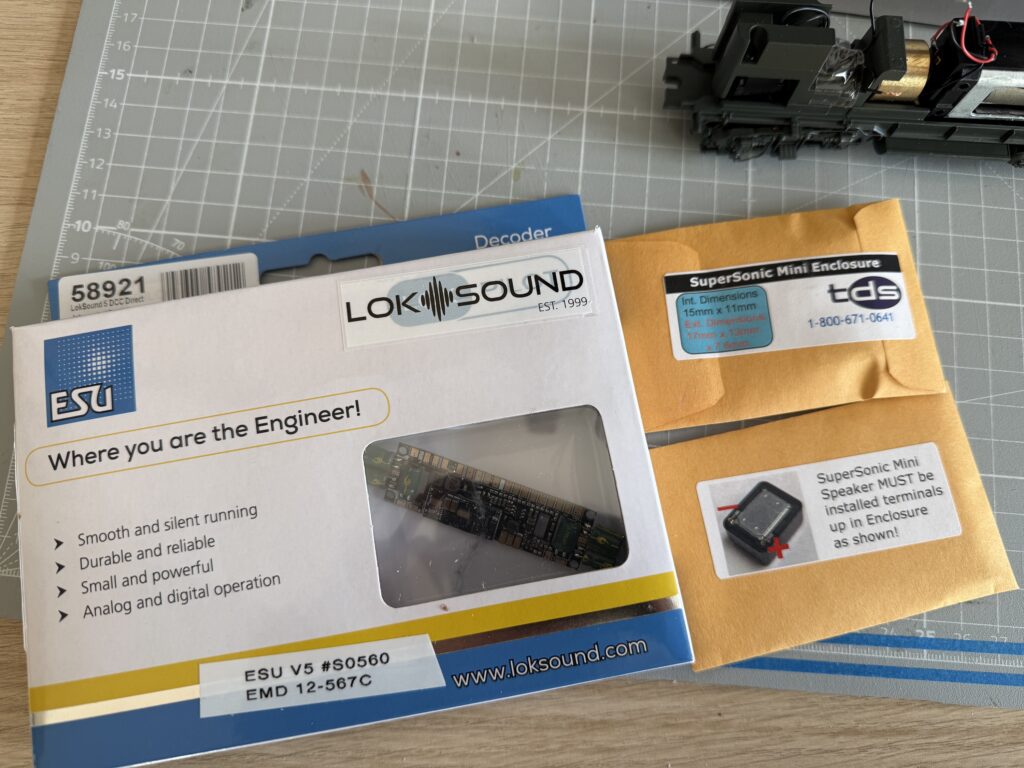
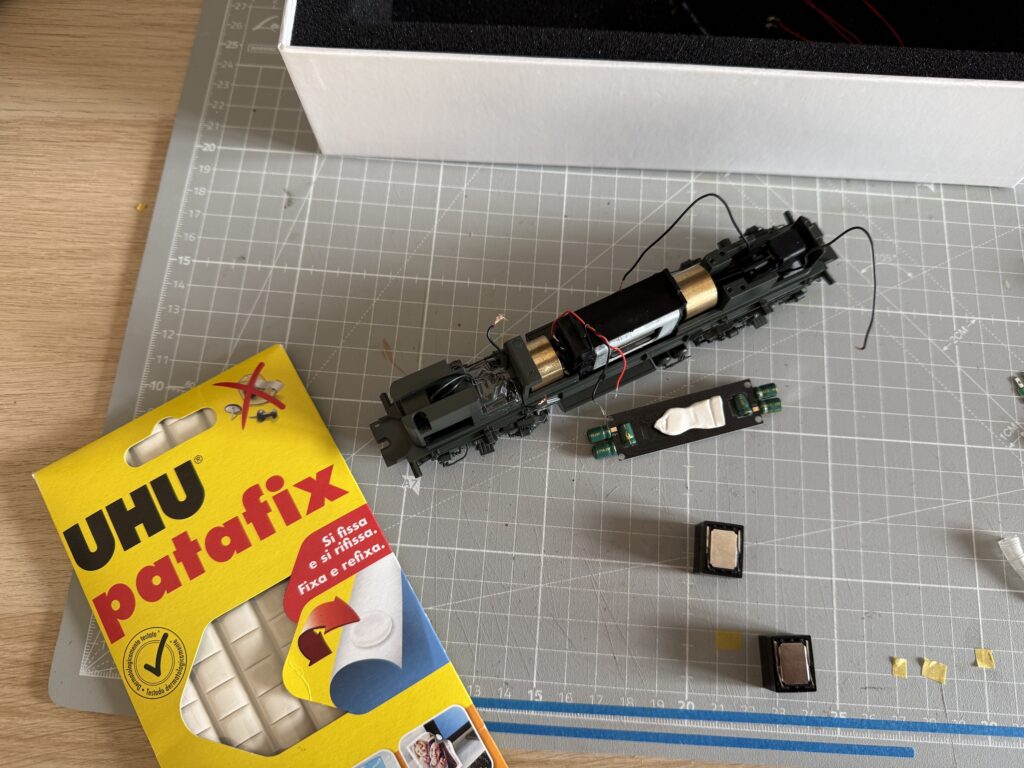
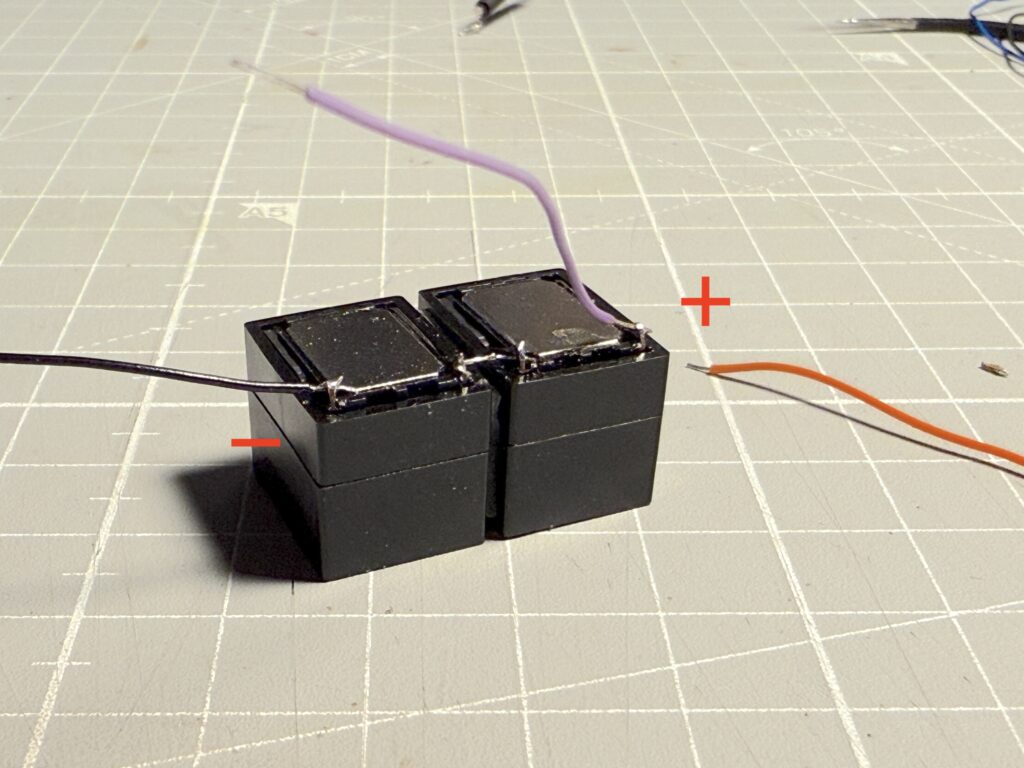
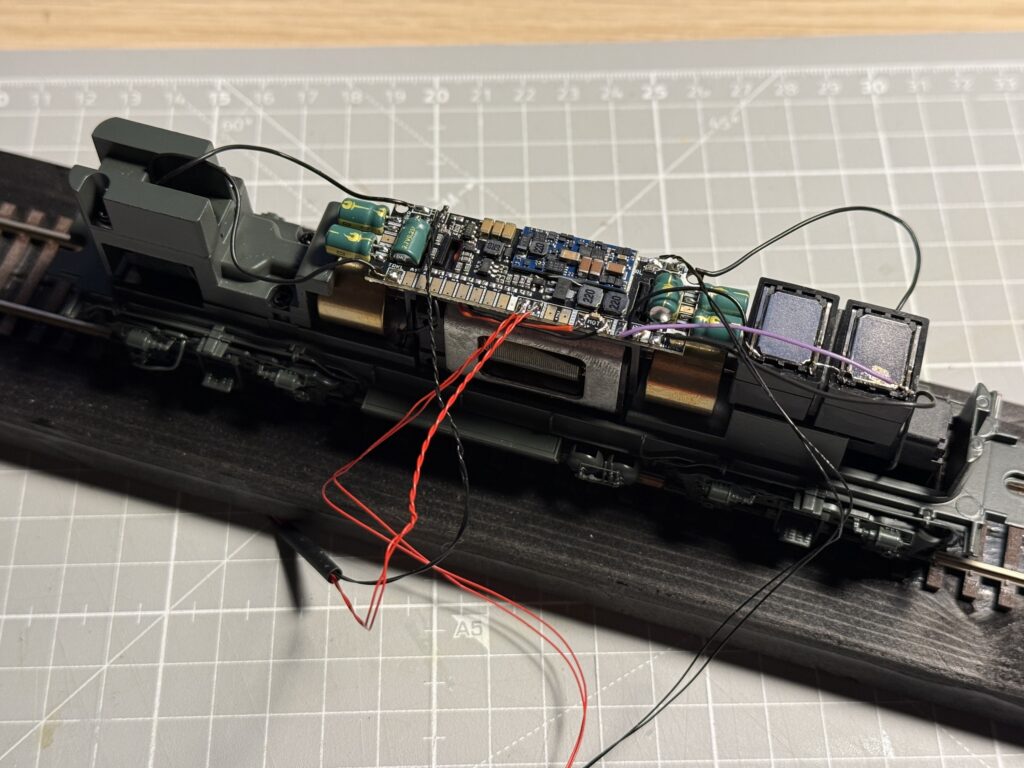
Before securing anything, I test fitted a pair of Tony’s Train Exchange TDS SuperSonic Mini 15 × 11 mm “sugar cube” speakers with their enclosures. To make room for them, I removed the rear weight.
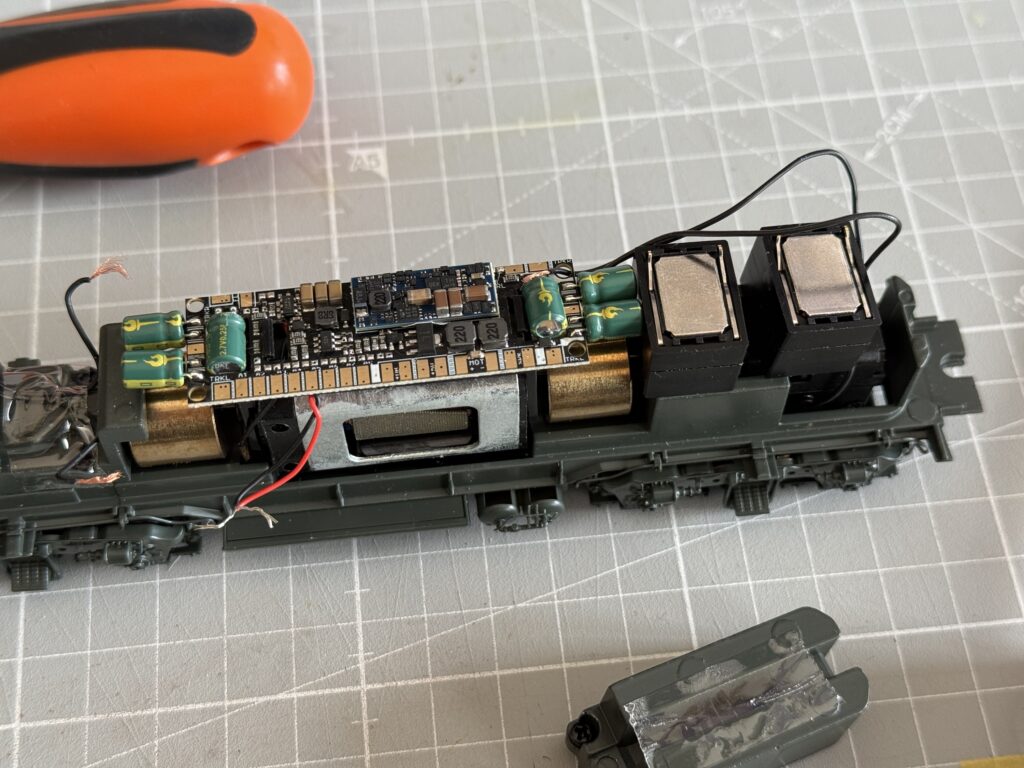
Next, I fixed the decoder in place using a small piece of UHU Patafix adhesive pad.
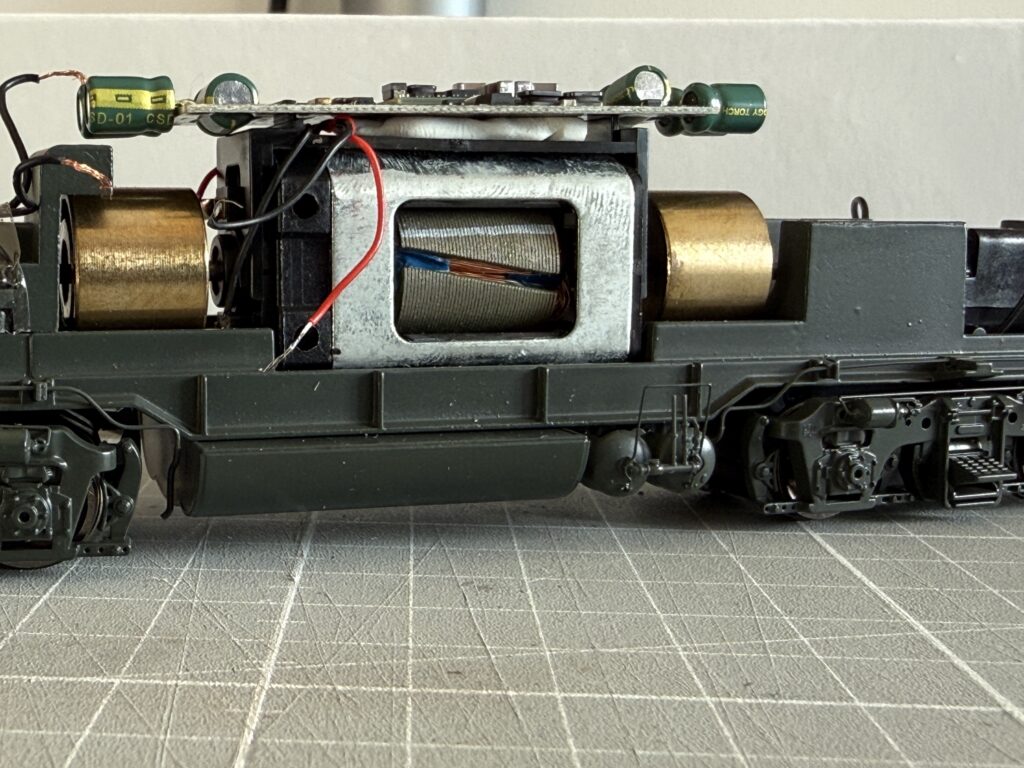
Afterwards, I soldered the rail pickup wires and the motor leads to the decoder following the ESU instructions.
Then I wired the two speakers in series, using pre cut wires of the right length. Each speaker is rated at 8 ohms. Together they produce an 16 ohm load, which fits perfectly within the ESU decoder supported range of 4 to 16 ohms.
After that, I secured the speakers with thin double sided tape. I also soldered the LED headlight wires to their corresponding pads. I again followed the ESU guide to verify where each LED needed to be connected.
Testing the decoder
Once all the wiring was done, it was time to test the decoder. I programmed the address on the programming track and confirmed the wiring was correct. Then I powered it up and tested the sound.
Everything worked perfectly. The decoder runs fine and sounds great. Finally, I reassembled the shell, and the locomotive is now ready for service.
CV Fine-tuning
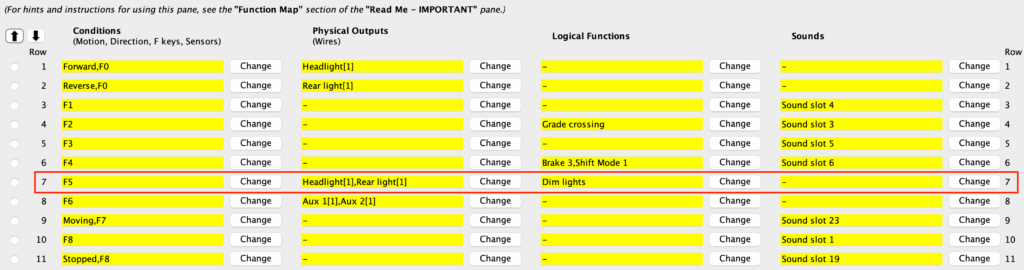
CV fine-tuning included setting F5 to turn on both headlights in dim mode, which is useful during switching. This adjustment was made through the Function Map tab in DecoderPro, as shown in the screenshot below.
I also set CV163 (Sound CV9) to a value of 14 to select a horn closer to the Leslie S-3L mounted on cab roof. Then, I set CV164 (Sound CV10) to a value of 1 as I didn’t like the default bell.
I also turned down the master volume, setting CV63 to 50 as I find loud sound-equipped locomotives very annoying.

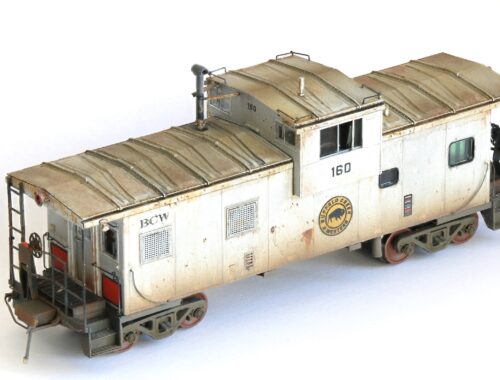
Weathering a locomotive