Weathering a locomotive
Weathering a Buffalo Creek and Western GP9 locomotive
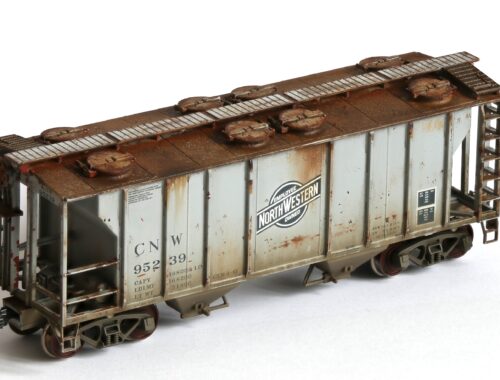
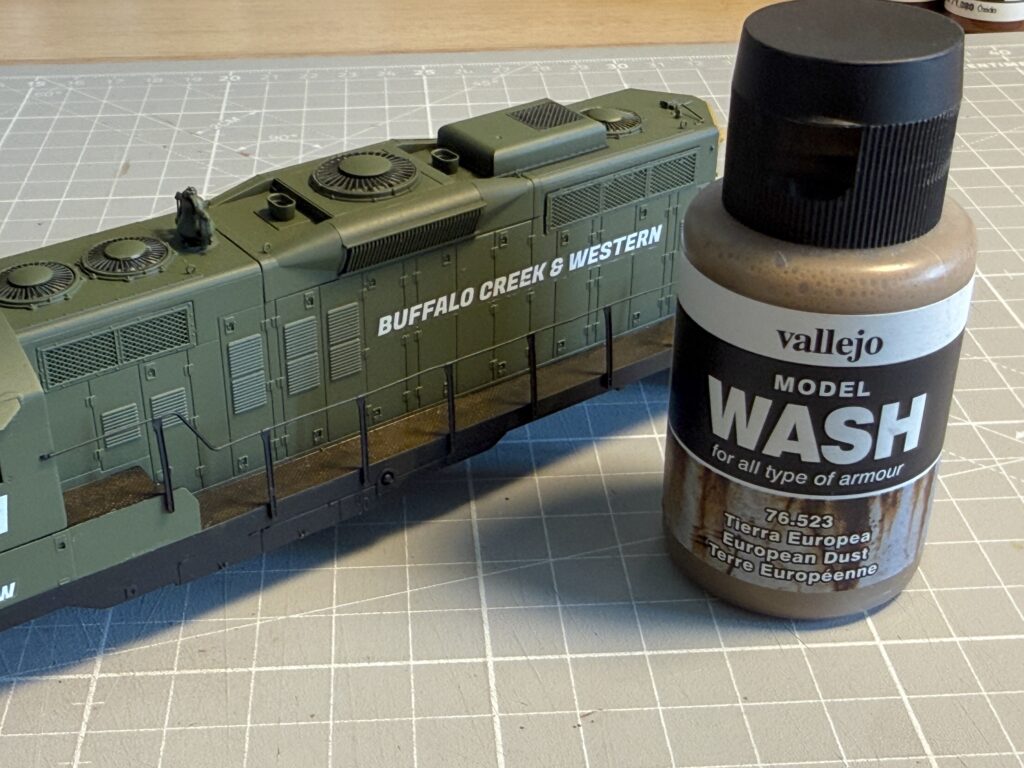
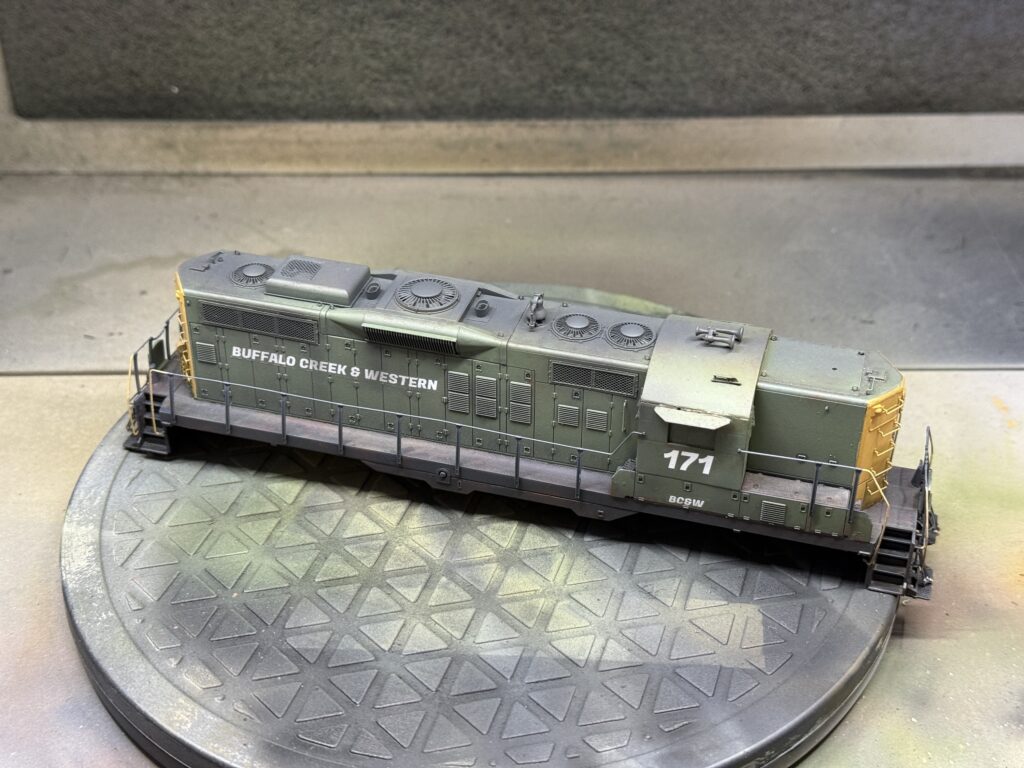
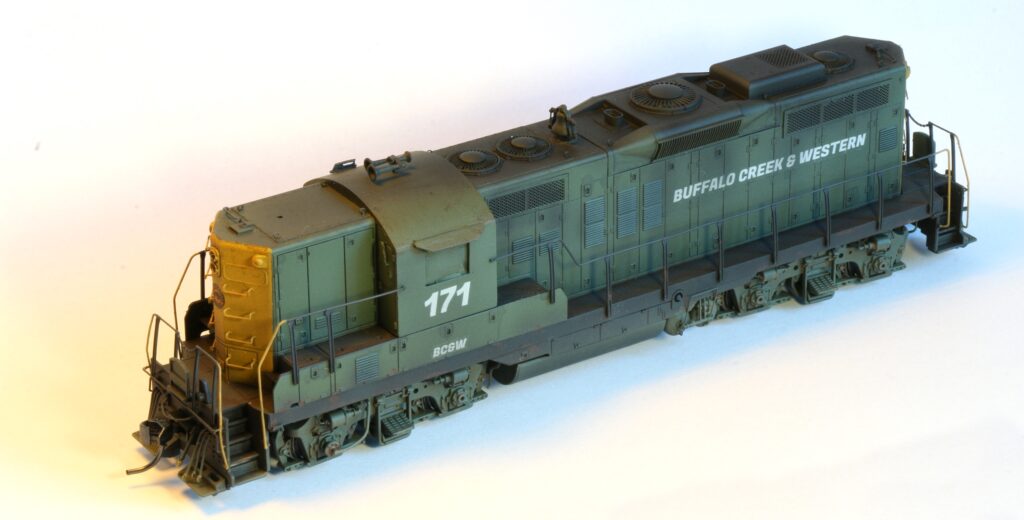
After custom-painting the Athearn Genesis Great Northern GP9 locomotive, I started weathering it.
First, I applied a light tan wash on the walkways and the nose pilots using Vallejo Model Wash European Dust. Then, I used AK Paneliner Black to bring out the grills and exhausts.
Afterwards, I added rust spots and subtle patches using a mix of rust washes and rust deposit effects from both Vallejo and AK.
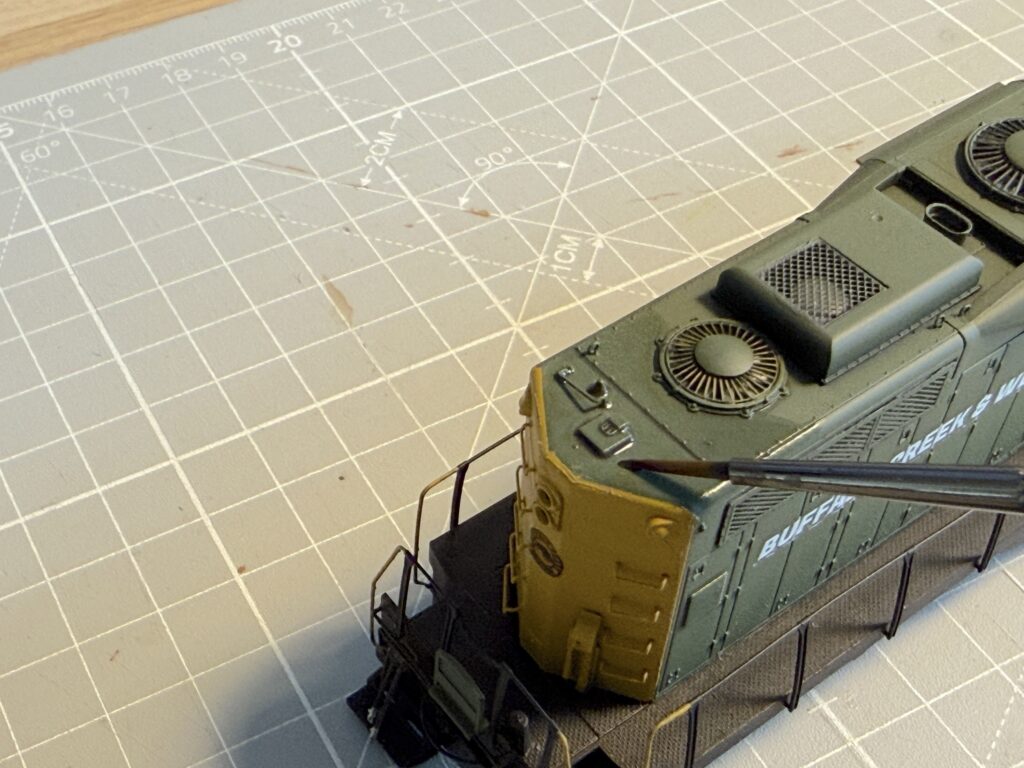
Next, I airbrushed the shell with a diluted white mix of 15 percent paint and 85 percent thinner to simulate faded paint after several years under the Montana sun. Then, I sprayed a blend of black and dark gray on the roof. I kept the compressor pressure low, around 10 psi, to maintain control.

As a final touch, I applied dark brown powders on the roof to add a thin layer of soot and finish the effect.
Weathering trucks and chassis
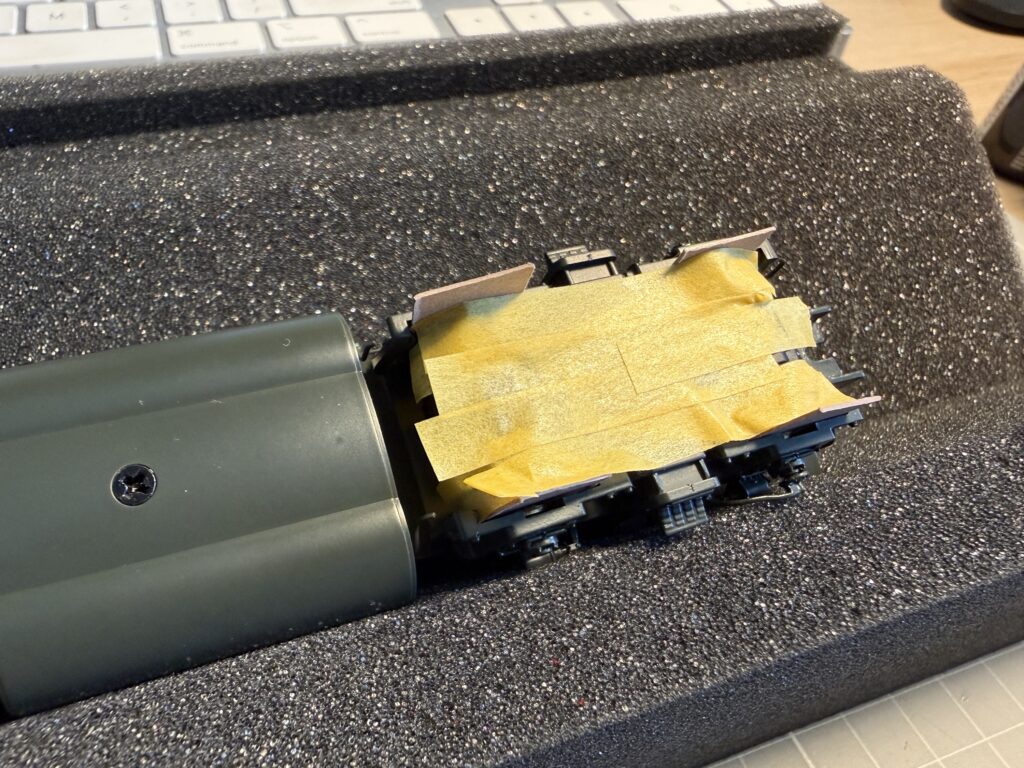
I watched several YouTube videos showing modelers weathering their locomotives by spray painting without masking the wheels or couplers. I modeled in N scale for many years, and I knew even a tiny amount of paint on the wheels or couplers could cause serious operating problems.
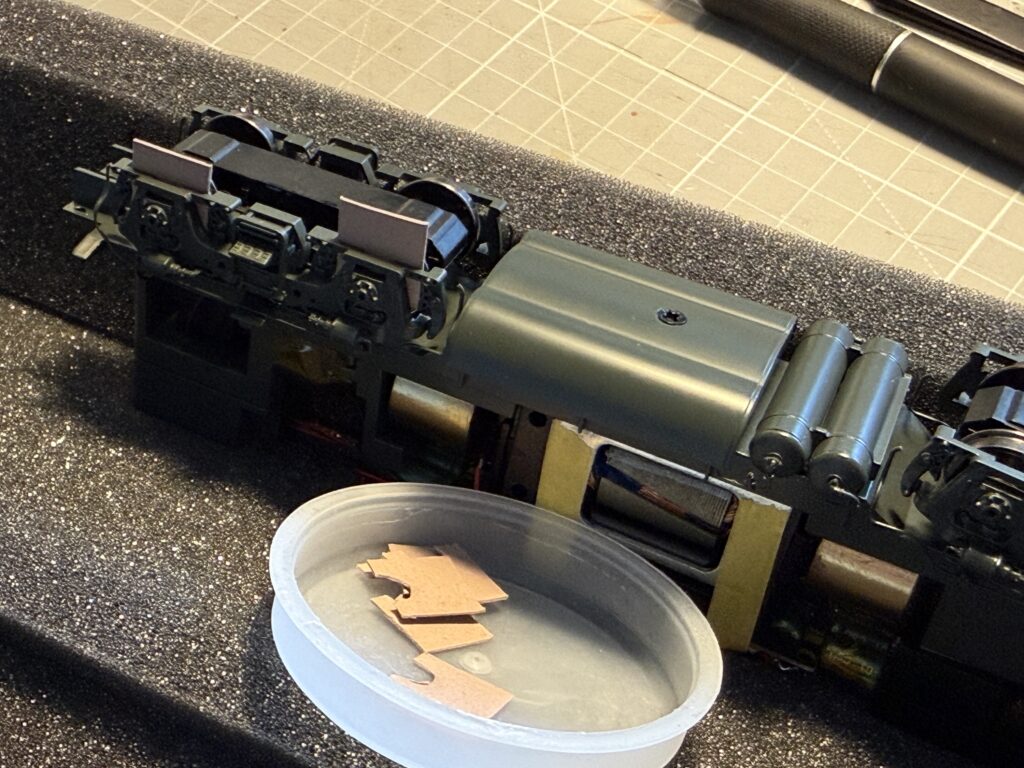
So, I asked for opinions on a couple of online model railroad forums. While the general consensus was to paint freely without masking, or with only minimal masking, I decided to take a more careful approach. I cut masking jigs out of cardboard and inserted them to shield the wheels. Then, I masked the rest of the underside of the trucks with Tamiya masking tape to protect the wheel treads.
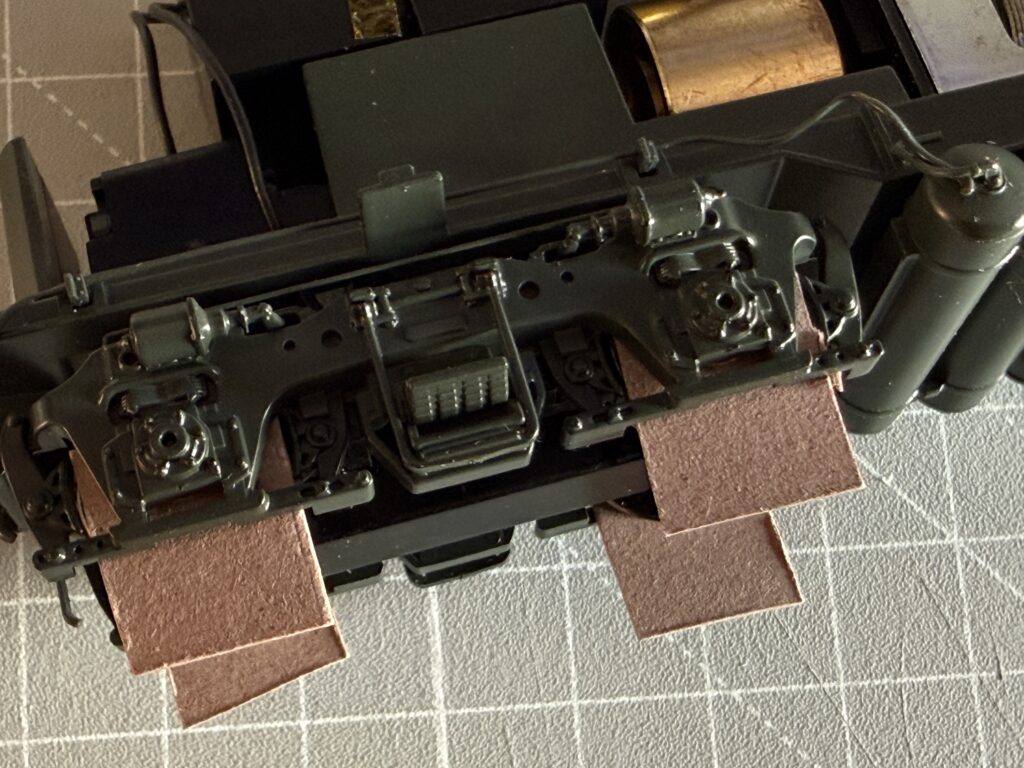
Next, I applied a wash of Vallejo European Dust, followed by a few touches of Vallejo Rust.
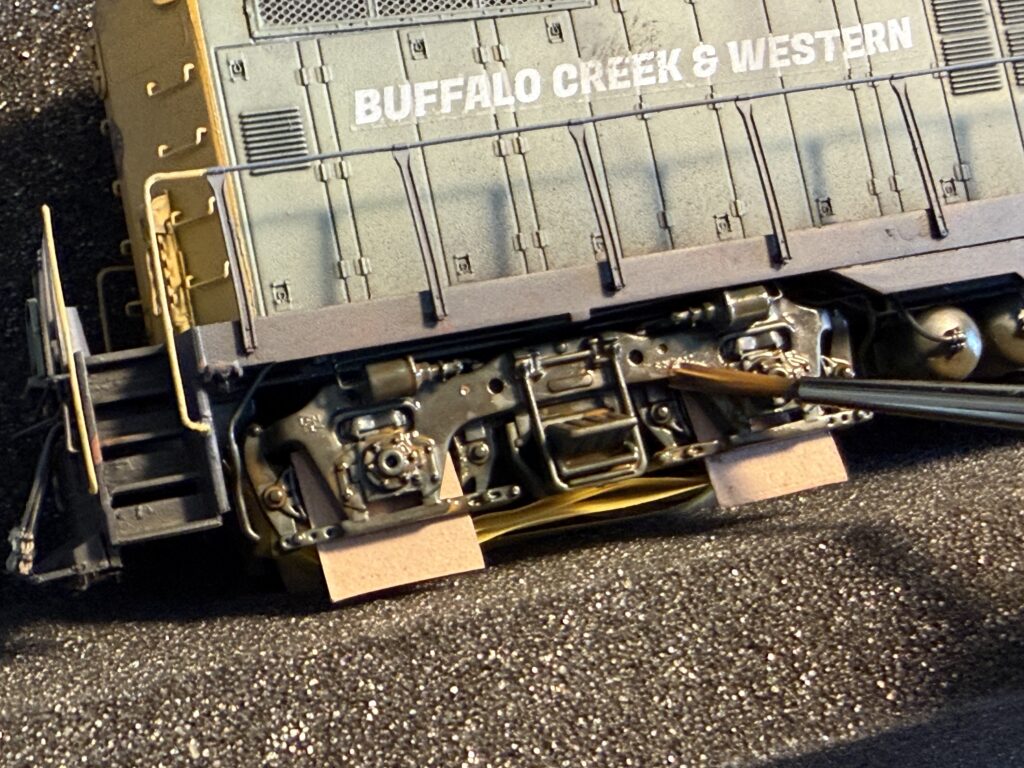
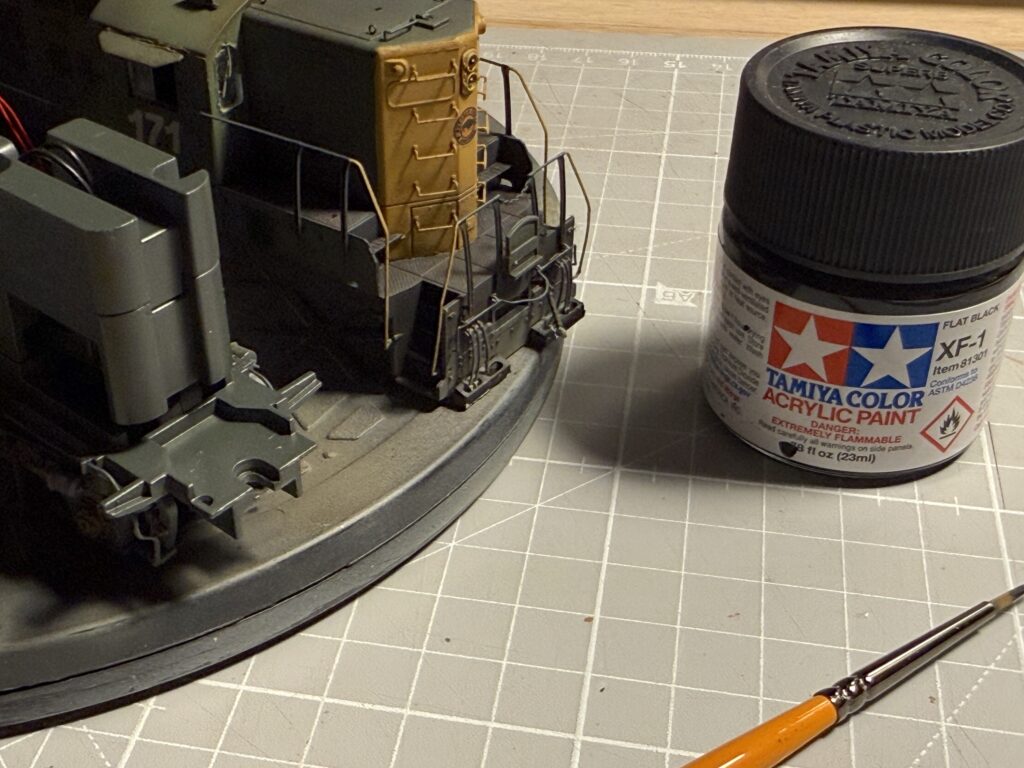
Afterwards, I airbrushed the fuel tank and air reservoirs with a mix of 80 percent Tamiya Black XF-1 and 20 percent Tamiya Dark Yellow XF-60 to match the lower part of the shell.
Then I mixed Tamiya Deck Tan XF-55 with Tamiya Dark Yellow XF-60 in a 10 to 90 ratio. I then thinned it 70 percent with Tamiya X20-A thinner.
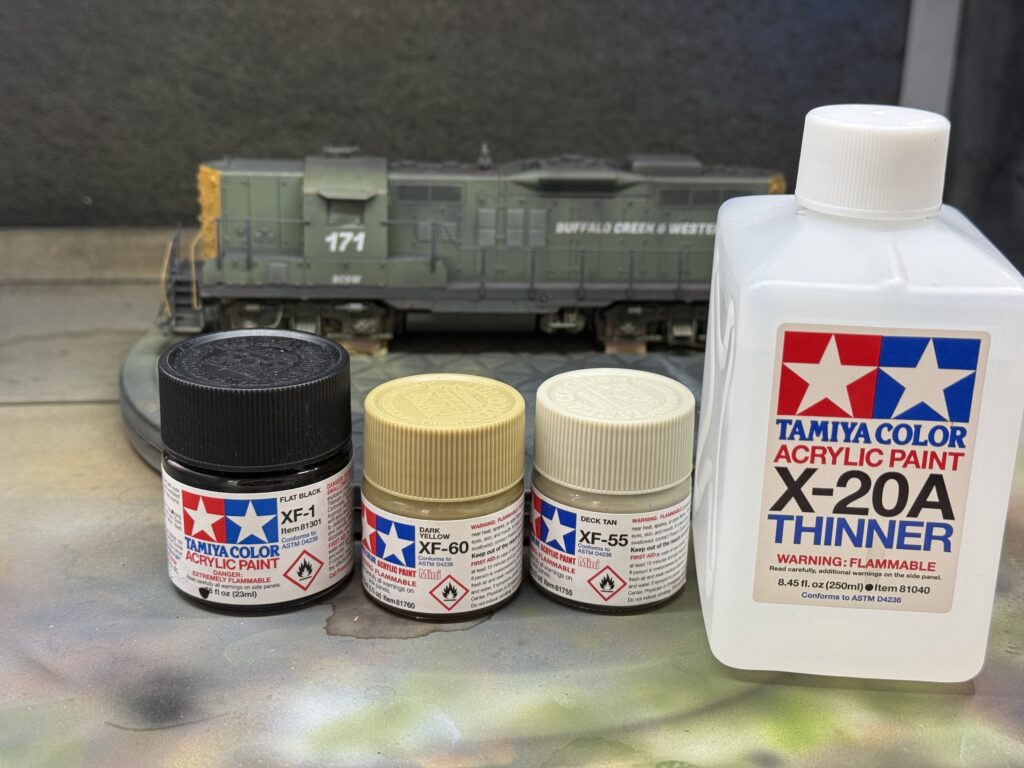

Using low air pressure on the compressor, around 10 psi, I sprayed a few light coats over the bottom portion of the locomotive to create a natural dust effect.
At the end, I applied a final coat of Vallejo Matt Polyurethane Varnish to seal the weathering and protect the finish.
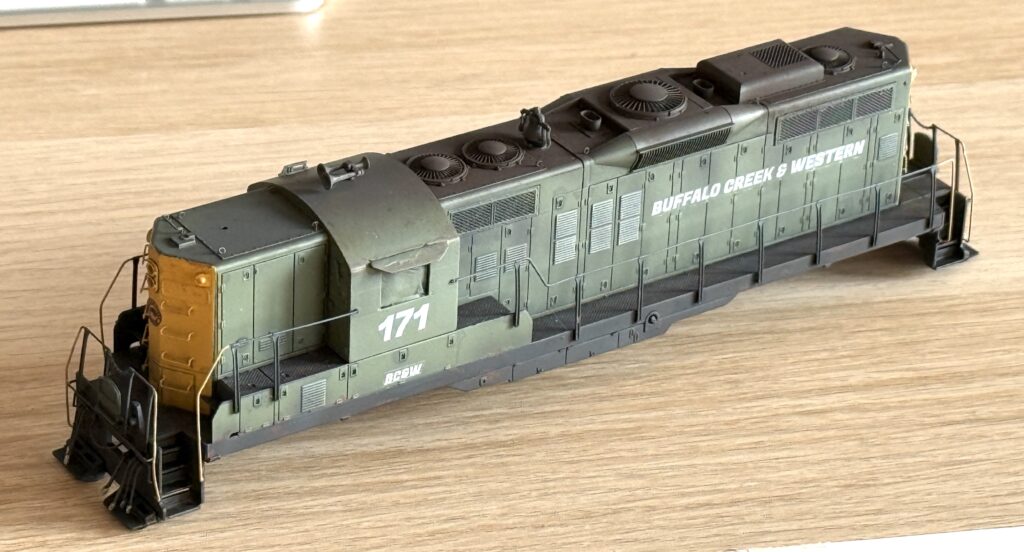
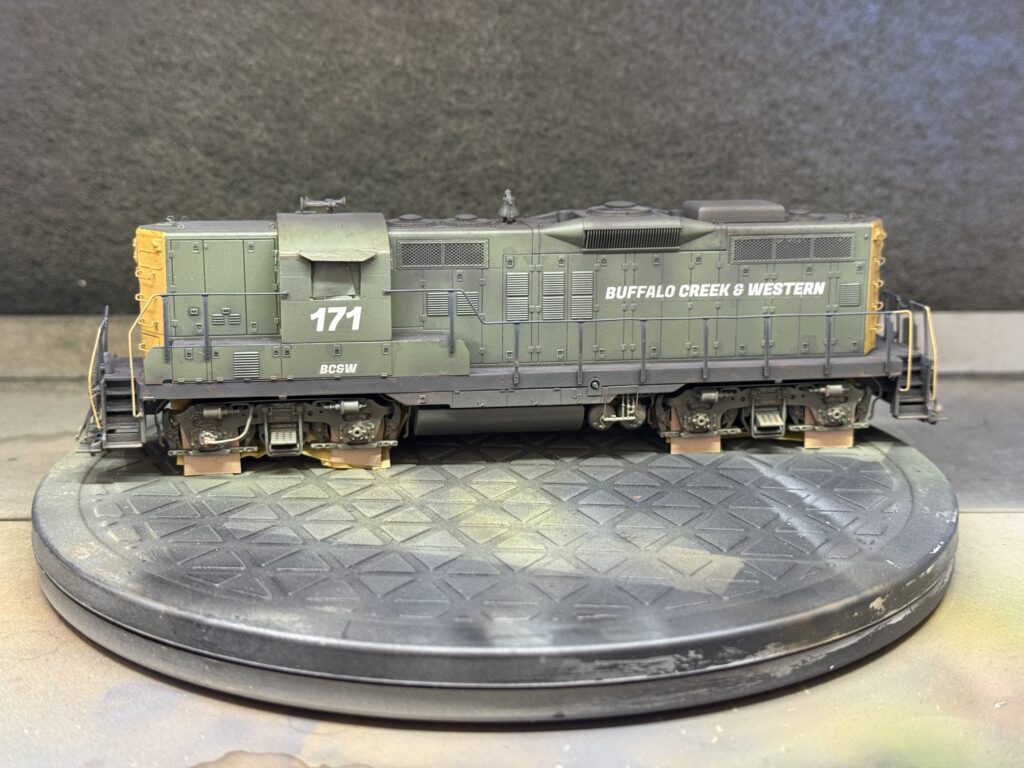
After setting up the scene and taking the final photo, I realized I had forgotten to remove the window masking 🤦🏻♂️. There will definitely be more photos once that’s fixed.
Era-corrected final details
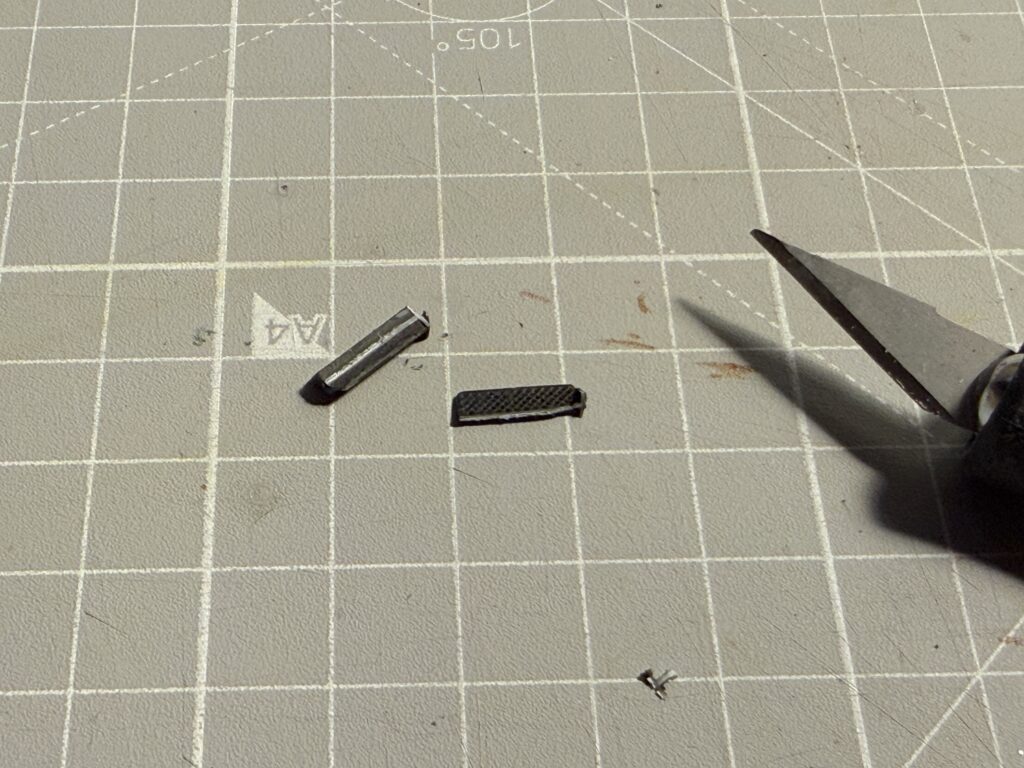
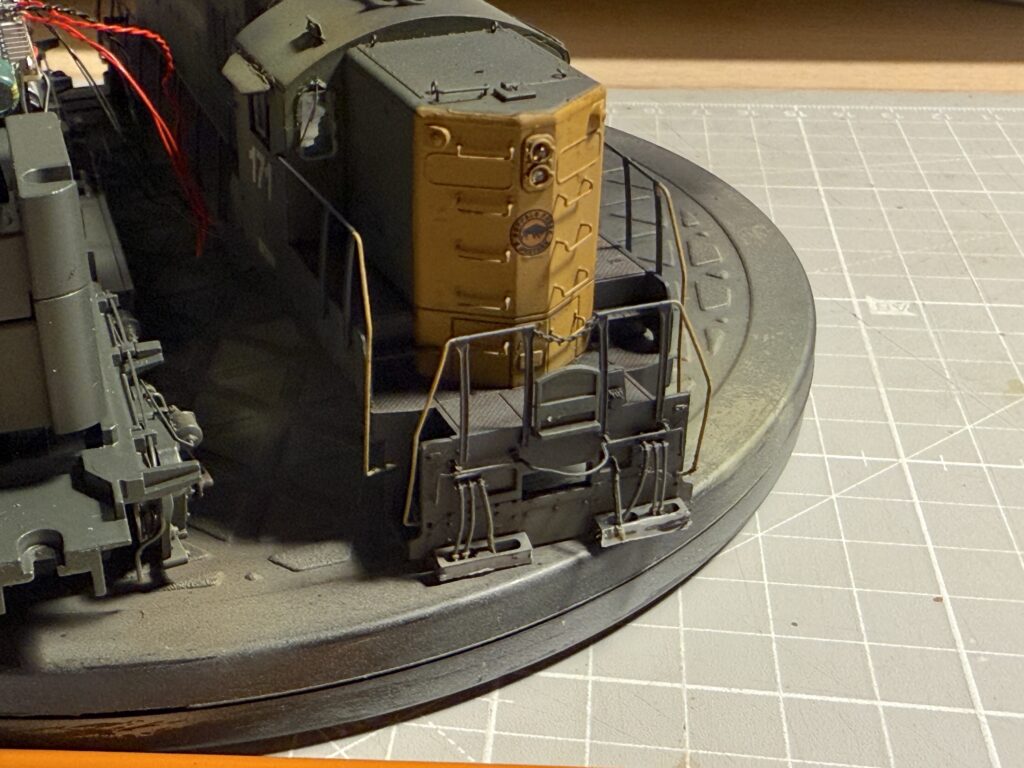
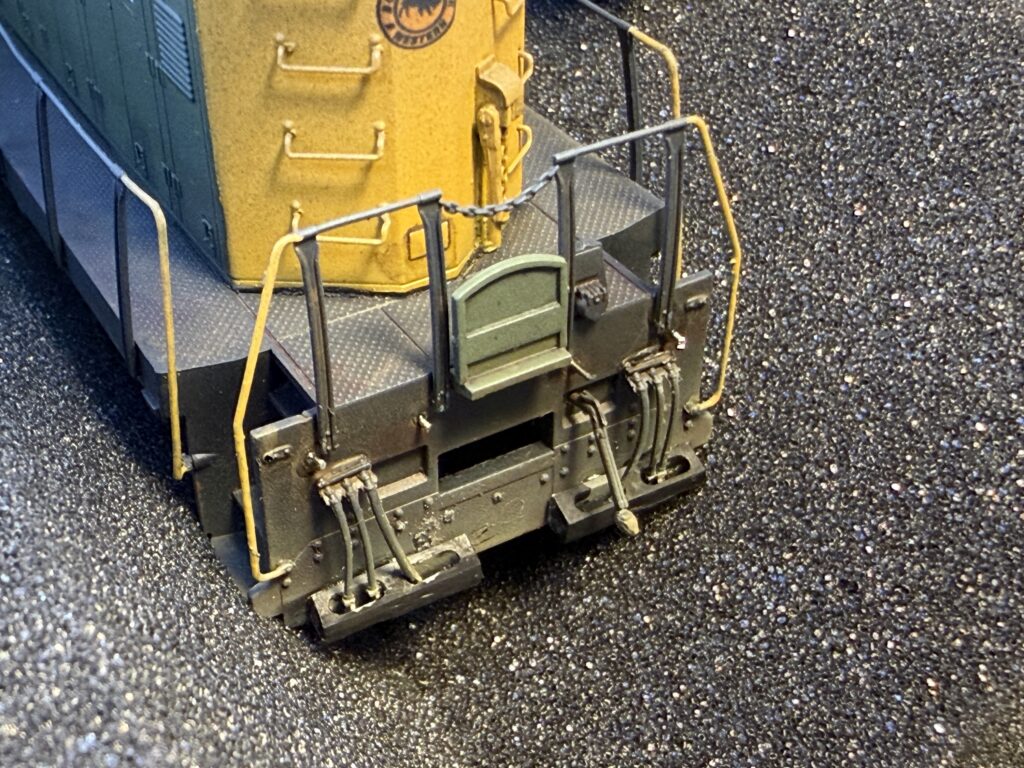
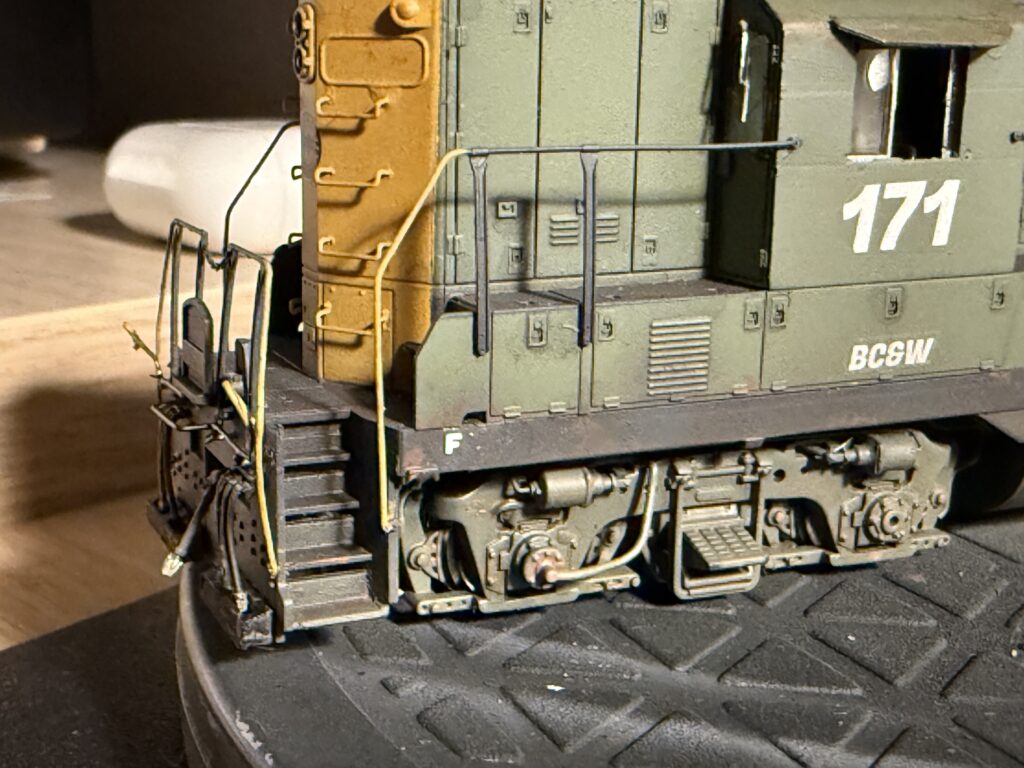
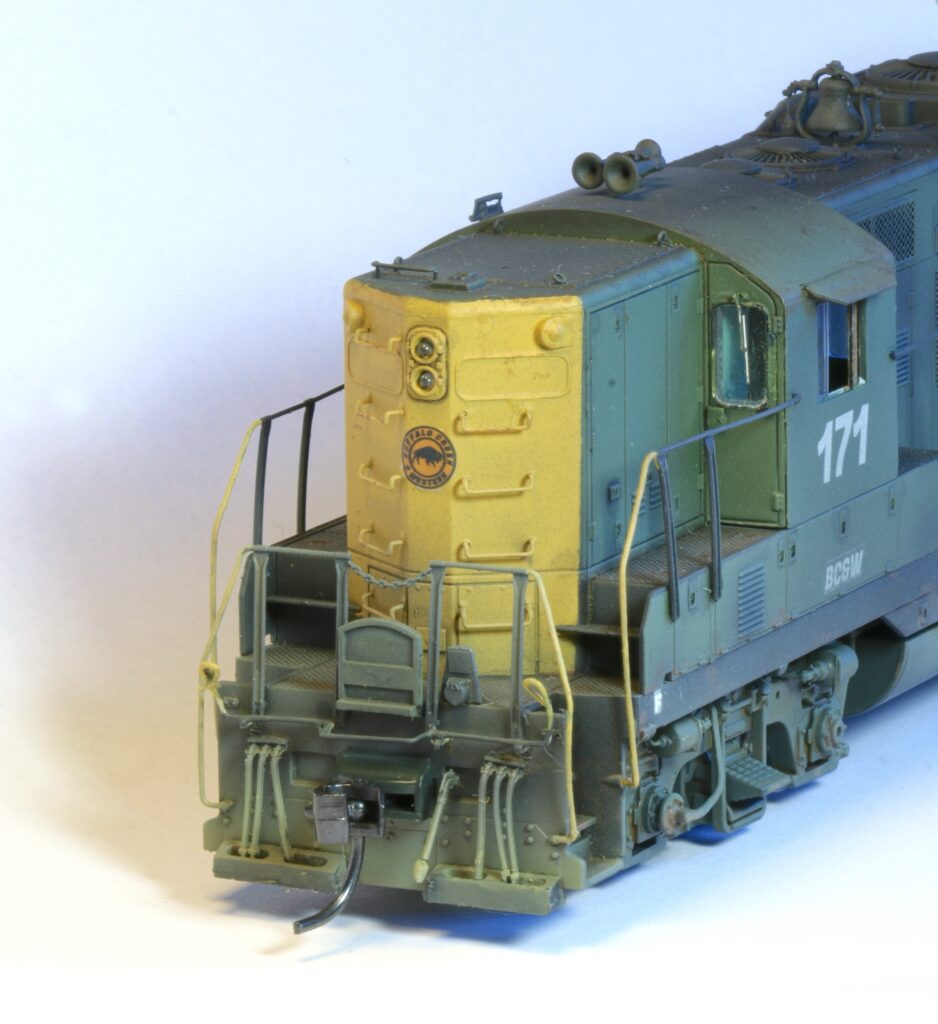
After completing the weathering job, I posted a photo on the Model Railroad Hobbyist forum. A couple of fellow modelers pointed out that the step boards on the front and rear pilots should not be there, according to the FRA regulation issued in 1979. The cut lever should also be modified accordingly. Also, an “F” decal should be placed on the front side of the locomotive.
It is always great to receive constructive feedback, as it motivated me to fix the locomotive right away. I removed the step boards with a hobby knife. Afterwards, I glued the modified parts back on the pilots.
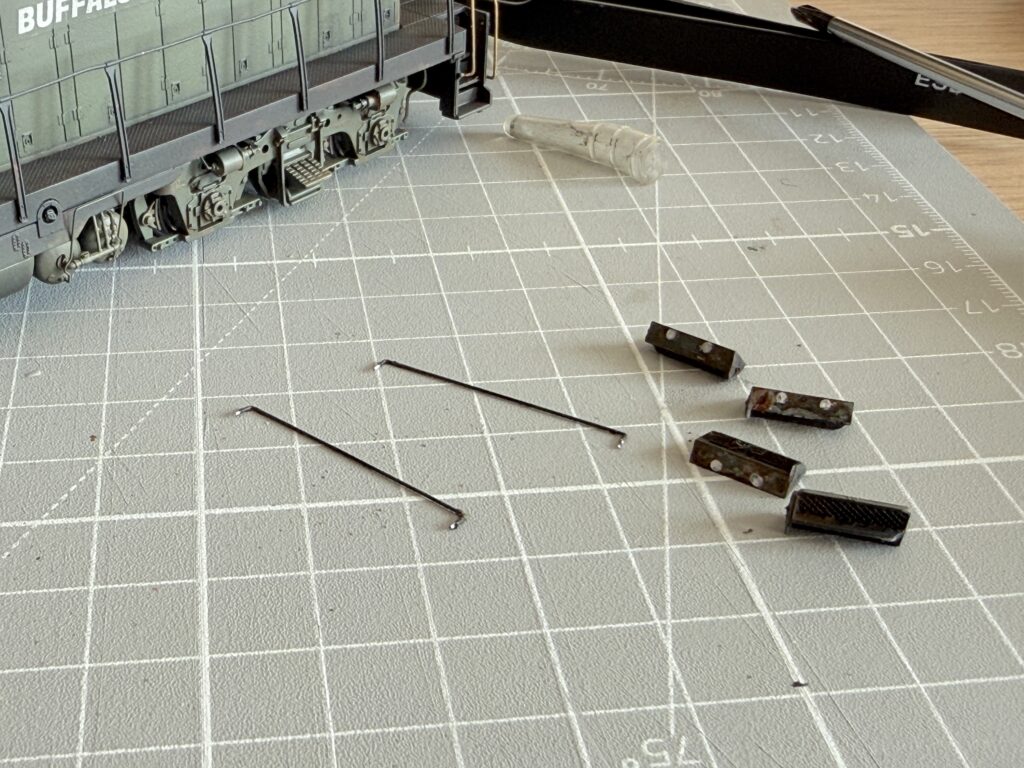
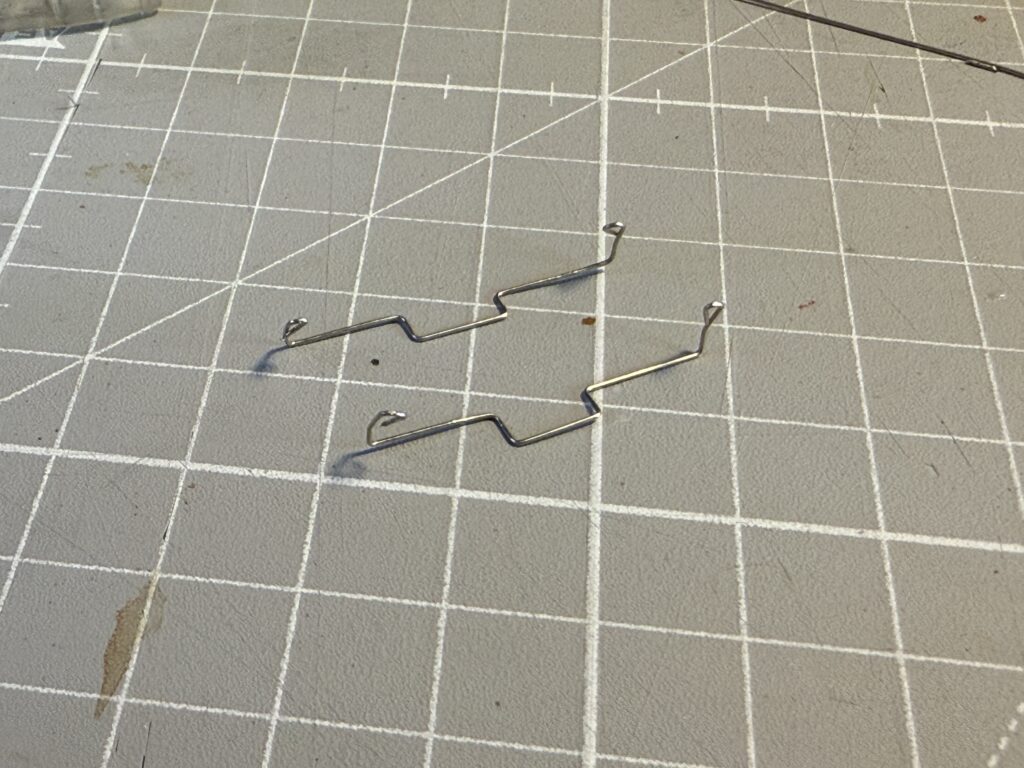
Then I ran into trouble finding an EMD cut lever detail part online. Living in the EU makes ordering just a few parts quite inconvenient. Shipping and import costs only make sense with a larger order. So, I decided to scratchbuild the cut lever using a .009 guitar string.
It turned out that using music wire for that kind of detail was difficult to work with, at least for me. So I switched to a softer material like phosphor bronze. It is more malleable, and I managed to form decent cut levers from it.
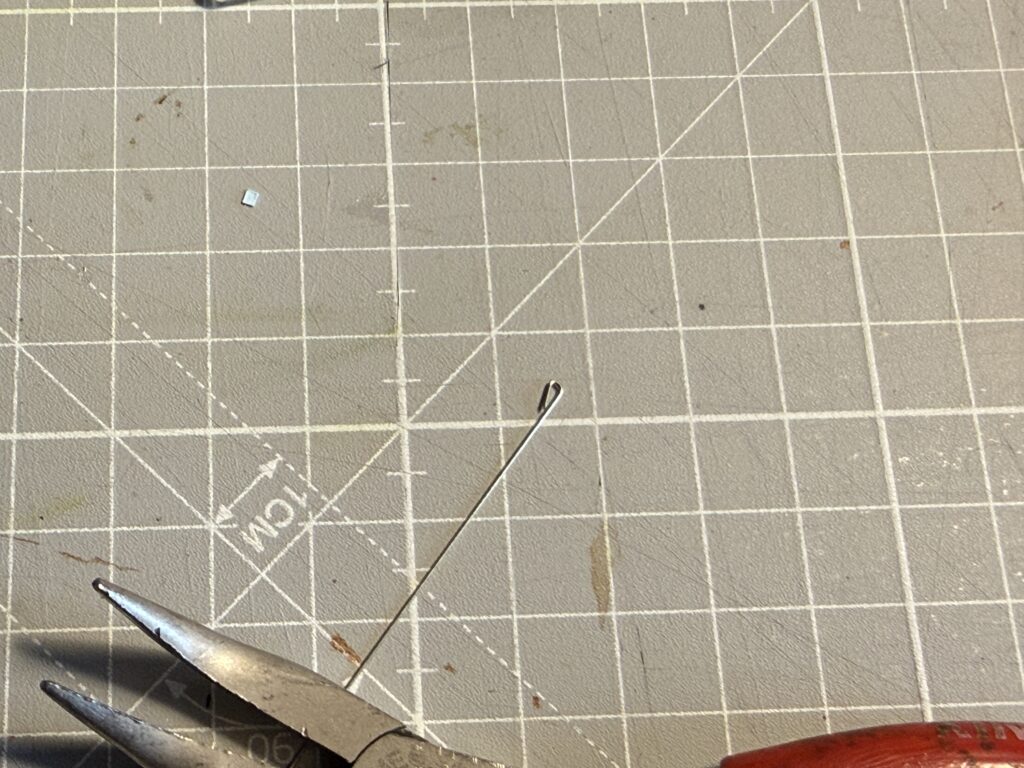
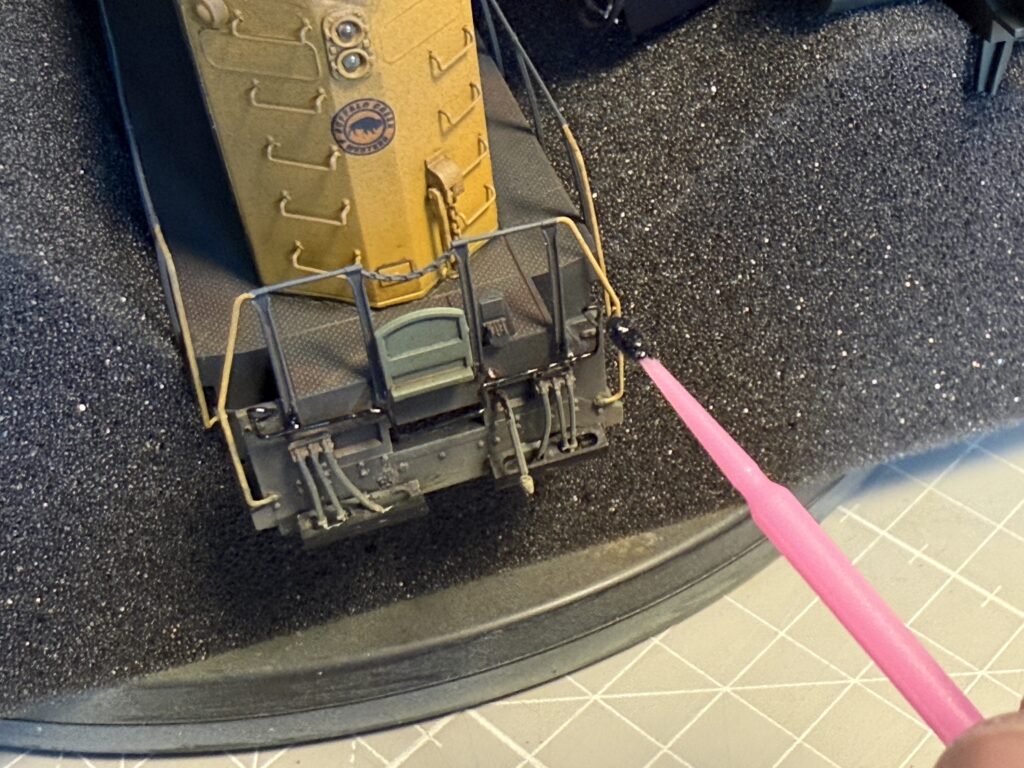
After a few attempts, I produced the final version and installed it on the front and rear pilots. I removed the original cut levers and inserted short wire pieces in their place.
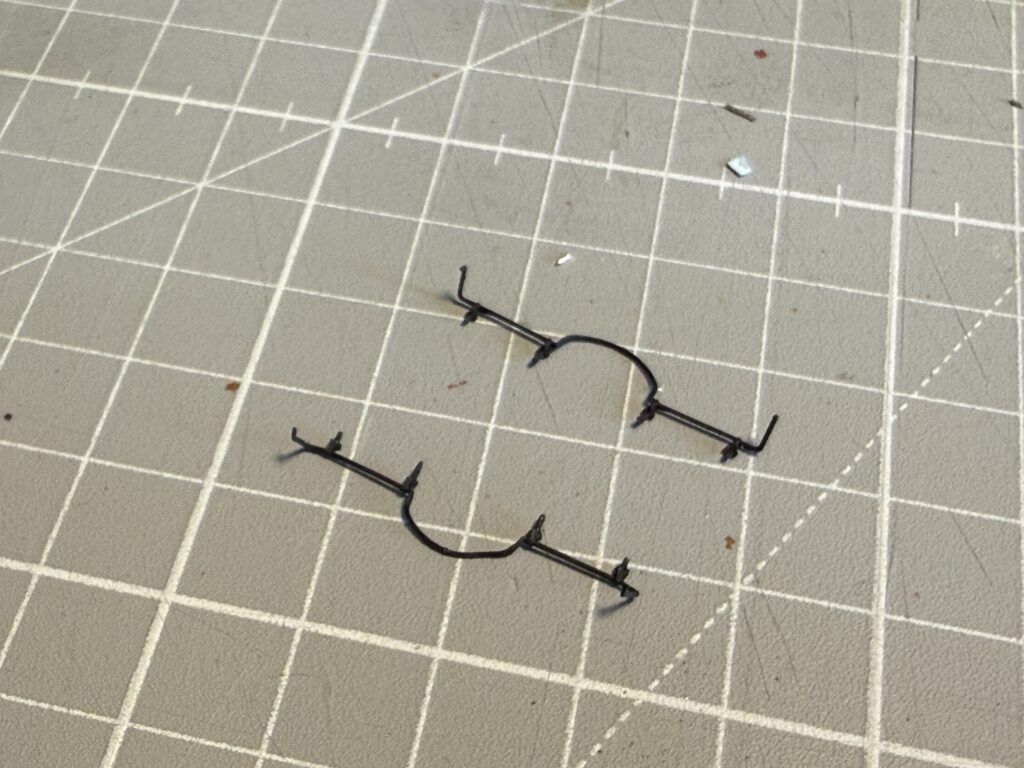
Then I glued the new cut levers onto those short pieces with CA glue. Next, I painted the levers black using Vallejo Primer and finished the handles with Vallejo Yellow Ochre.
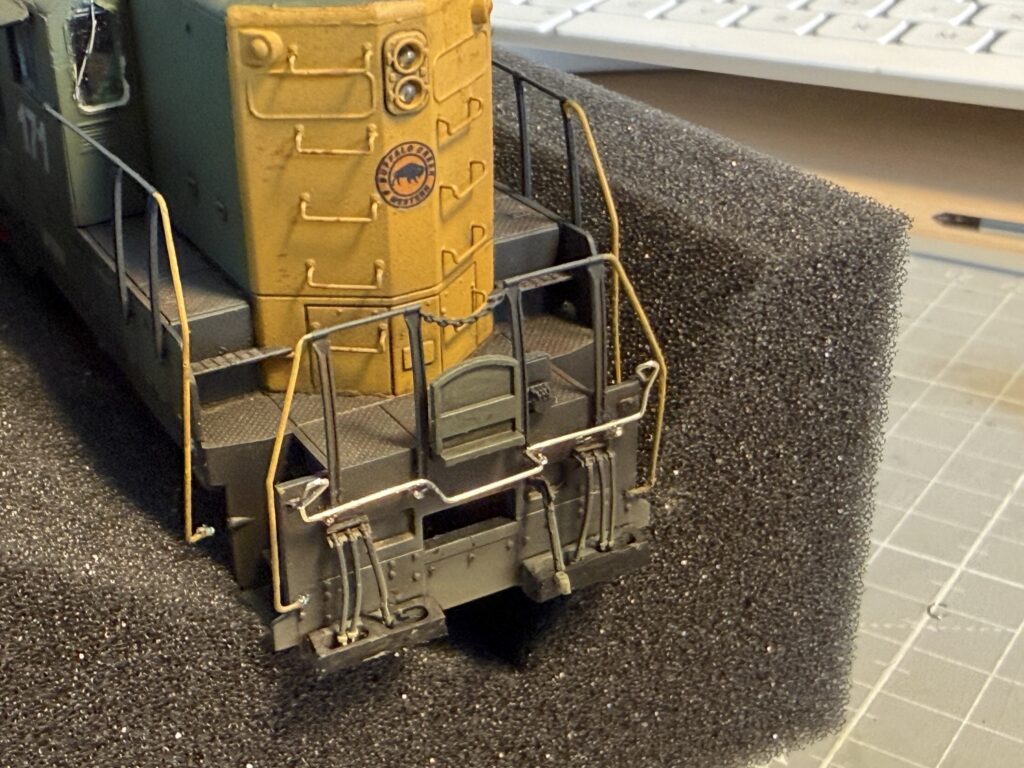
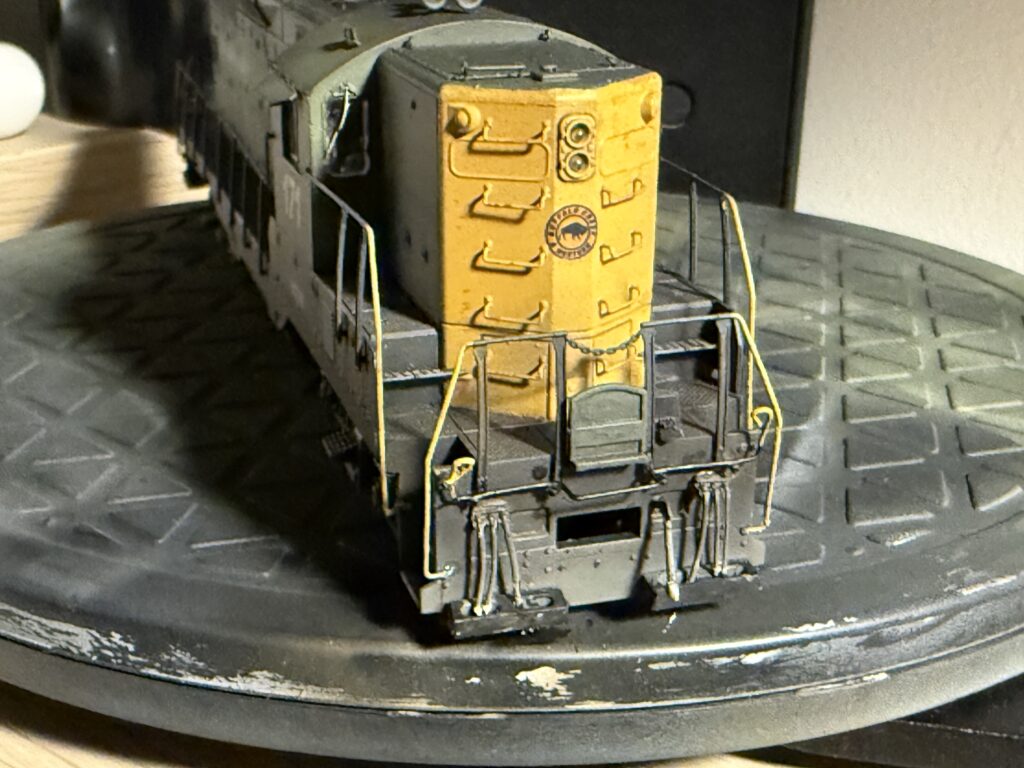
The last touch was painting the classification lights silver and adding the “F” decal.
Final Weathering Job
The shell was then ready for a light weathering touch up. I painted some fuel spills around the tank filler hole and a painted a final flat clear sealing coat.
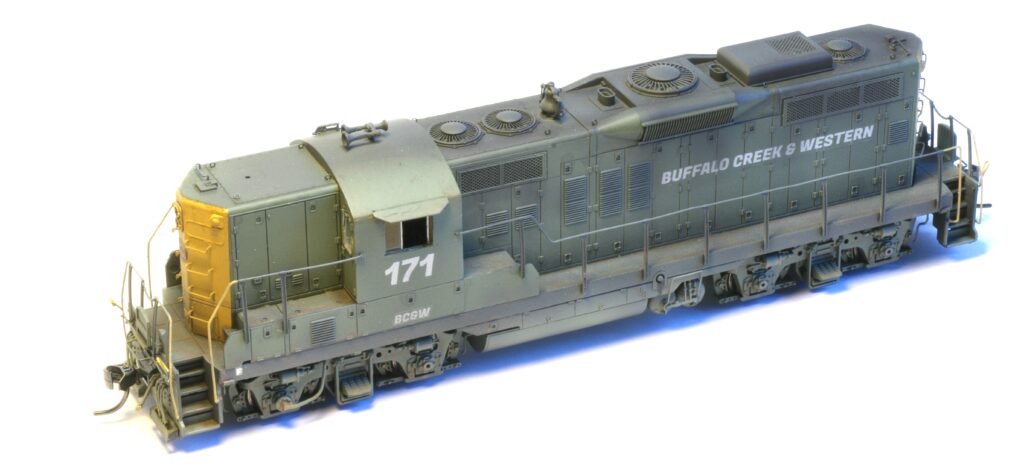
I am satisfied with the weathering, and the scratchbuilt cut lever looks good enough. Once the locomotive is on the layout, the finesse of most details becomes much less noticeable. That said, I firmly believe that finely detailed and weathered rolling stock adds greatly to the overall realism of a layout.