Repainting a GP9
Repainting an Athearn Genesis GP9 in Great Northern Blue Sky into BC&W paint scheme
It’s 1980, and the Buffalo Creek & Western railroad has just purchased from Burlington Northern its first locomotive, a GP9 that needs a repainting job in the dark green and yellow BC&W scheme.
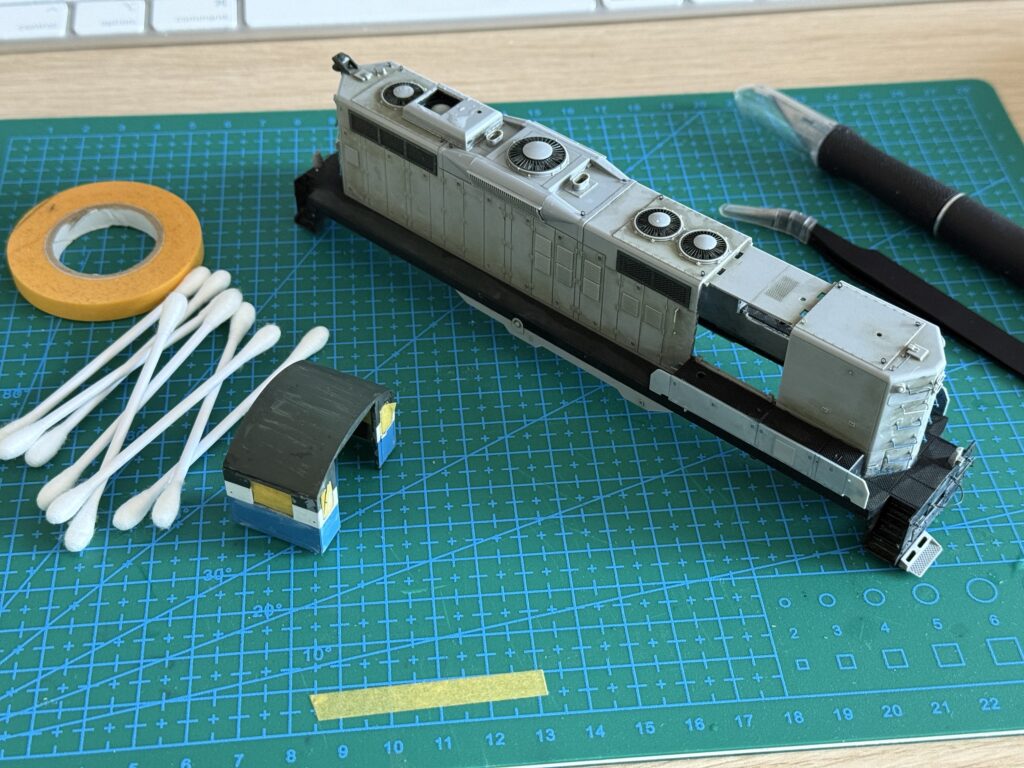
Disassembling
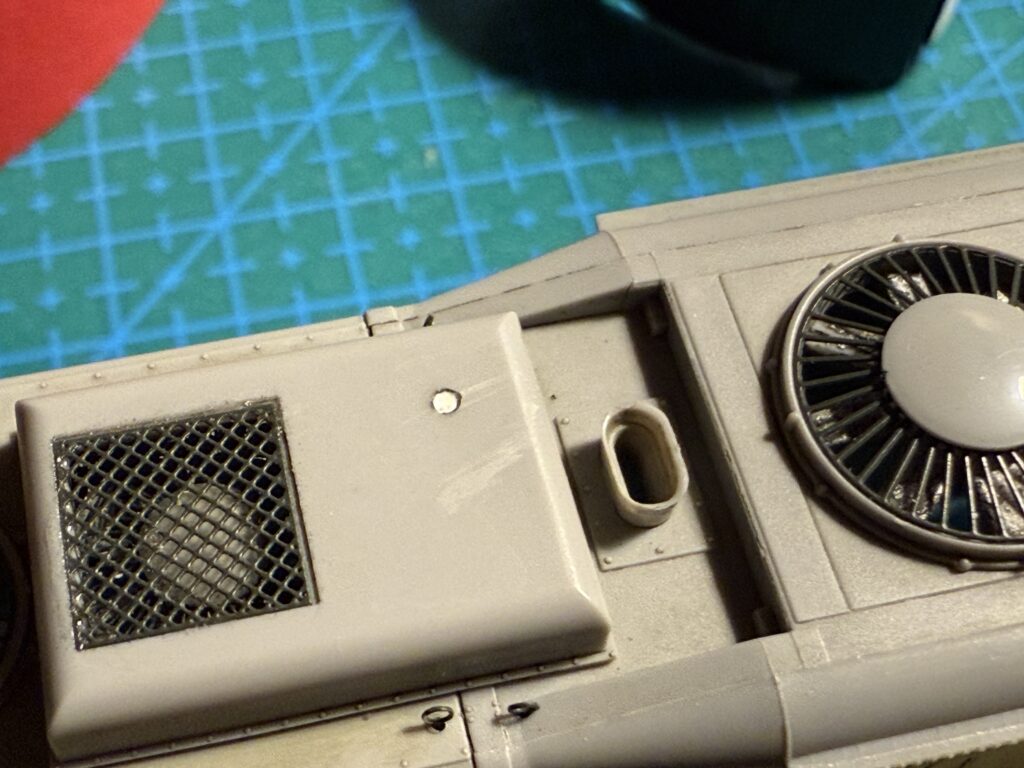
The Athearn Genesis GP9 is an extremely fine-detailed model. Since most parts are glued on, disassembling the model was a little difficult. Thus, I was quite worried I wouldn’t be able to strip the paint and repaint it.
However, after about a 30‑minute battle with the GP9, I managed to disassemble almost everything except the windows.
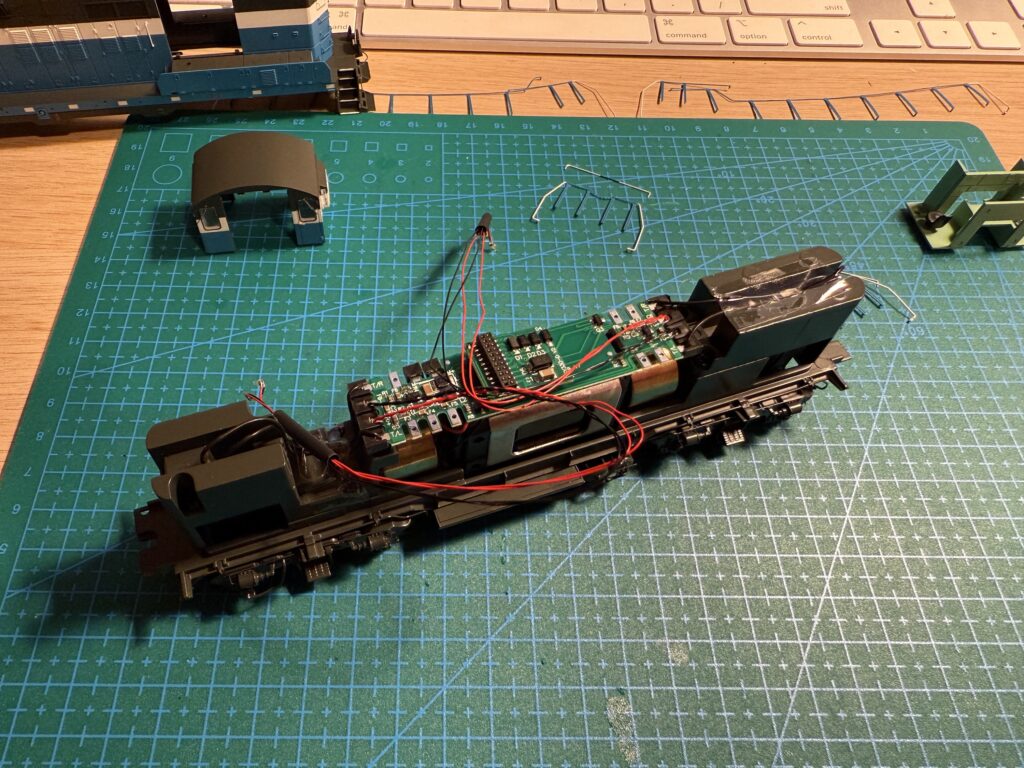
I used tweezers to carefully remove as many parts as I could.
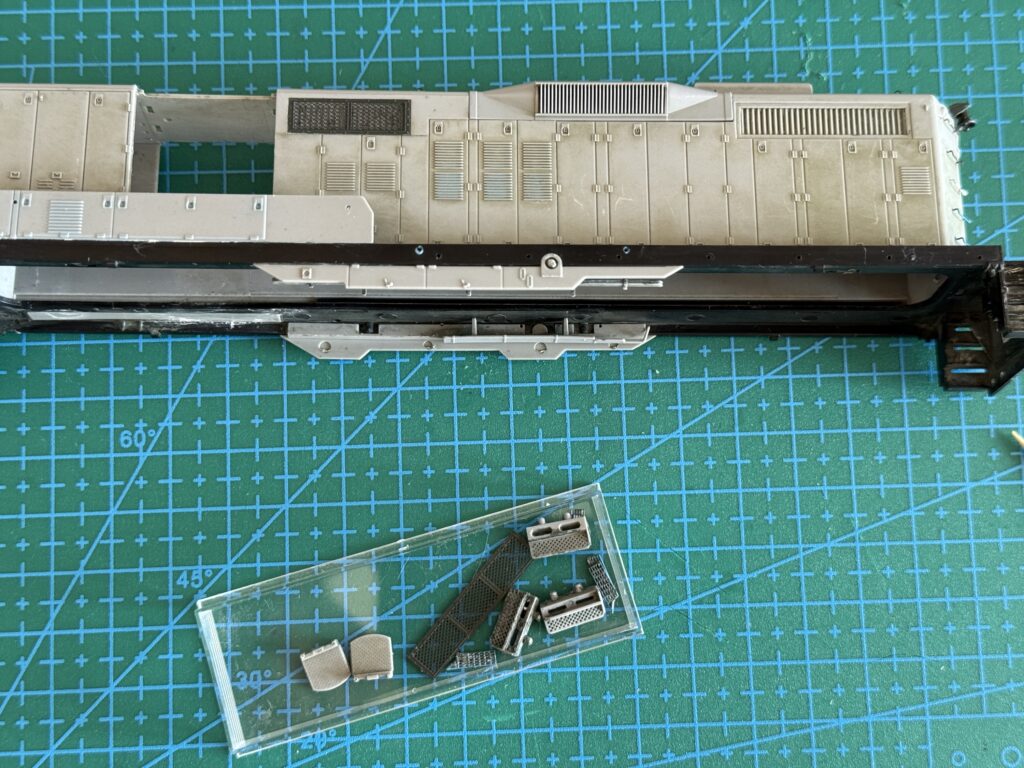
After that, I soaked the shell in 99.9% isopropyl alcohol overnight. Then I gently rubbed the paint away with a soft toothbrush. A few different glued-on details came apart due to the alcohol action, thus I carefully removed them and set them away.
Masking
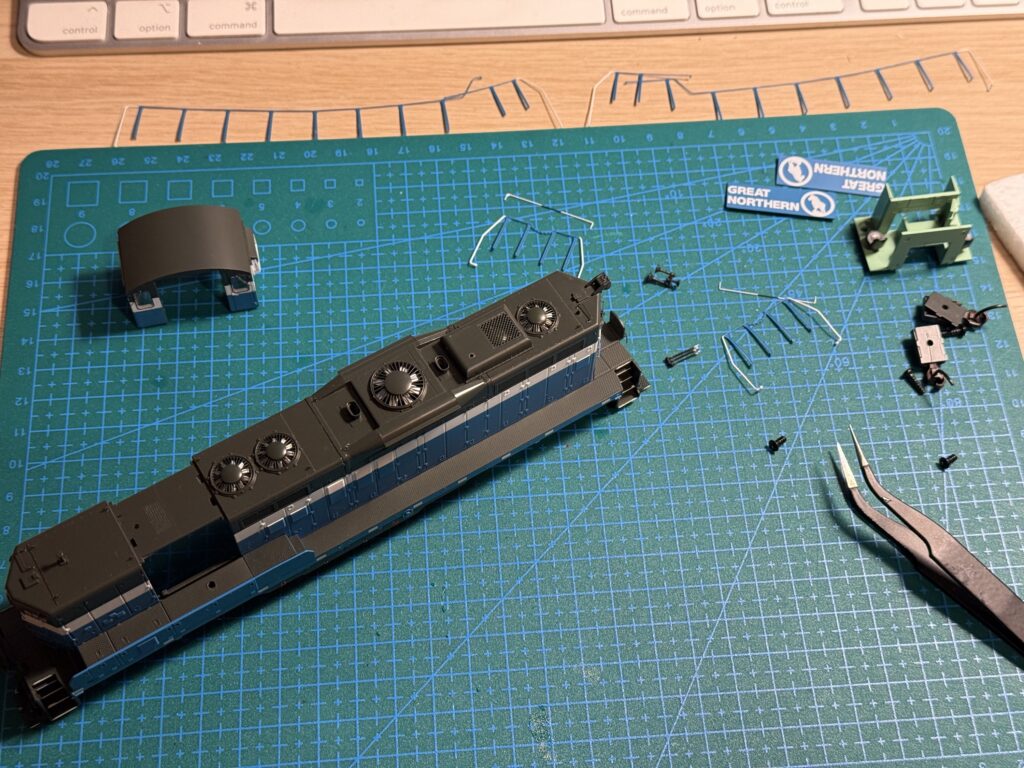
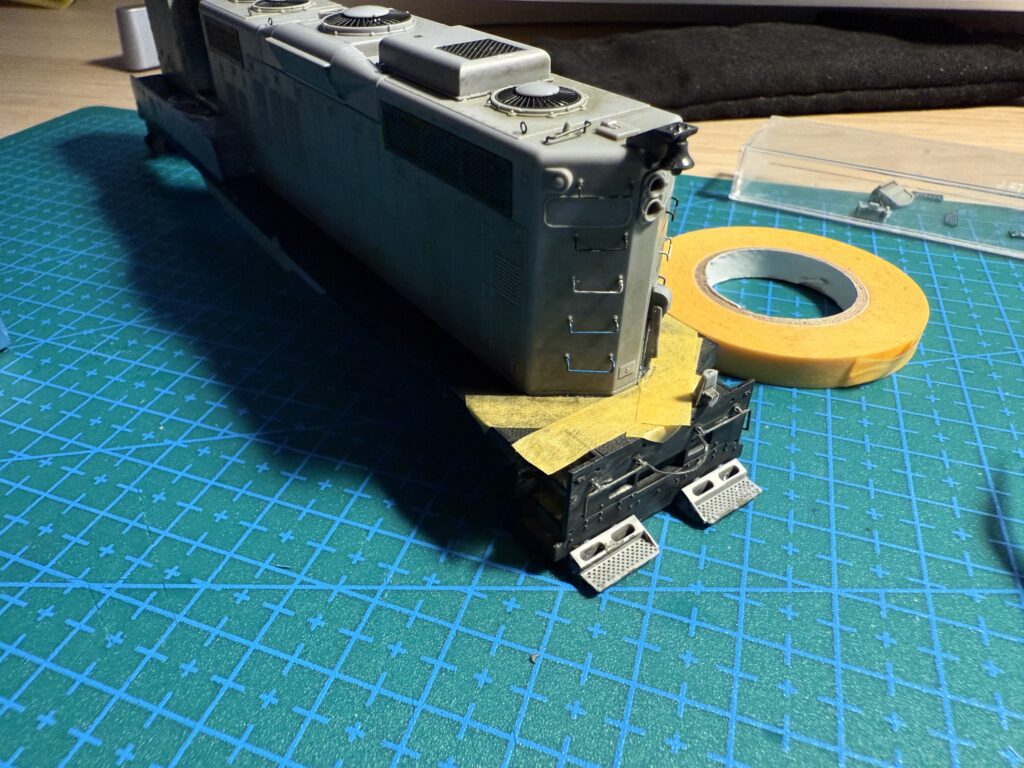
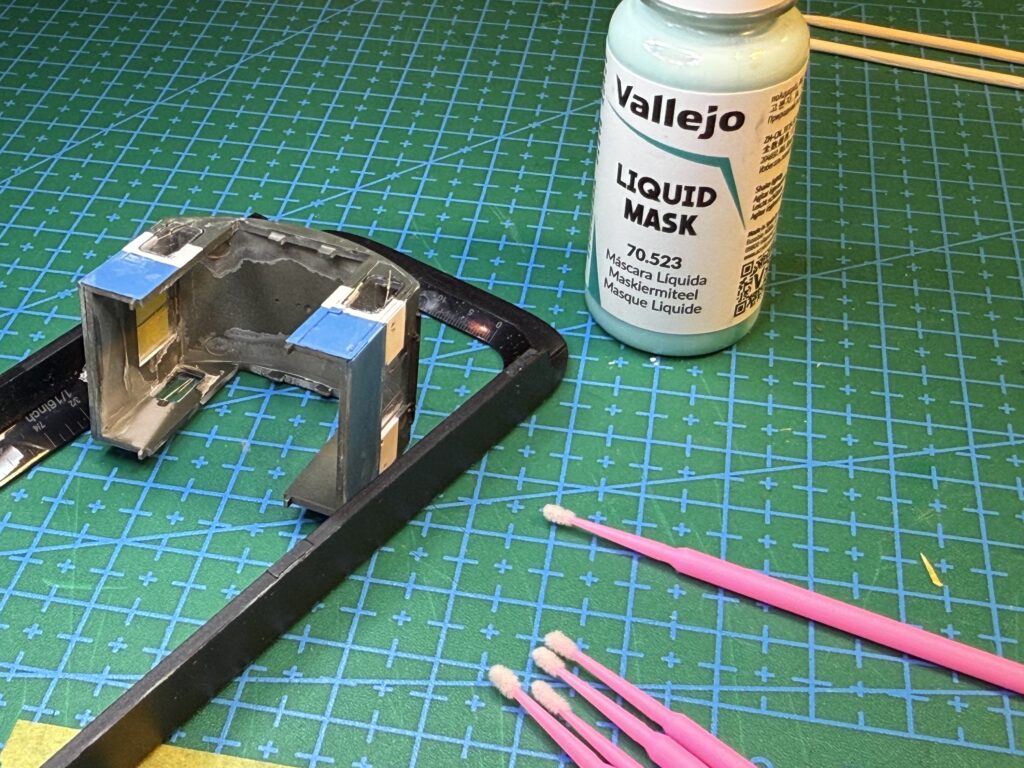
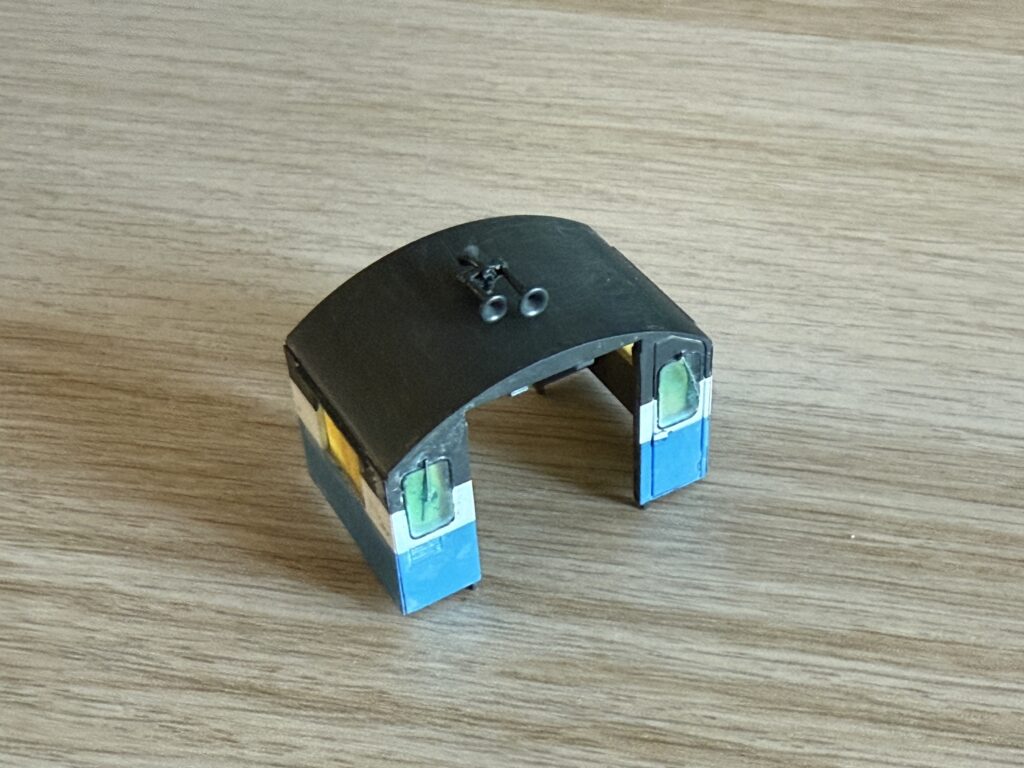
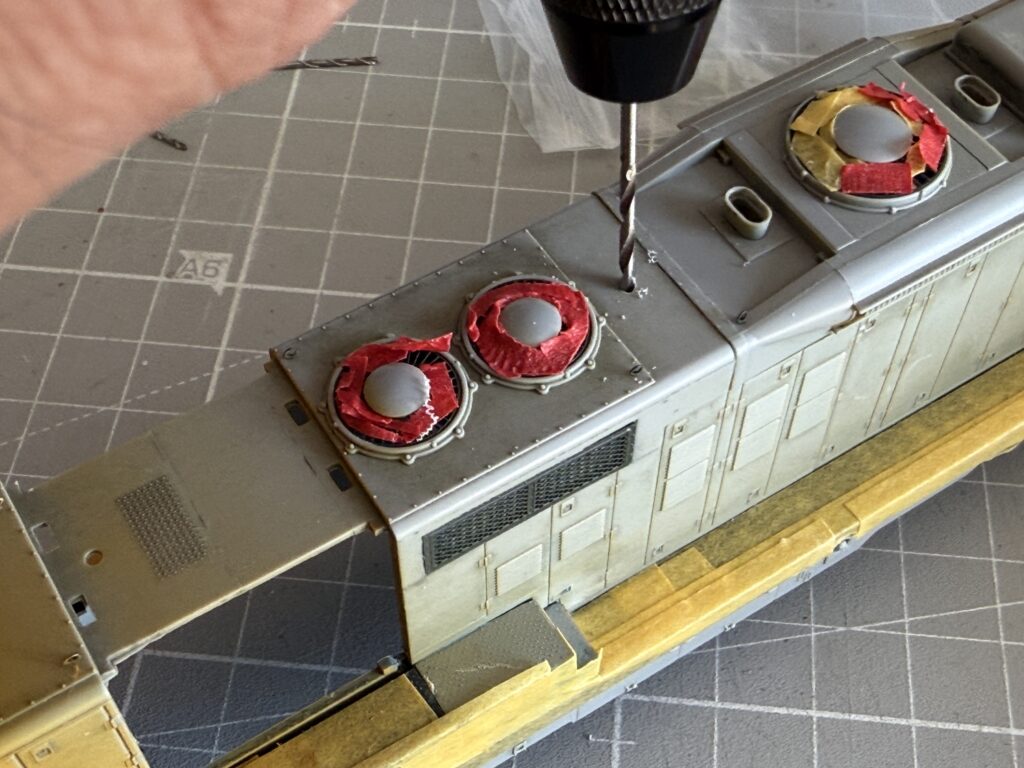
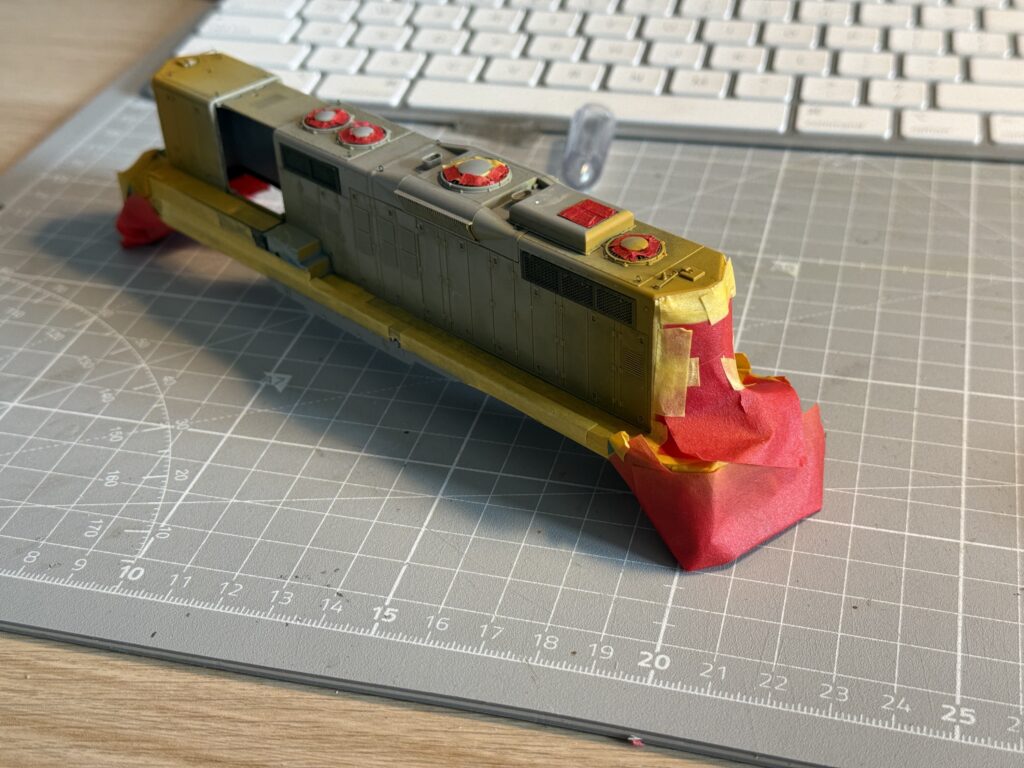
Since the locomotive will be converted to short‑hood‑forward operation, I removed the horn and the long‑hood‑mounted bell. Then, I filled the holes with Vallejo Plastic Putty.
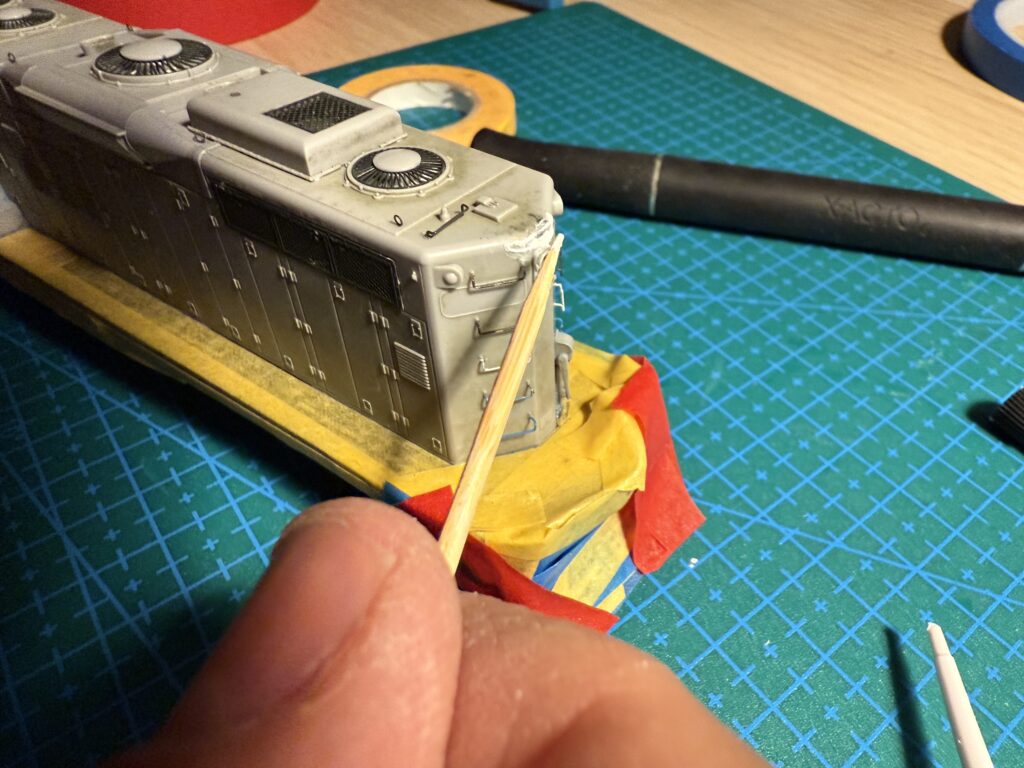
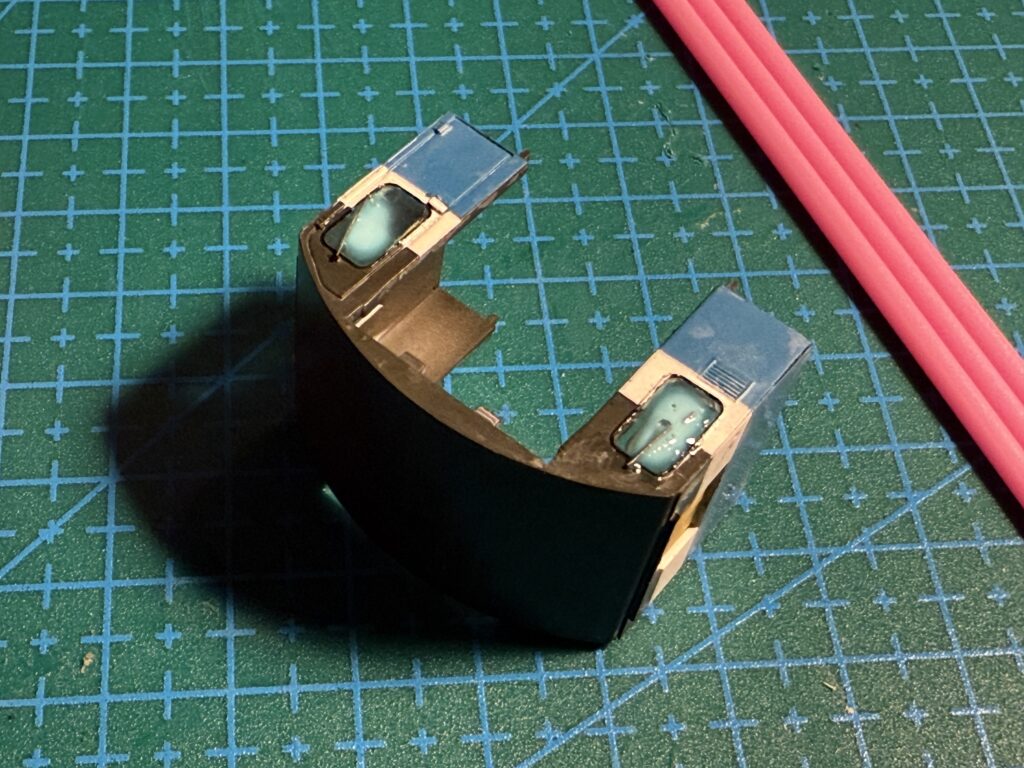
Finally, I masked all the windows with Vallejo Liquid Mask and Tamiya Masking Tape (6mm width). I paid extra attention to the wipers, and removed the road number from the cab manually with an alcohol‑soaked cotton swab.
Detailing
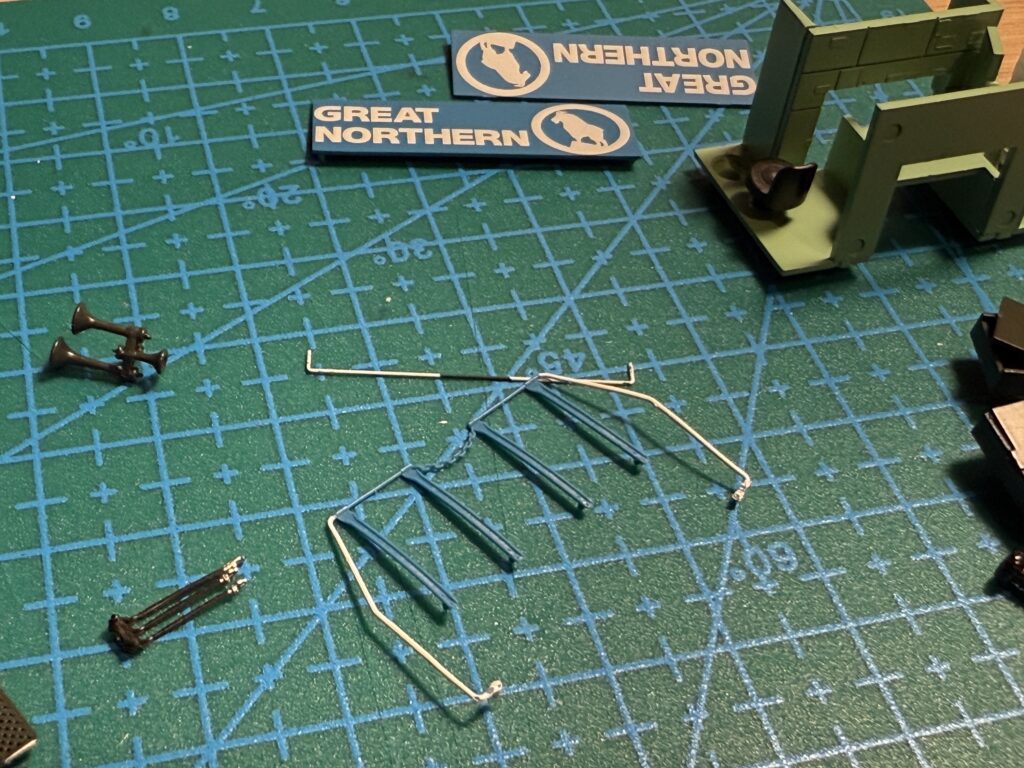
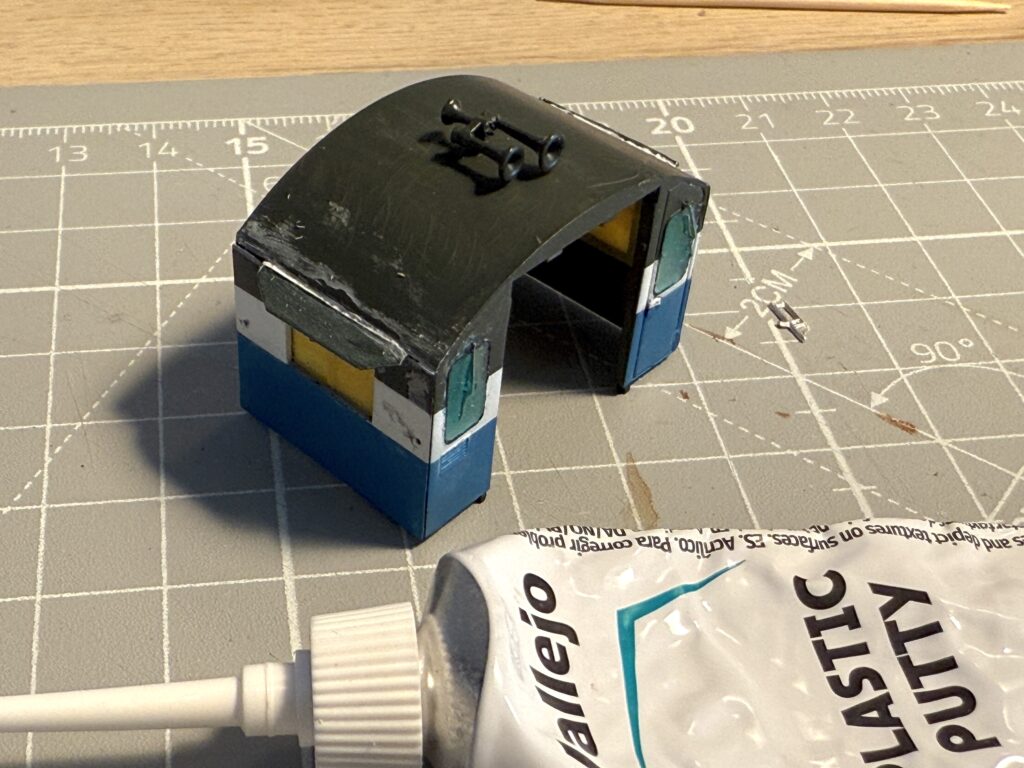
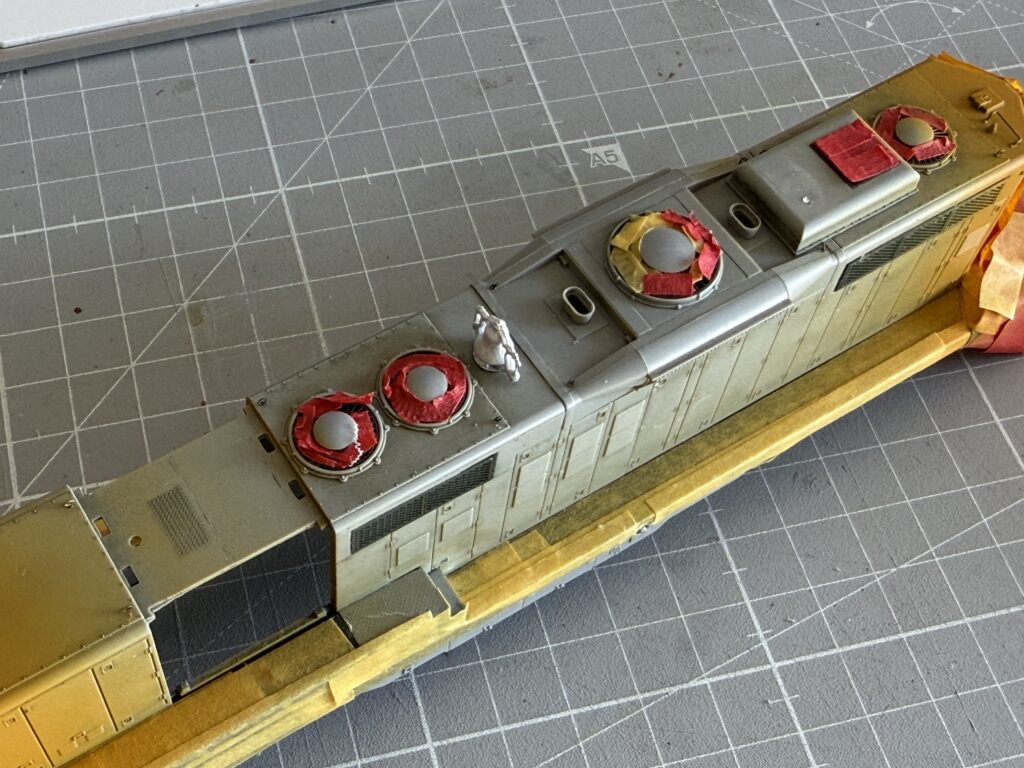
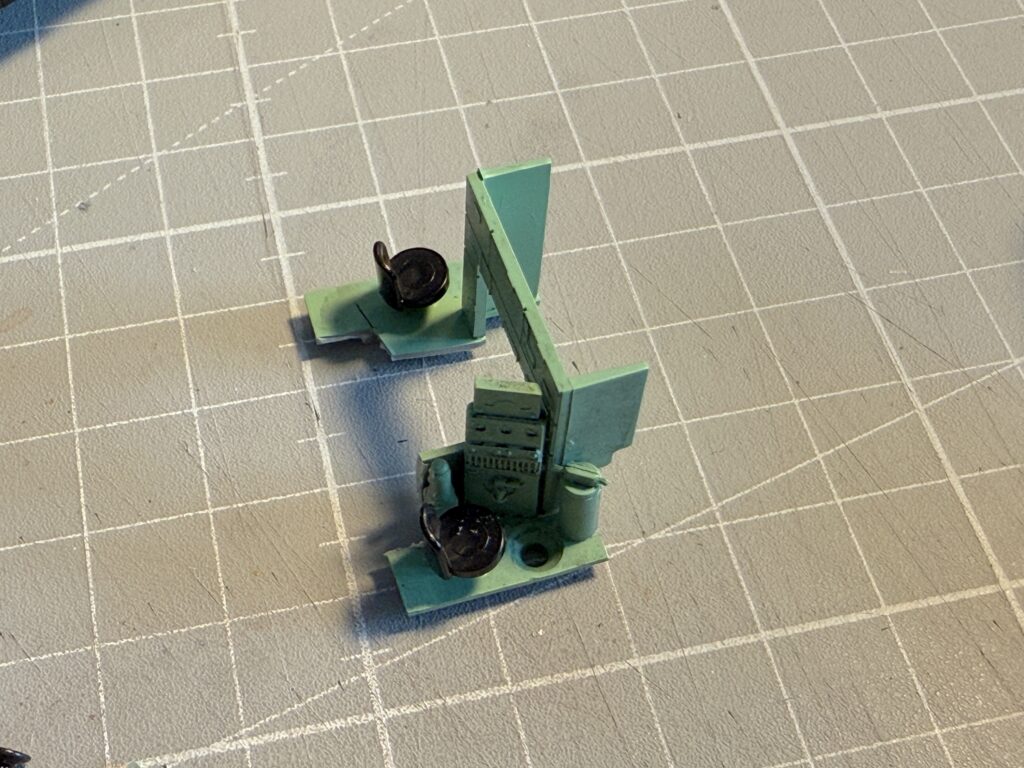
I moved the horn from the long hood to the cab roof, and secured it with a drop of CA glue.
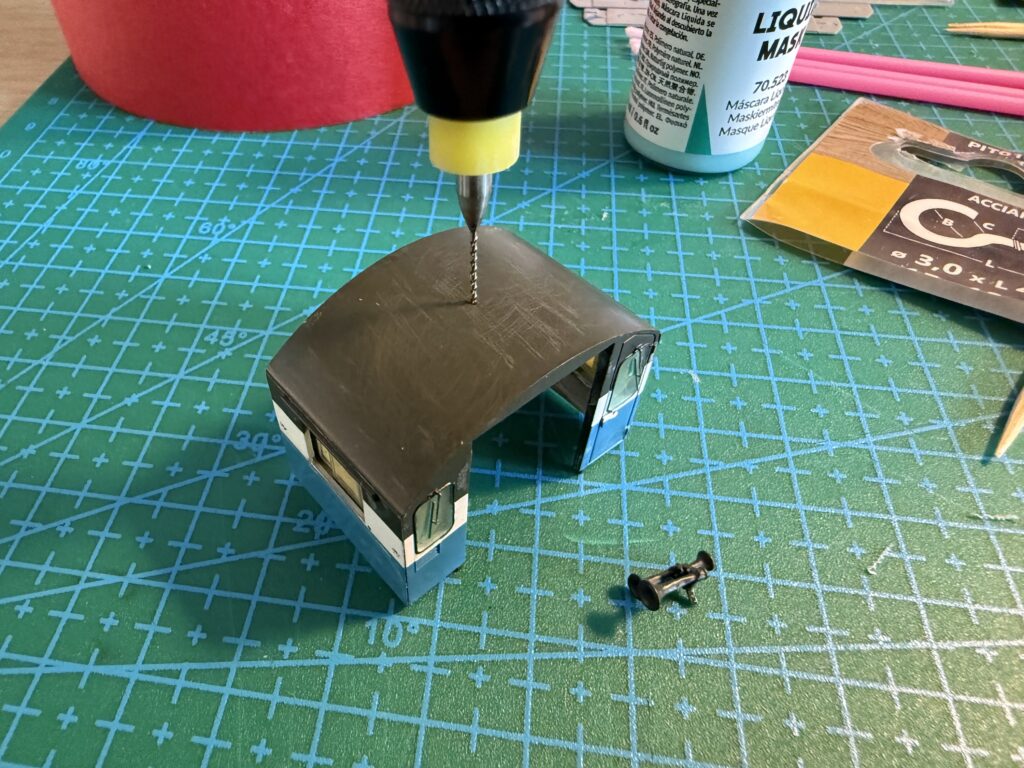
Afterwards, I installed sun shades and a Sinclair antenna on the cab. I used Cal Scale Superdetail sun shades and a Details West Sinclair antenna.
To mount them, I drilled holes in the cab with a hand drill and secured the parts in place with CA glue.
Then, I filled the small gaps between the sun shades and the cab with Vallejo Plastic Putty.
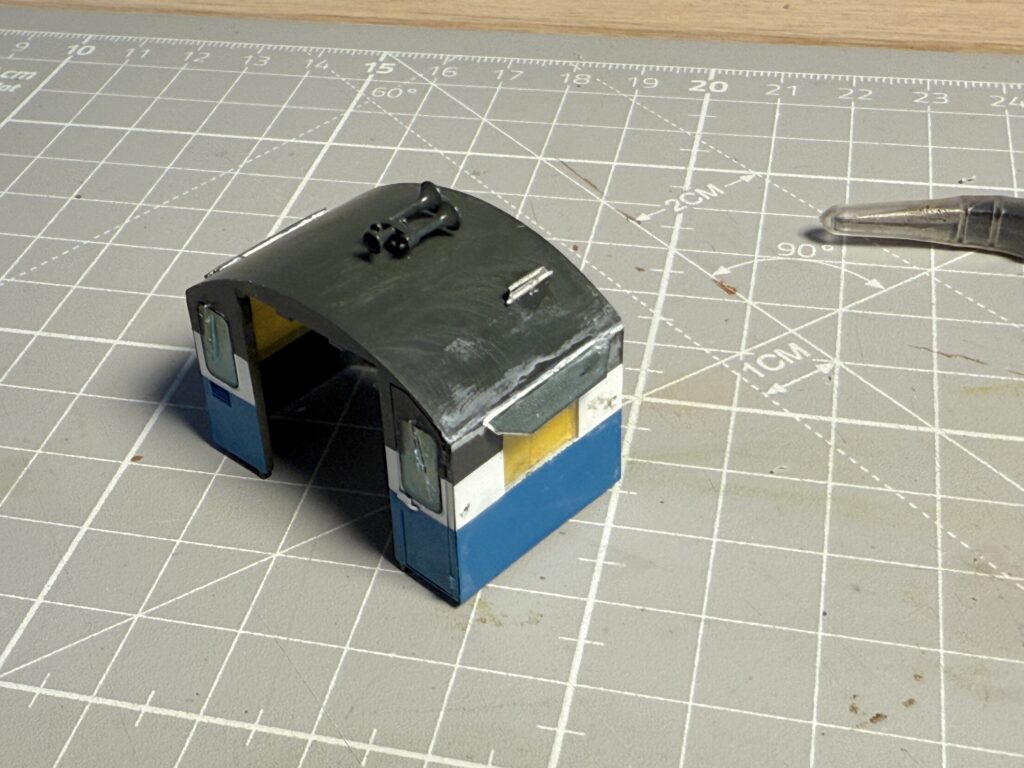
Next, I wet-sanded the sun shades and the cab roof to remove the excess CA glue and putty.
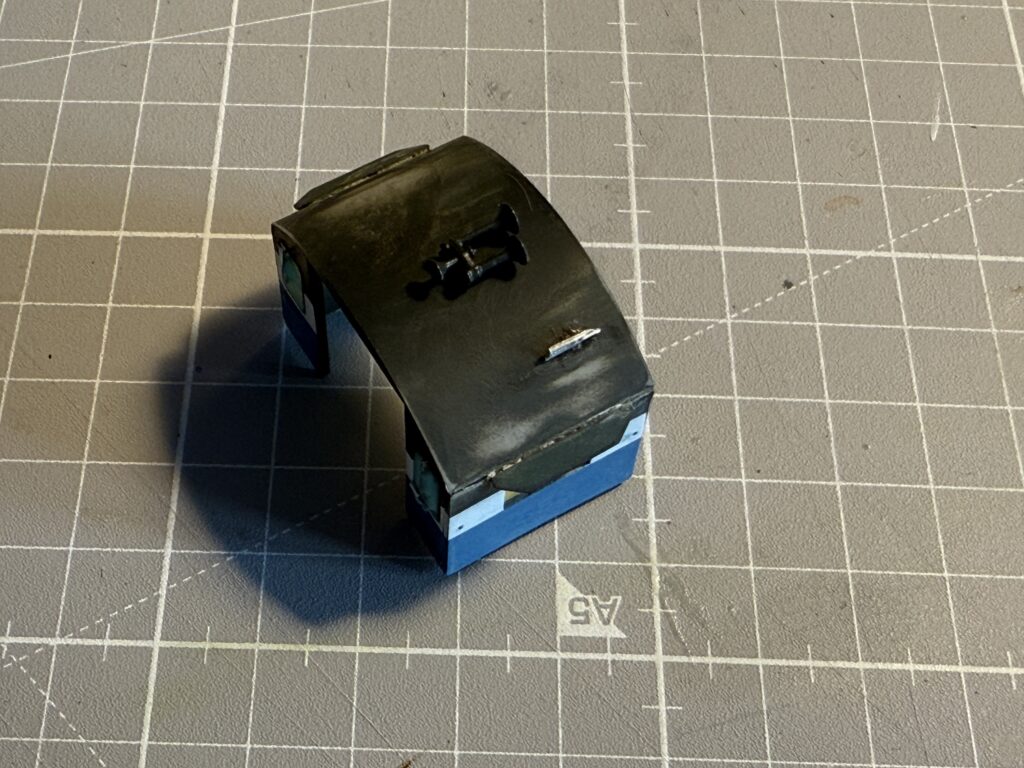
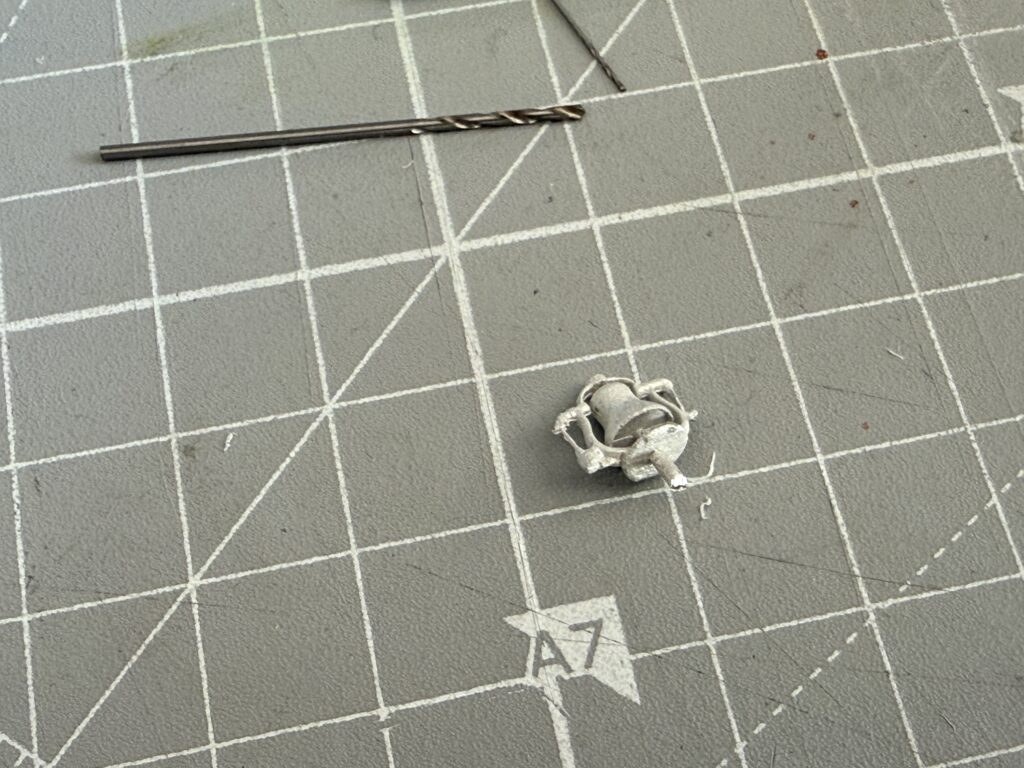
The last detail part I added was the bell. After removing the original nose bell, I installed a Details West roof-mount bell by drilling a hole with a pin vise and securing it with a drop of CA glue.
Repainting a GP9
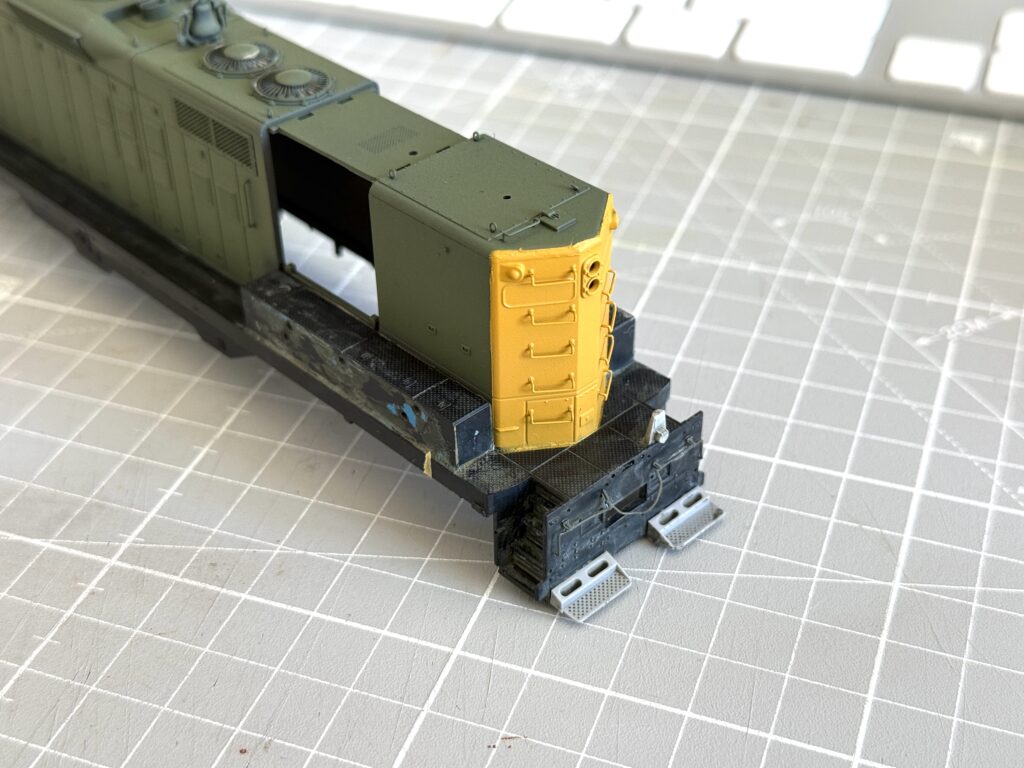
Then, I painted the front and rear Vallejo Yellow Ochre (70.913) with an airbrush.
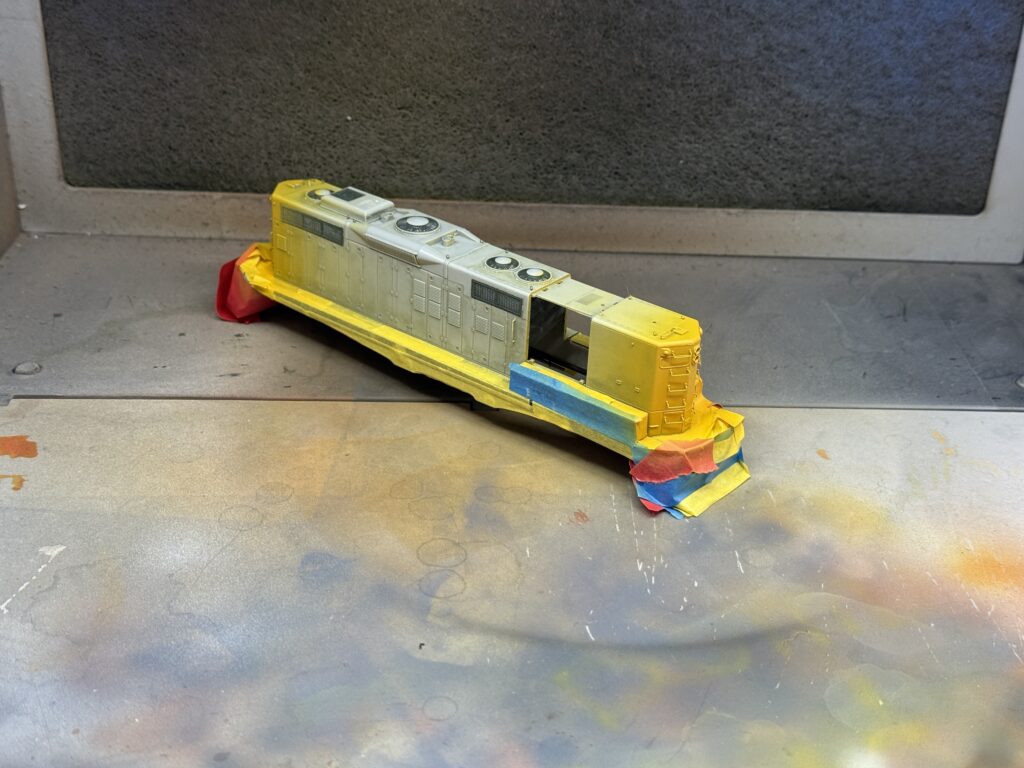
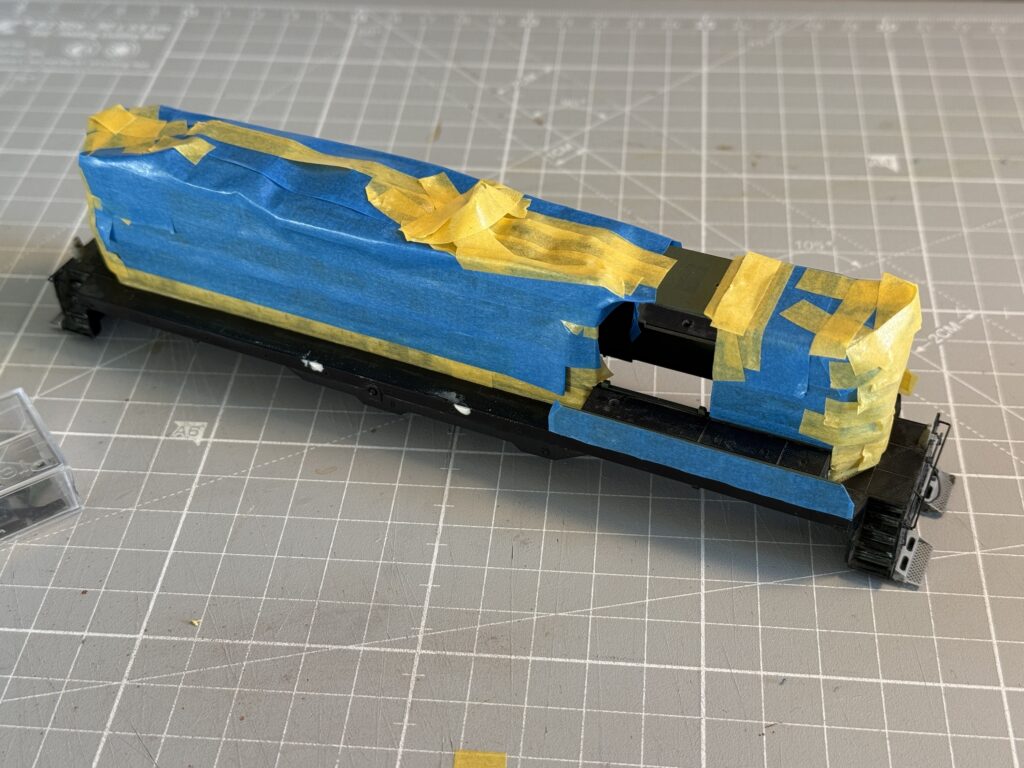
After letting the yellow paint dry completely, I waited a couple of days. Then I masked the front and rear to prime and paint the rest of the shell. Since tests on scrap shells gave better results than White Primer, I opted to use Vallejo Black Primer.
Priming
I started priming the cab and handrails with Vallejo Black Primer. I find it works best when I mix two parts paint with one part Vallejo Airbrush Flow Improver, without adding any thinner.

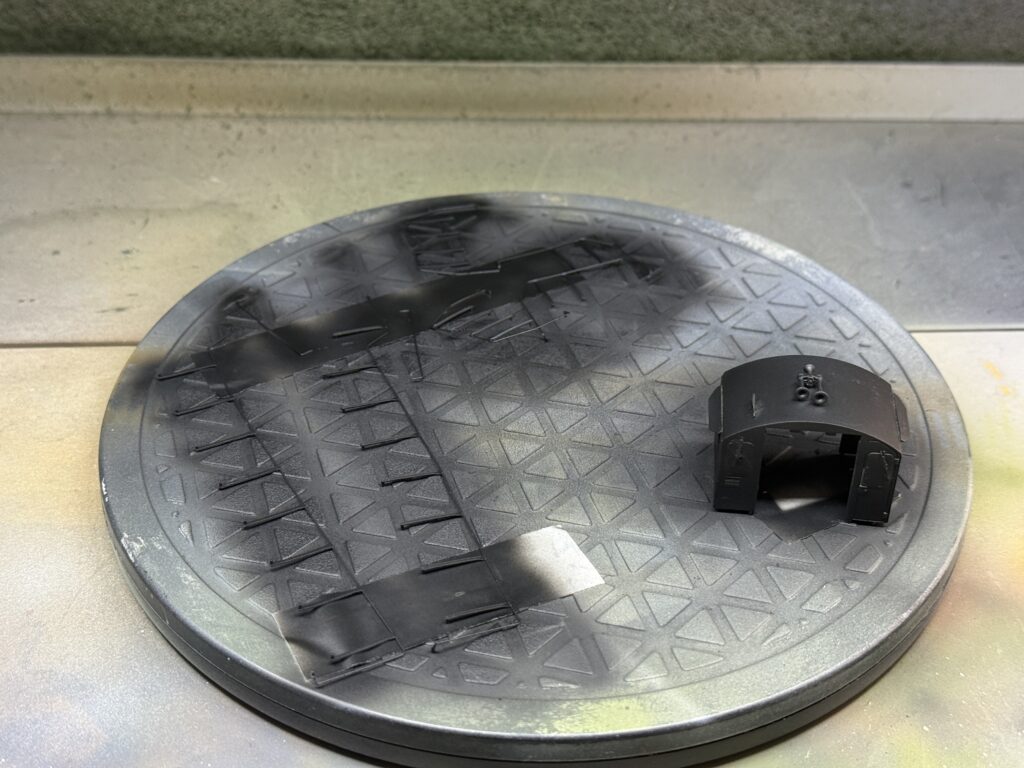
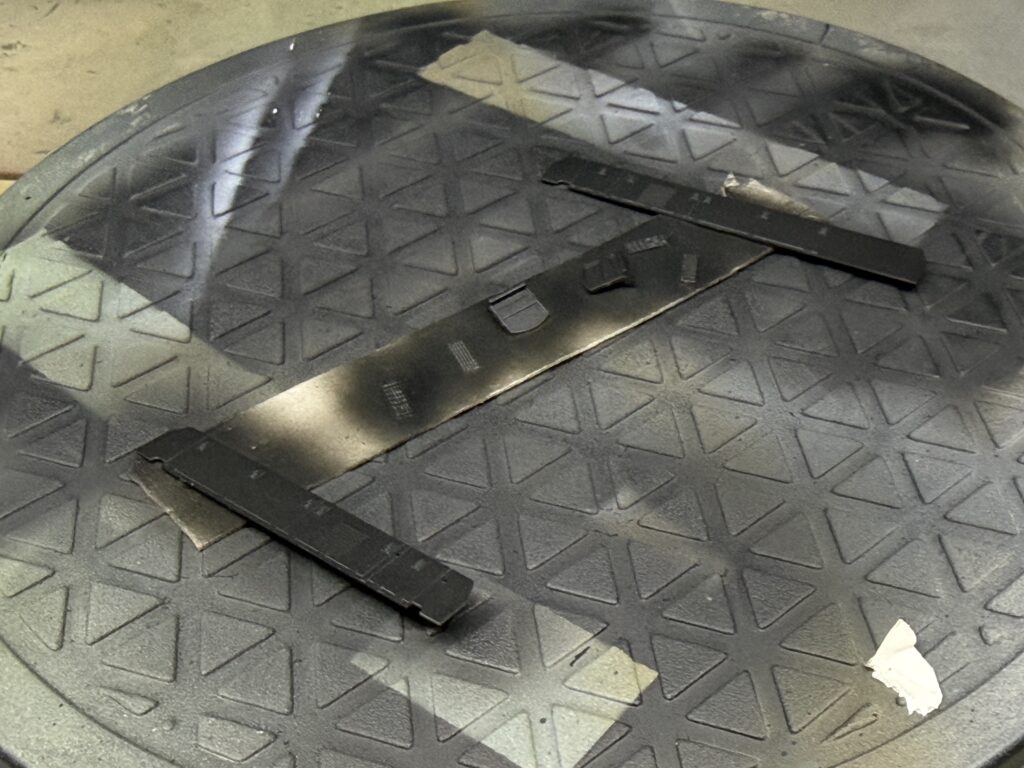
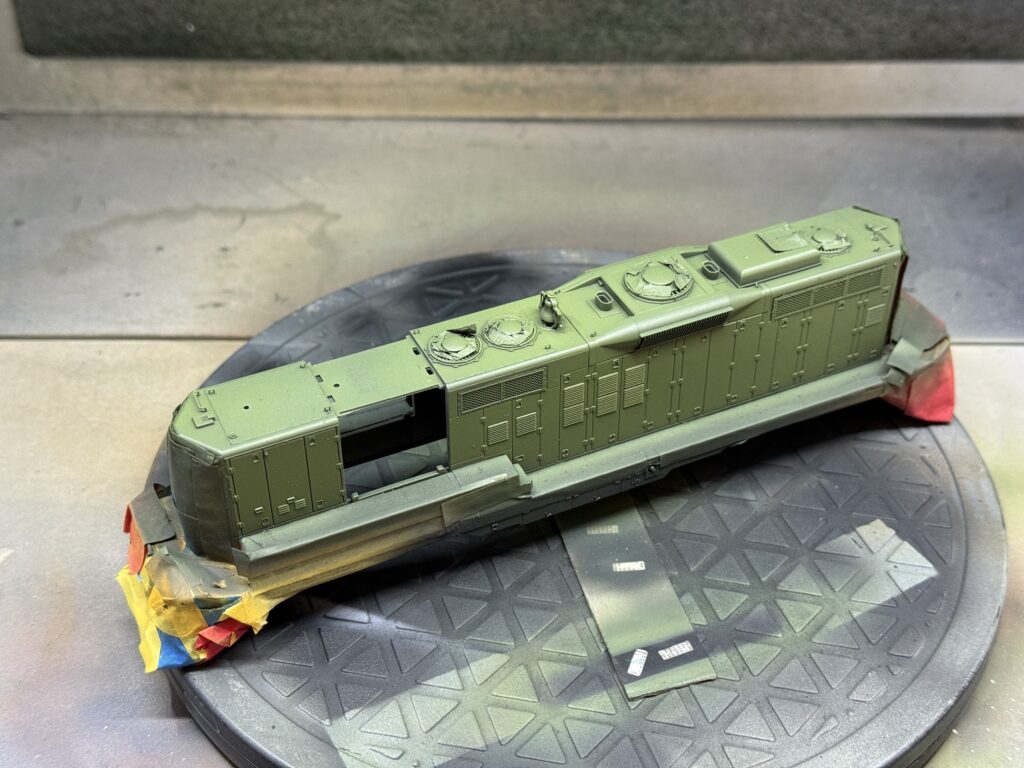
After that, I primed the entire shell along with a few detail parts that I had removed during disassembly.
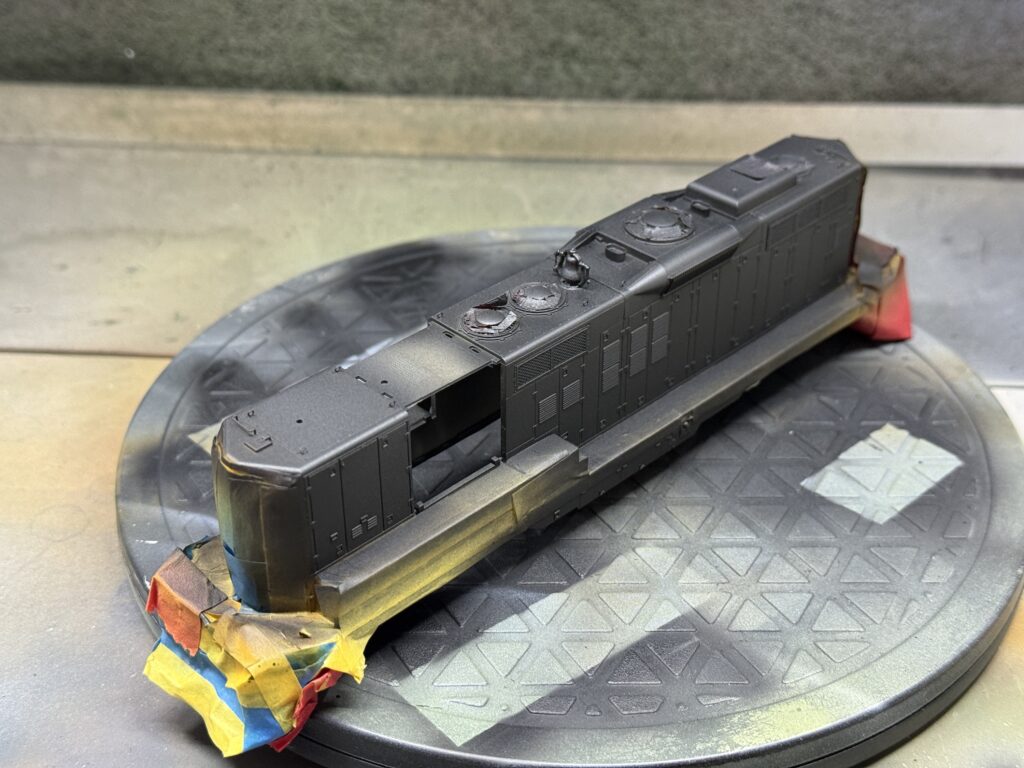
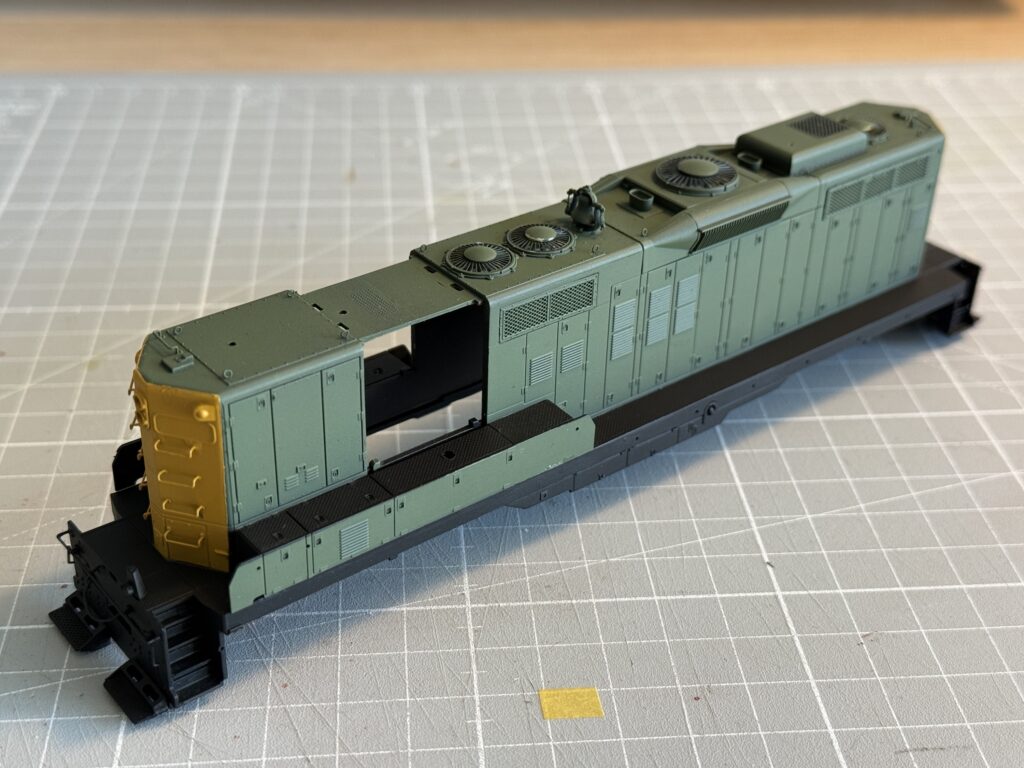
After the black primer had dried, I airbrushed the shell with Vallejo RLM62 Green as the final color. I mixed the paint at a 2:1 ratio, using two parts paint to one part Vallejo Airbrush Flow Improver.
Demasking took a while and revealed that a few touch-ups are necessary.
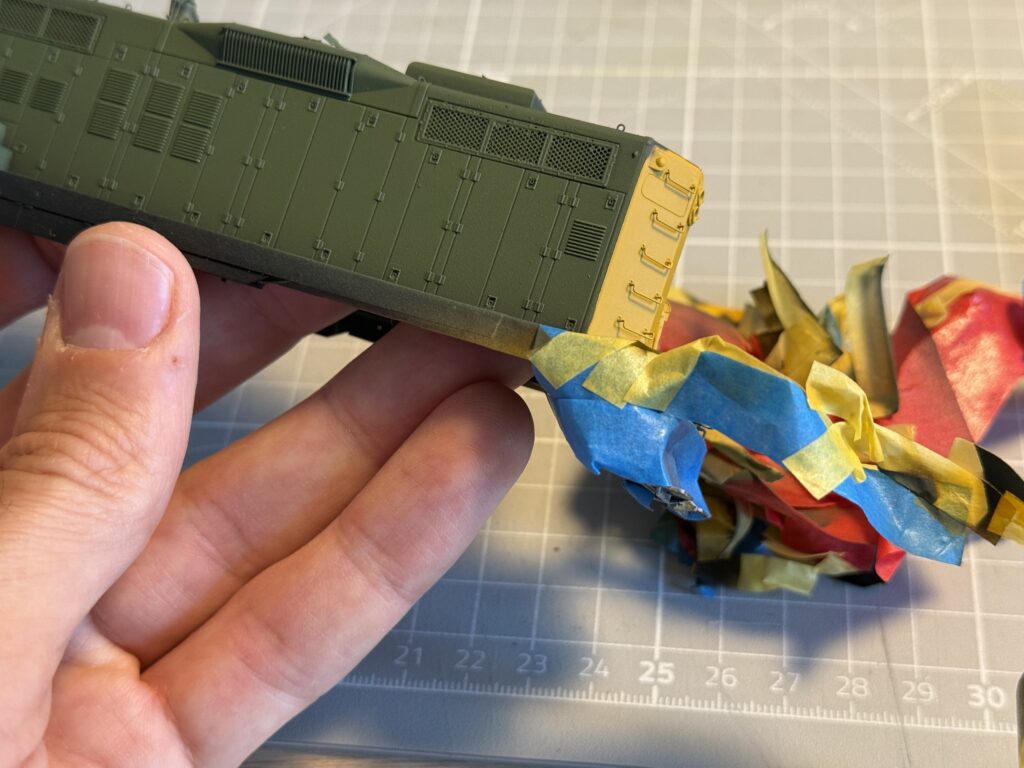
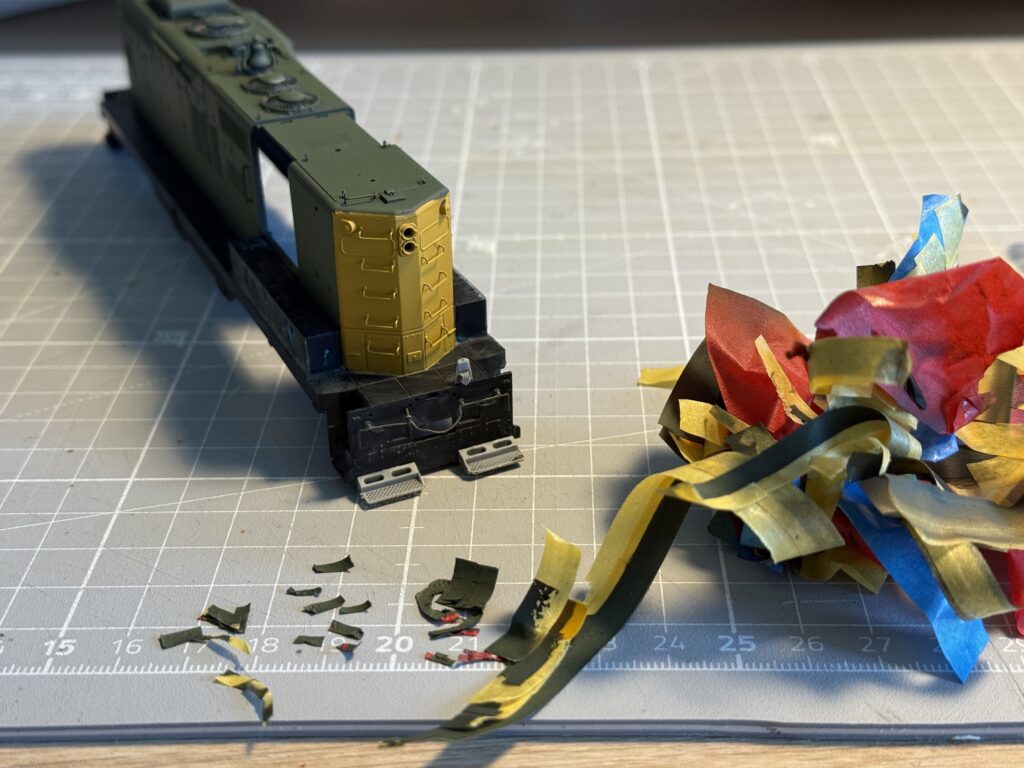
So, I carefully re-masked both noses and airbrushed another coat of Vallejo Yellow Ochre. This is the best result I could achieve with my current skills.
I then carefully reassembled some of the detail parts that I had removed before stripping the paint. The remaining pieces will be installed in the next steps.
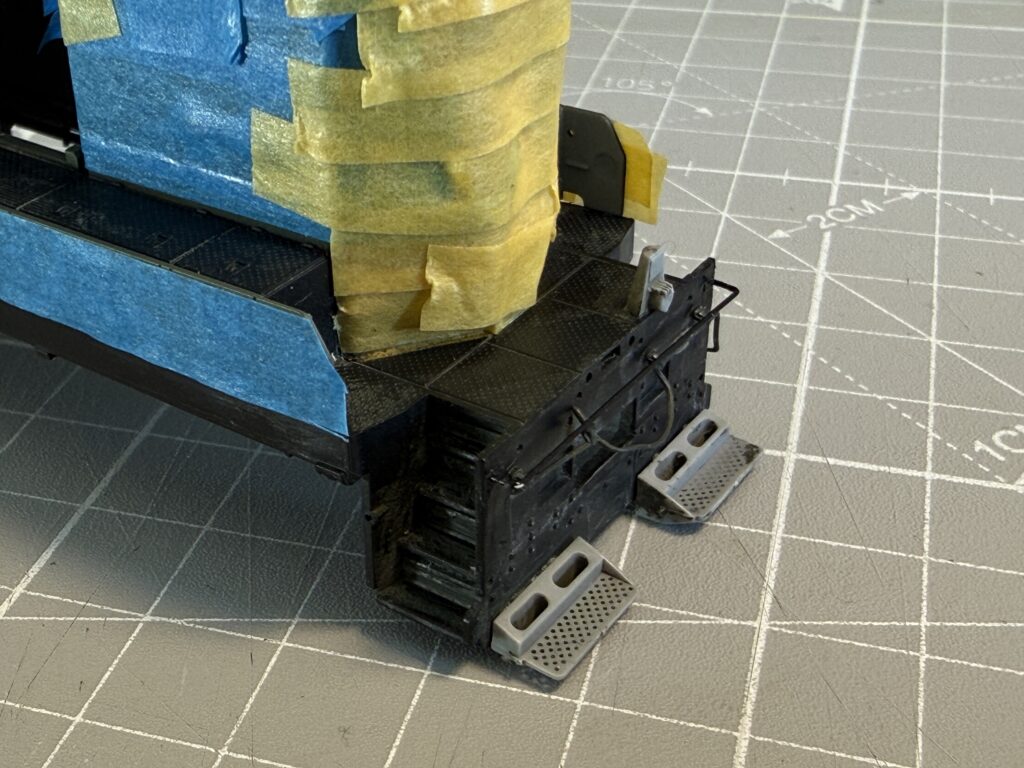
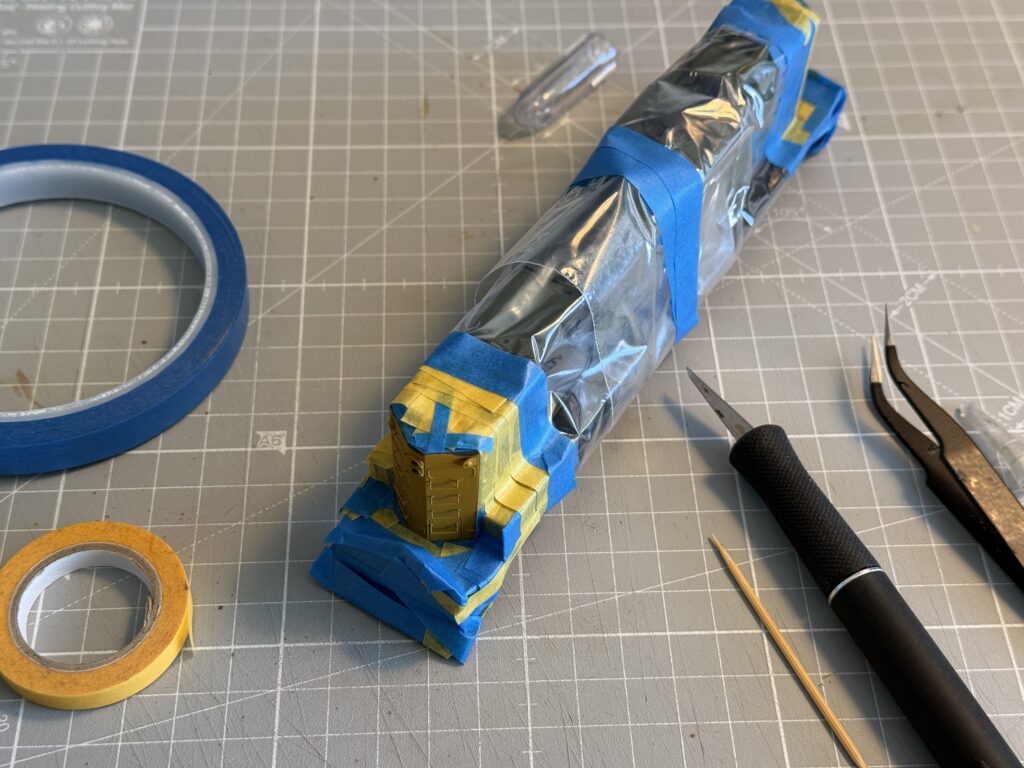
The next step was masking the locomotive again to paint the front and rear pilots, along with the sides, using Vallejo Black Primer.
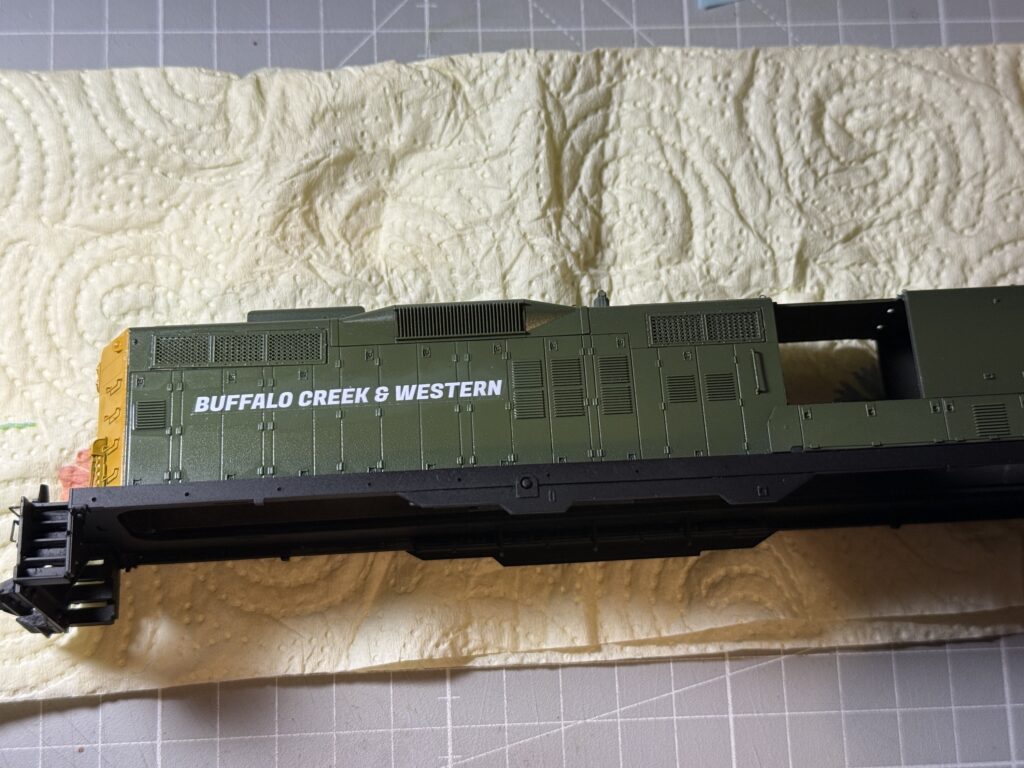
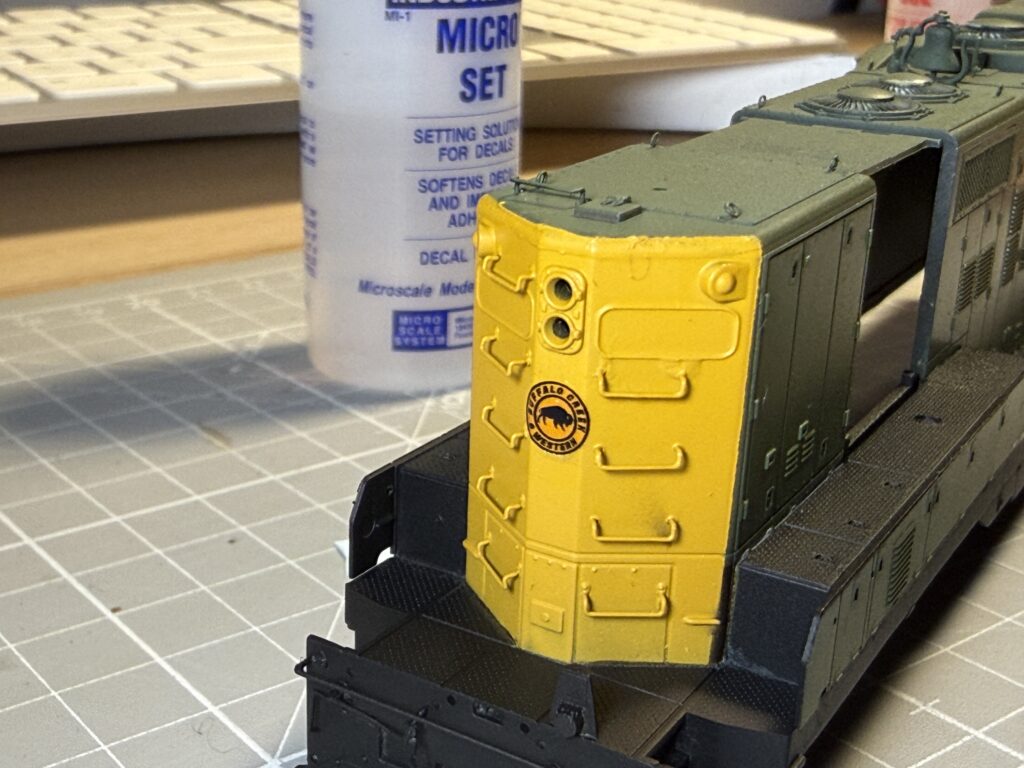
Repainting and Lettering a GP9
I applied a coat of Vallejo Gloss Polyurethane Varnish (72.650) before adding the decals. After placing the Buffalo Creek & Western lettering and logo, I sealed everything with a final coat of Vallejo Matt Polyurethane Varnish (72.651).
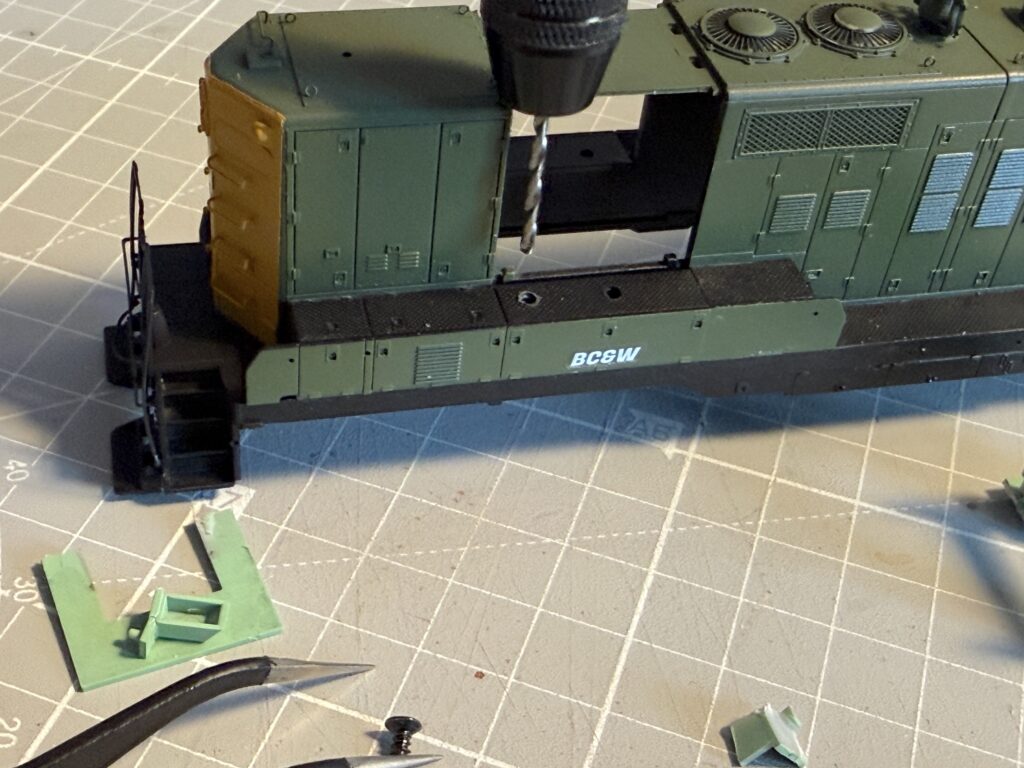
Before reassembling the cab, I converted the cab interior for short-hood-forward operation. I trimmed a few sections of the cab interior to fit it properly over the chassis and drilled new holes to secure the cab to the shell.
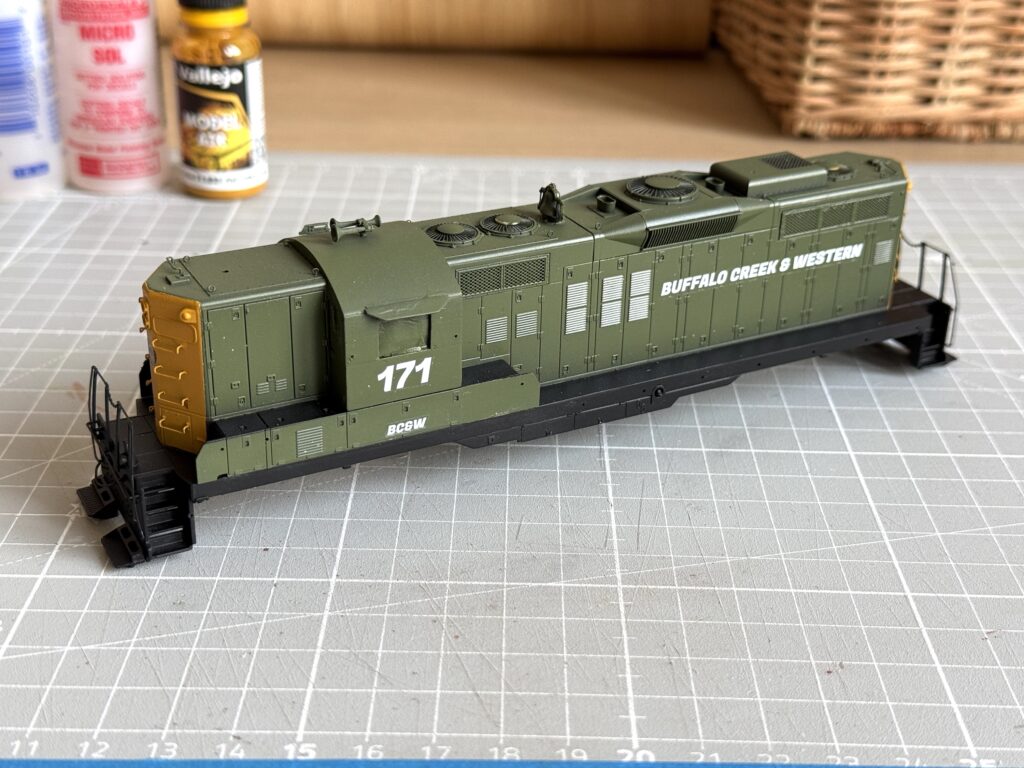
I kept all the handrails black but painted the sections near the steps in yellow on both ends.
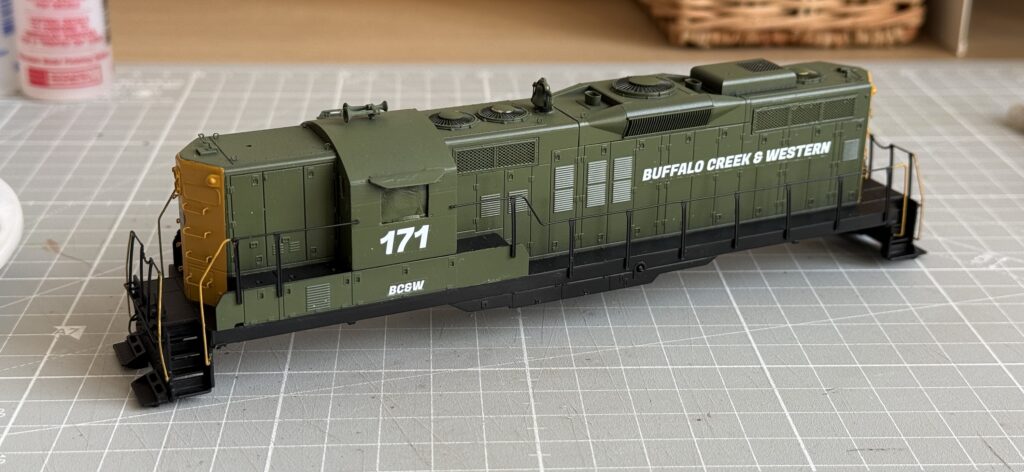
Here is the shell ready for weathering. Since the layout is set in 1985, the locomotive will show some signs of age and service.
Planning Phase

Testing the track plan
You May Also Like
Weathering a Covered Hopper
Freight Cars Weathering Videos