Anderson Grain Co. Elevator Part I
Building and customizing a Walthers Cornerstone kit for the Anderson Grain Co. grain elevator.
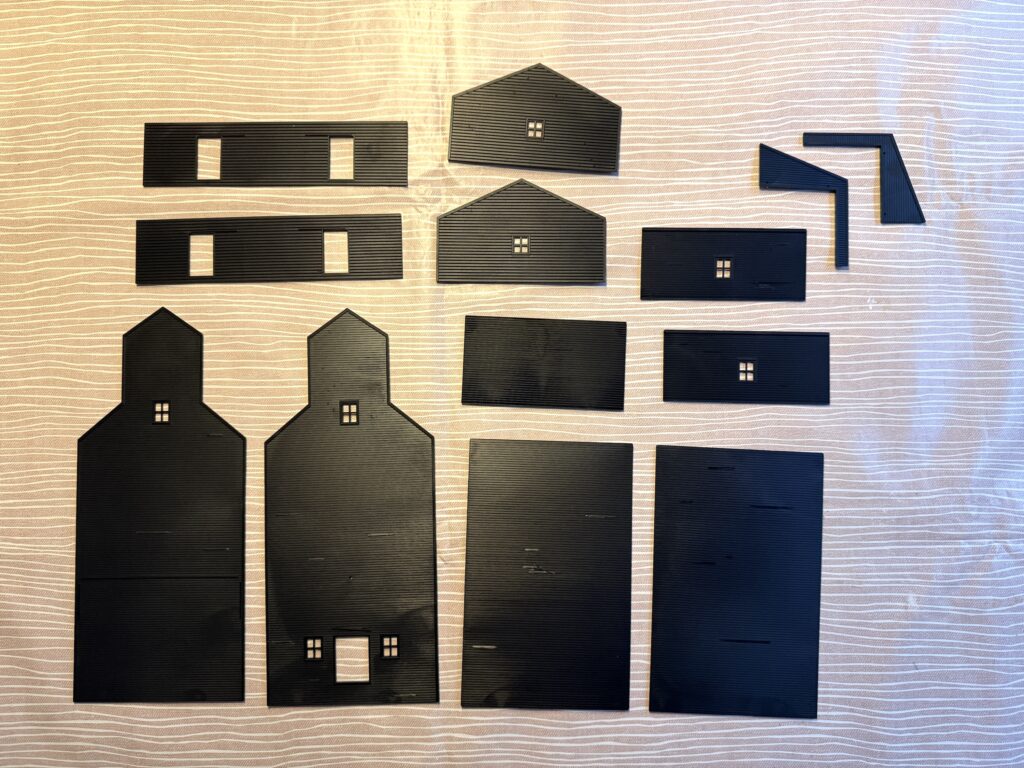
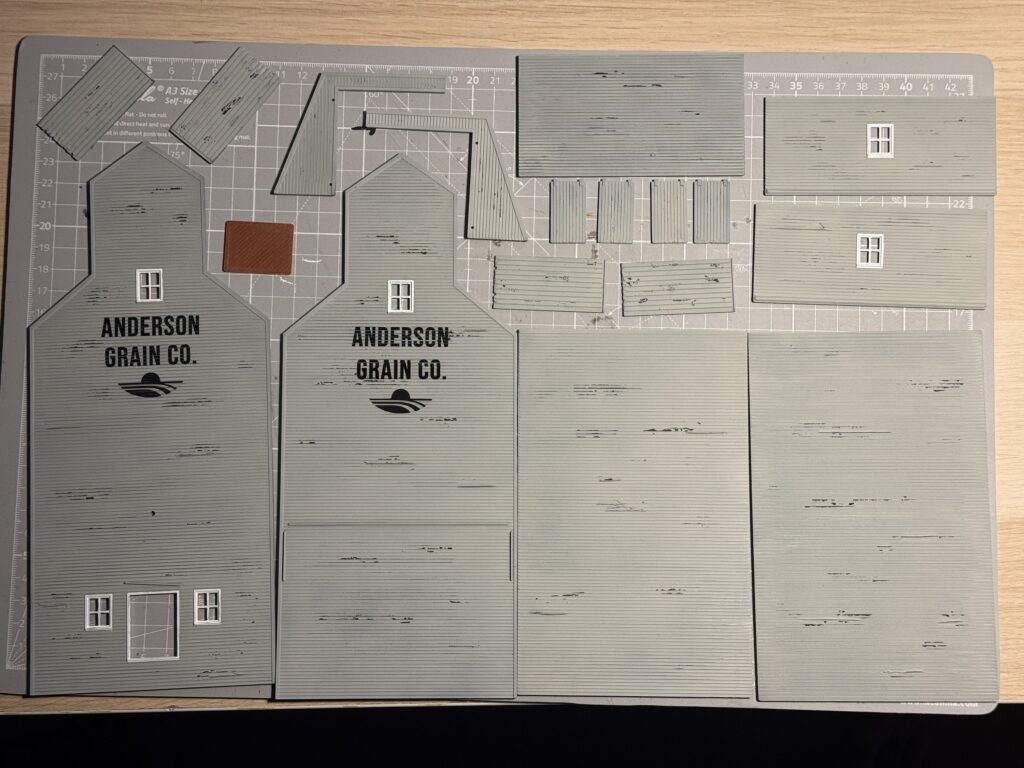
Bulding the Anderson Grain Co. elevator using a Walthers Cornerstone 933-3036 Farmers Cooperative Rural Grain Elevator kit.
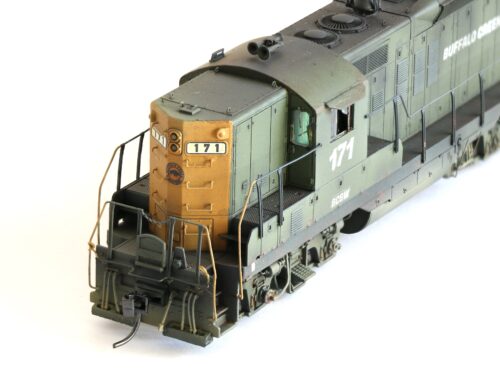
This elevator on the BC&W layout is still a wooden crib structure. It has been expanded with a few corrugated metal bins over the years since it was built in the late 1920s. I used the Walthers kit as the base for the main structure.

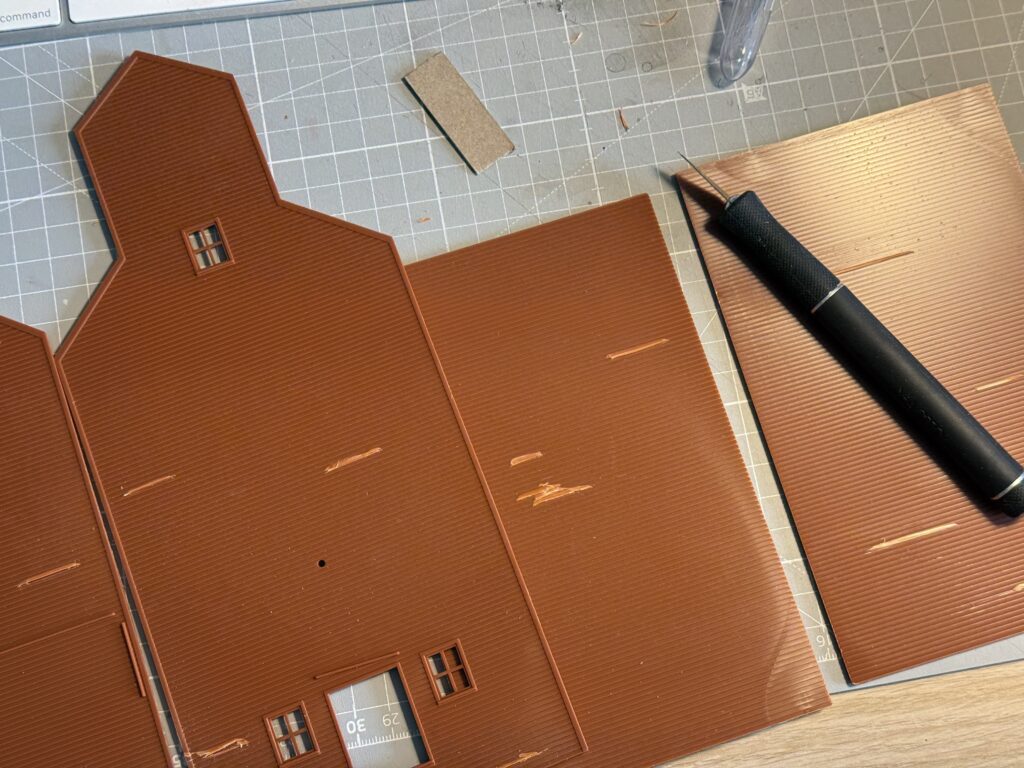
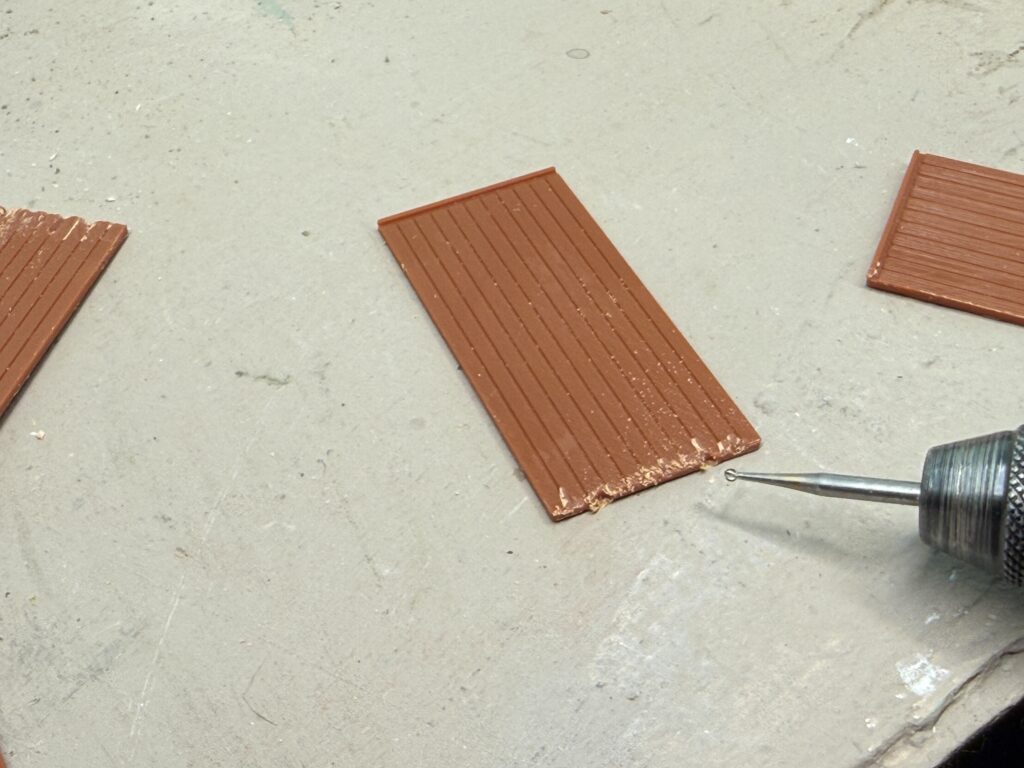
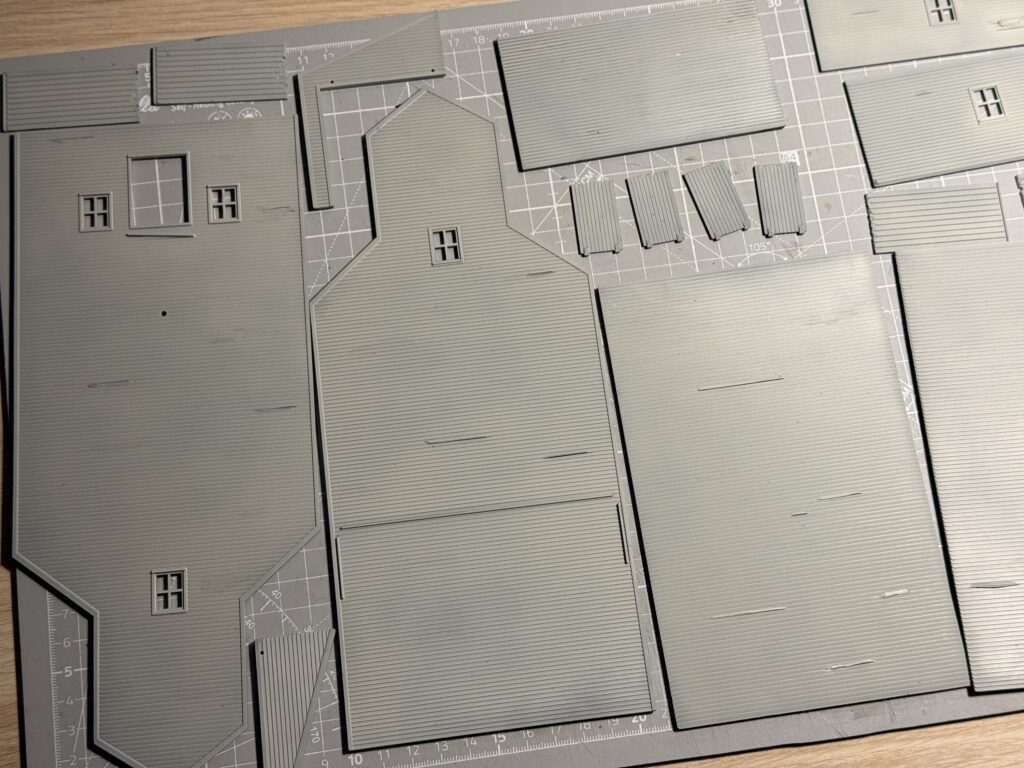
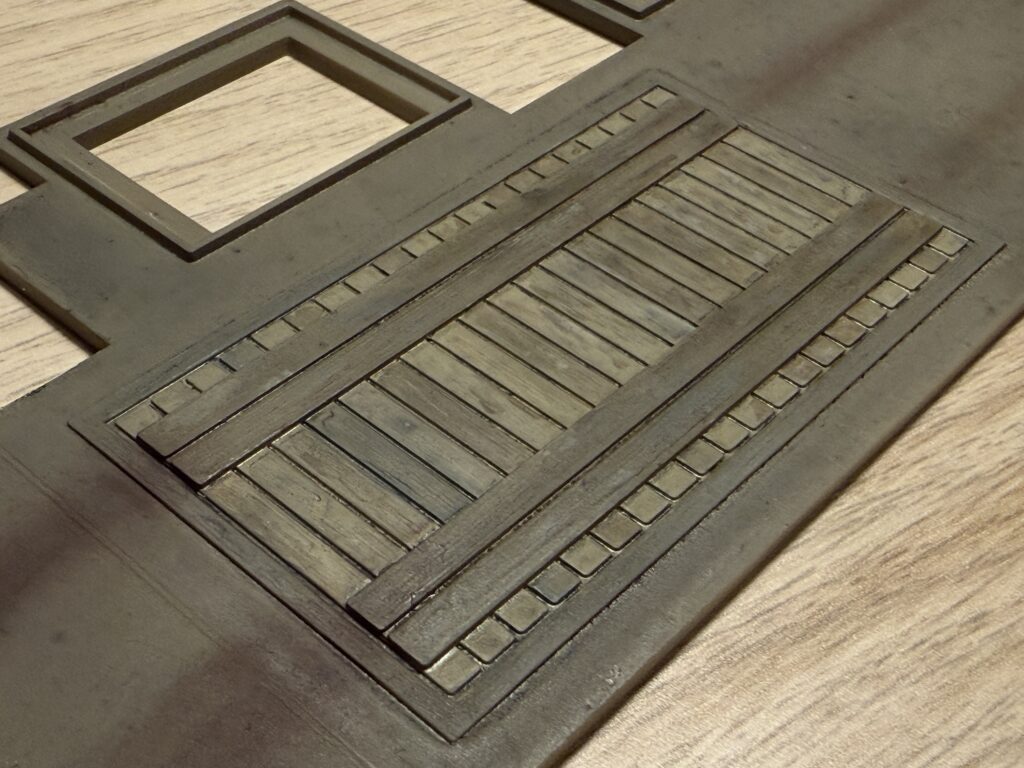
I started by intentionally damaging some of the wood panels. This simulates the effects of age and weather on the old building. I used a sharp razor blade and a hobby knife with a #11 blade for this step. The razor blade worked best for this kind of detail work.
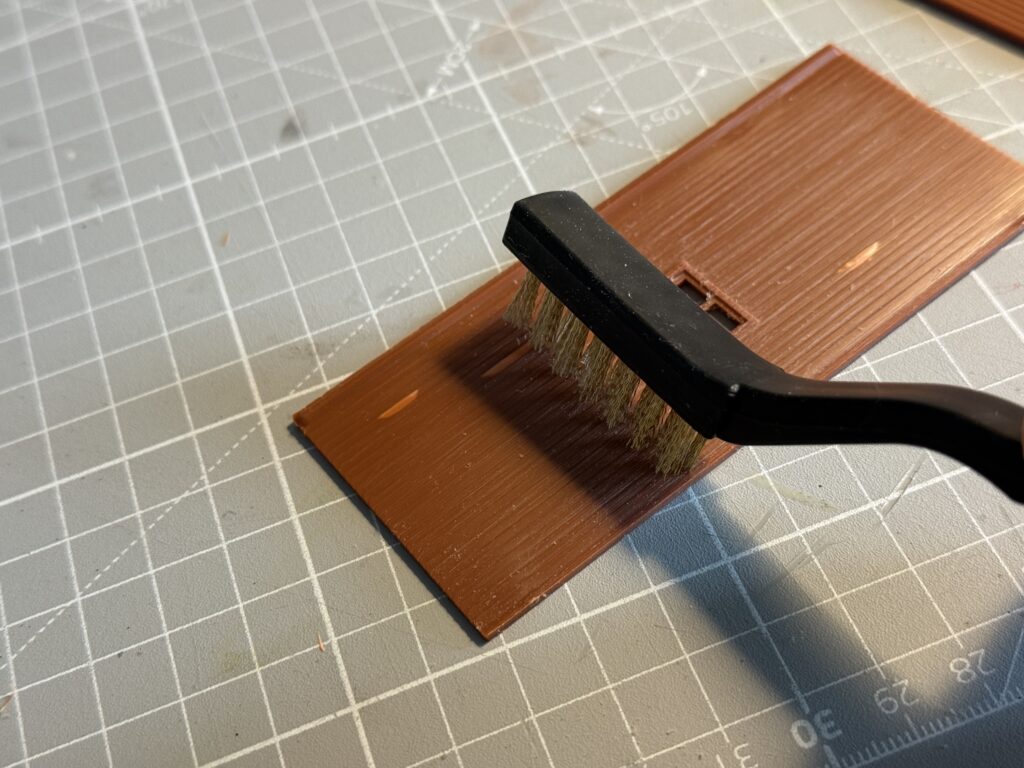
Afterwards, I wire-brushed all the walls with a brass brush to add texture to the plastic.
I also distressed the lower portions of the doors using a Dremel tool with a fine milling bit.
Then, I primed all the parts with flat black acrylic spray paint and painted the roof with Vallejo Aluminum (Metallic) 71.062.
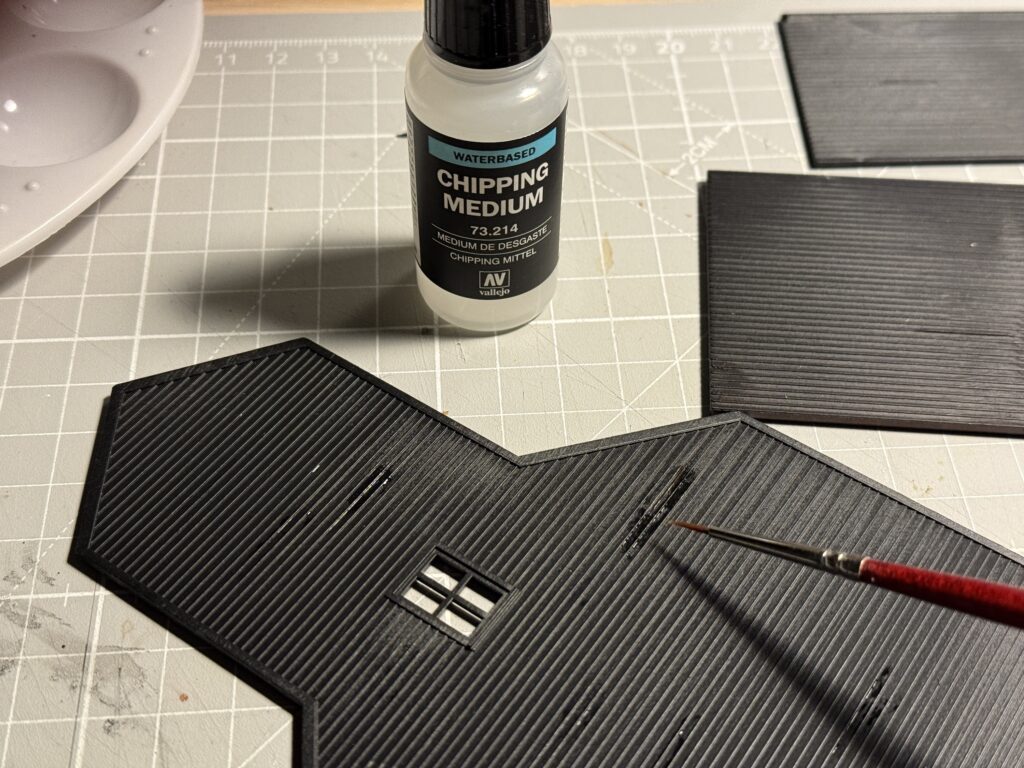
Before painting the structure with its final color, I hand-painted a few areas with Vallejo Chipping Medium 73.214 to simulate peeling paint.
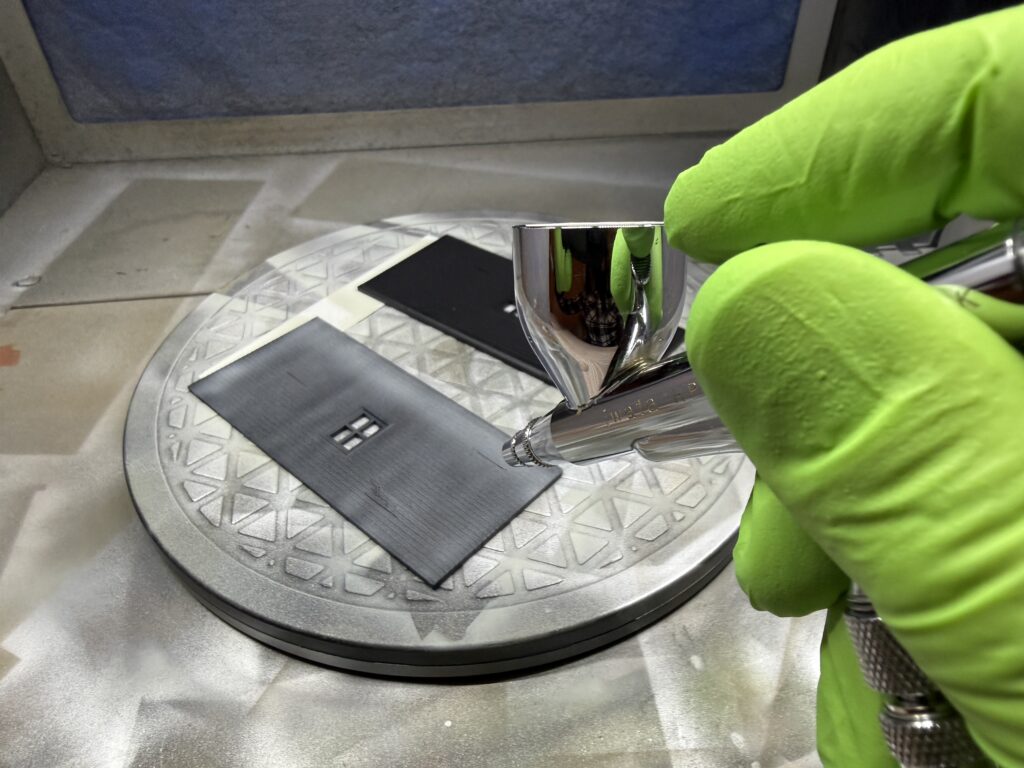
Then, I airbrushed all the exterior walls with Vallejo Light Gull Gray 71.121 using my Iwata airbrush.
After letting the paint dry for 24 hours, I started the chipping process. I used a small flat paintbrush and applied a thin layer of water over the surface of the elevator walls.
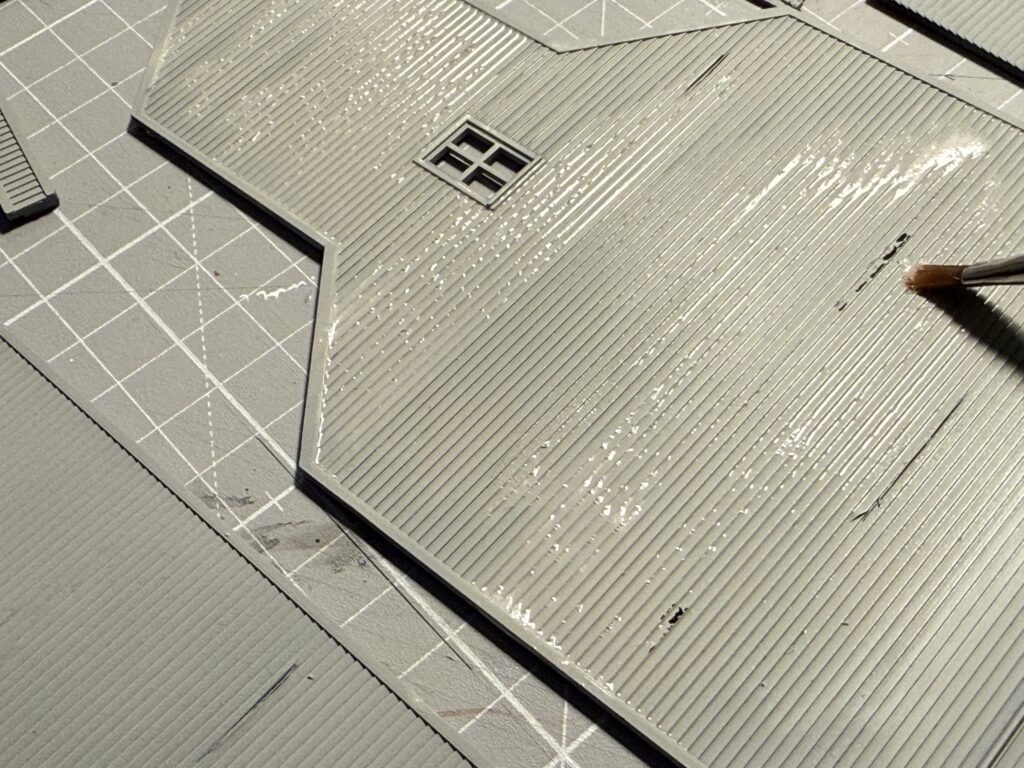
This reactivated the chipping medium under the paint. Then, I gently scrubbed the surface with the brush until the paint began to chip.
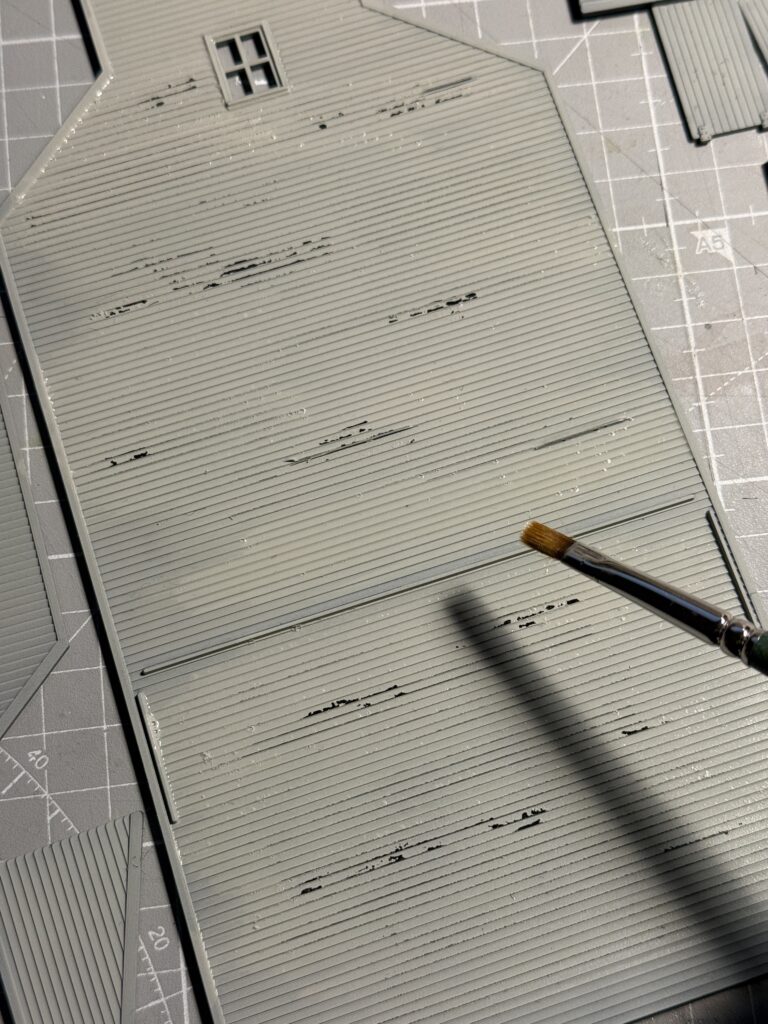
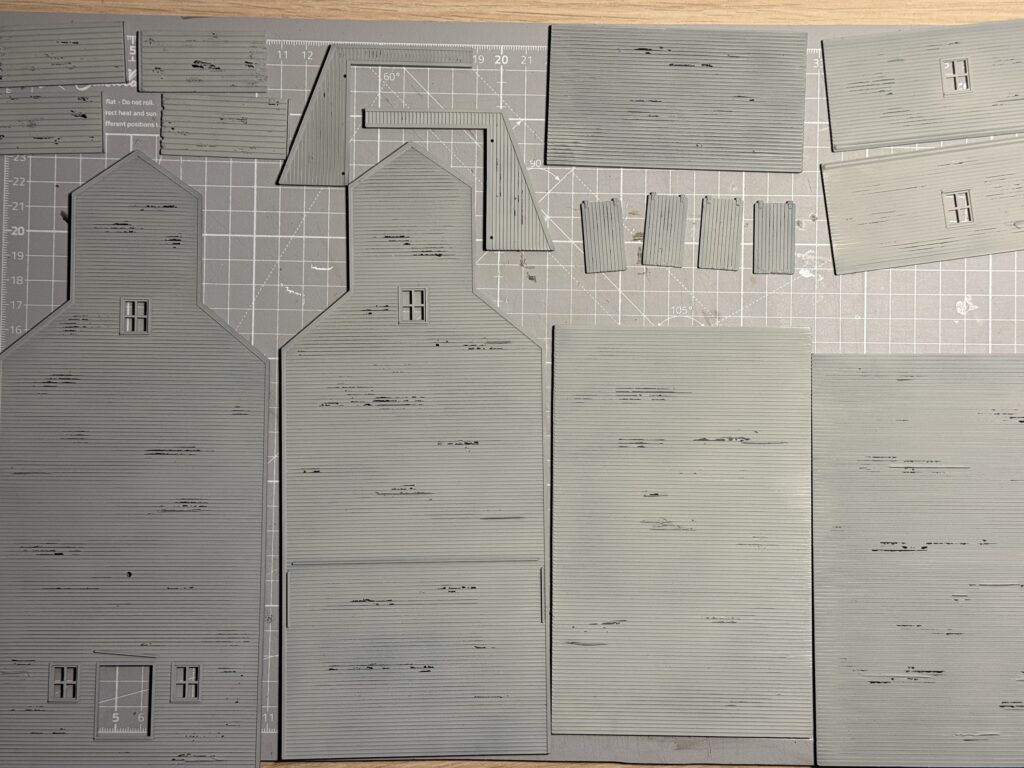
Since I had applied the chipping medium only in small areas, the peeling paint effect was limited to those spots.
To avoid overdoing, I stopped scrubbing at the exact moment my mind said, “just one more.”
Lettering and Weathering
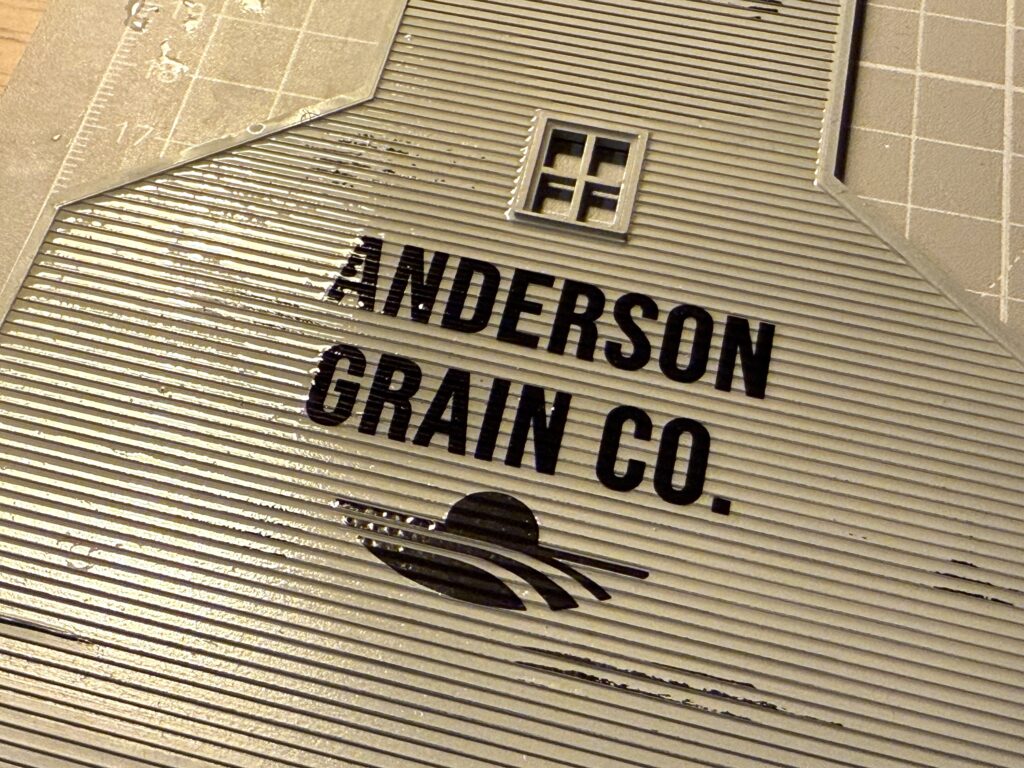
After scrubbing the paint, I let the surface dry. Then, I applied custom-made decals to the front and back of the elevator’s main building. The decals represent the Anderson Grain Co. name and its 1980s logo.
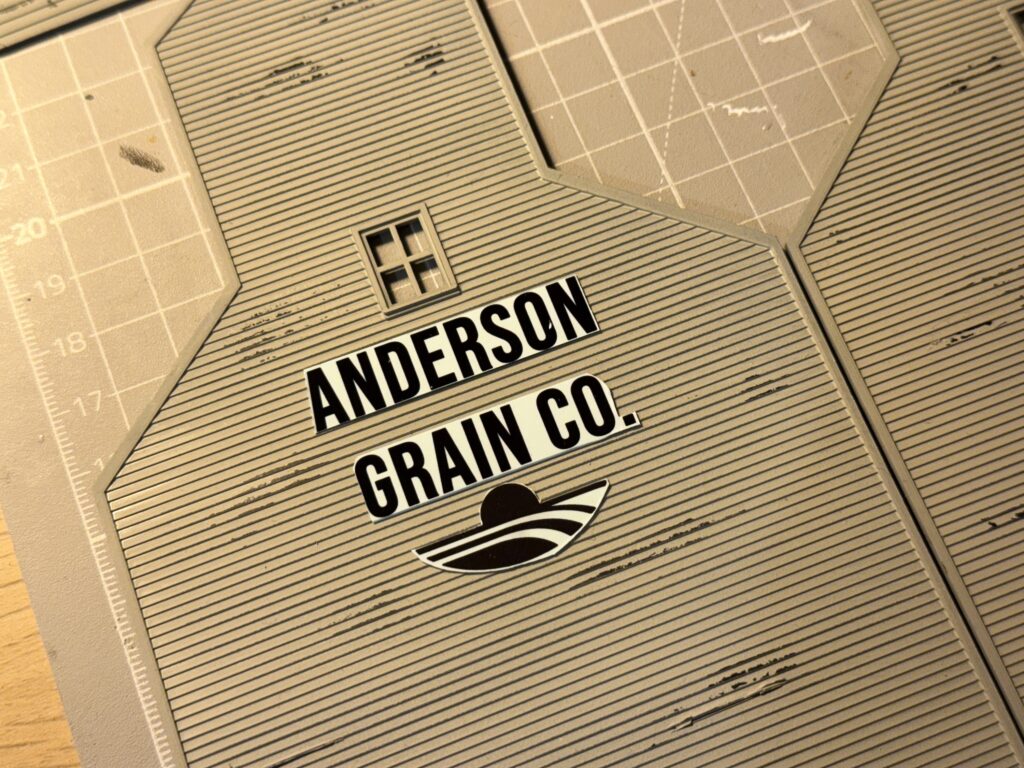
I prepared the surface with Microscale Micro Set before applying the decals. Afterwards, I brushed on a layer of Micro Sol to help them conform to the elevator’s clapboard texture. I let it dry and repeated the process four or five times for the best result.
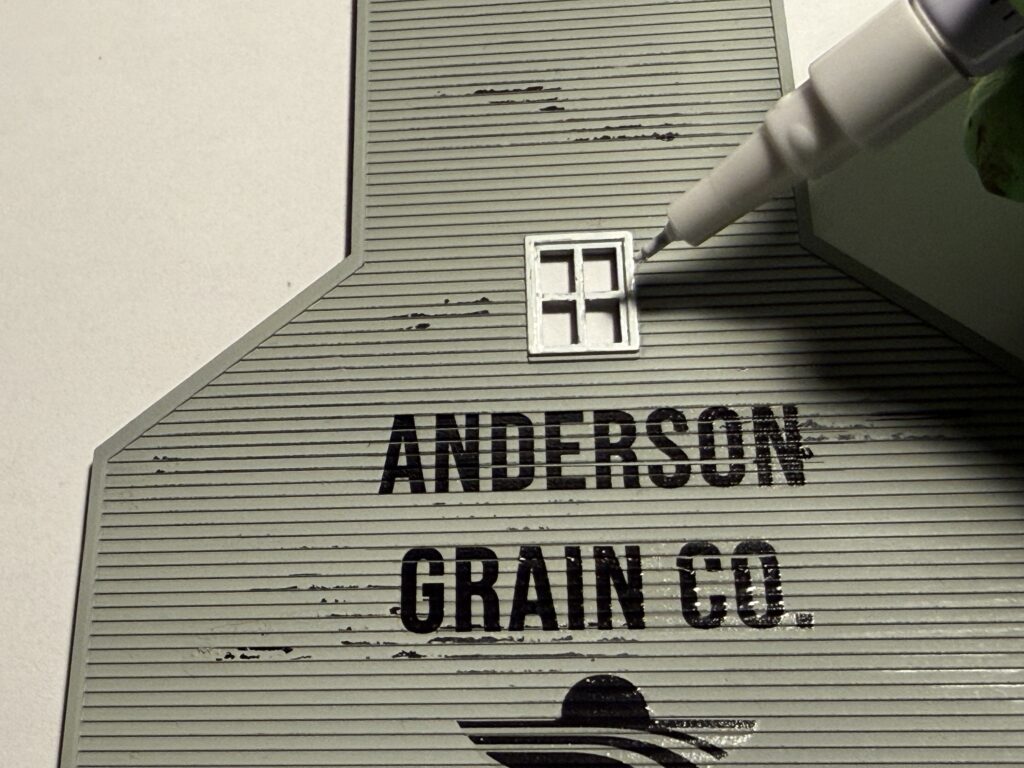
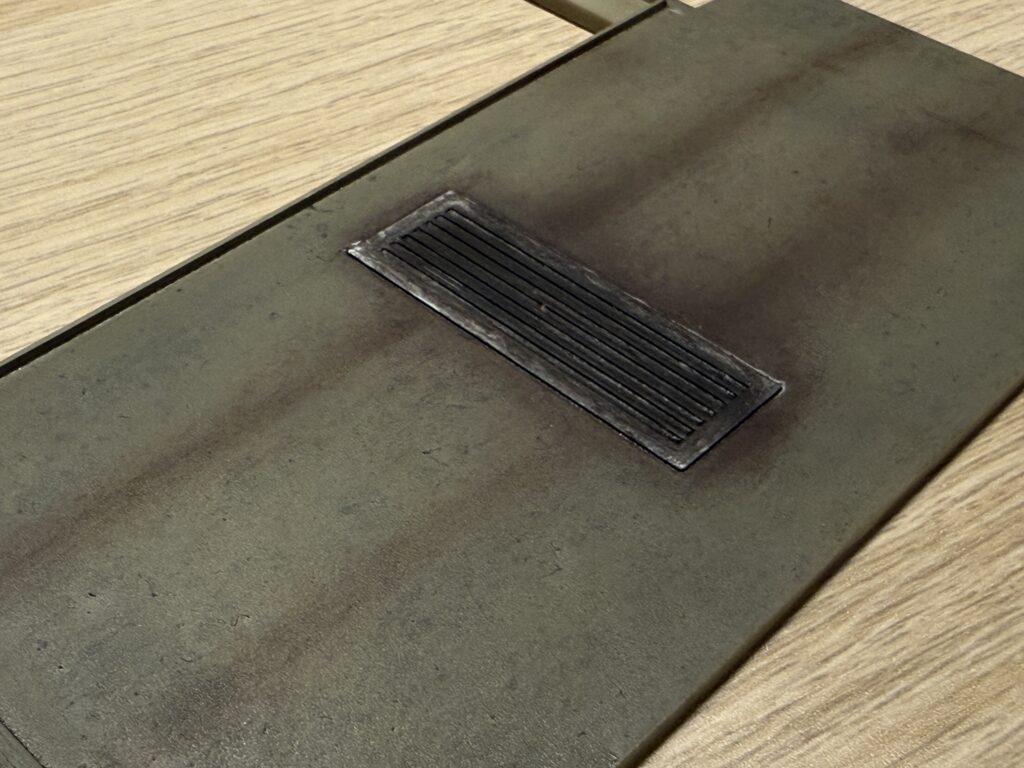
I used a white paint marker to paint the window frames and a silver one for the metal grill inside the unloading pit.

To paint the scale platform, I used a mix of Vallejo Model Air light grays and browns. For added realism, I varied the tones from board to board with a fine 10/0 paintbrush.
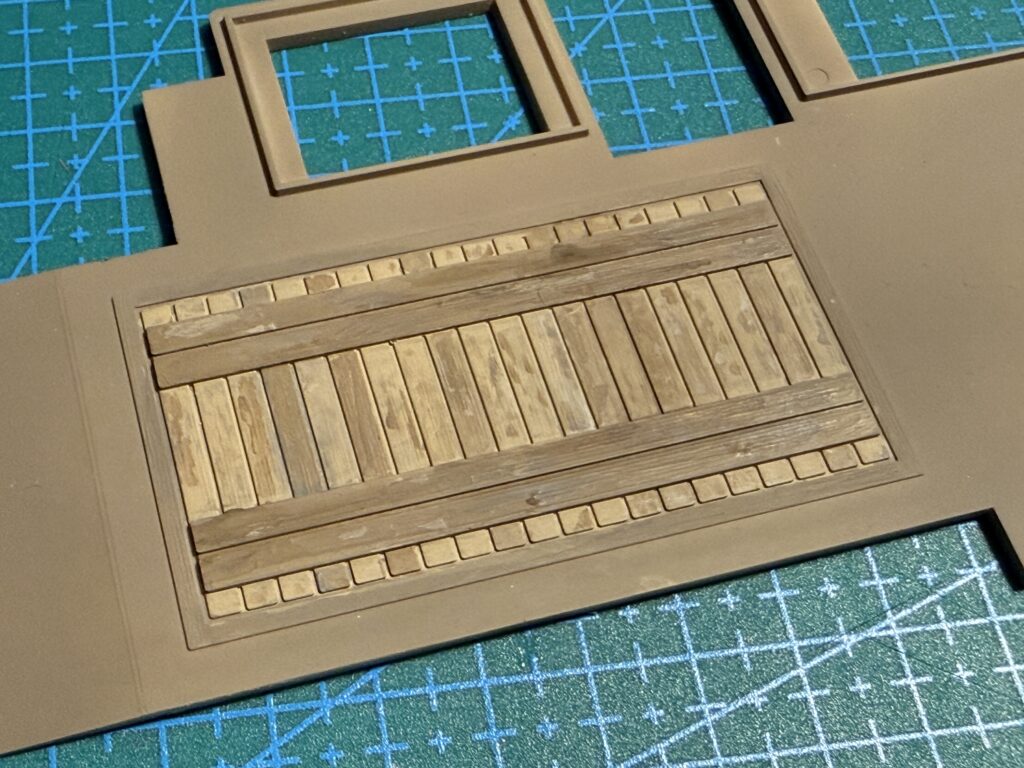
All the pieces are ready for the first test fit, and yes, I forgot to paint the front door.
I weathered the base using both acrylic washes and powdered pigments, then sealed everything with a flat clear spray can.

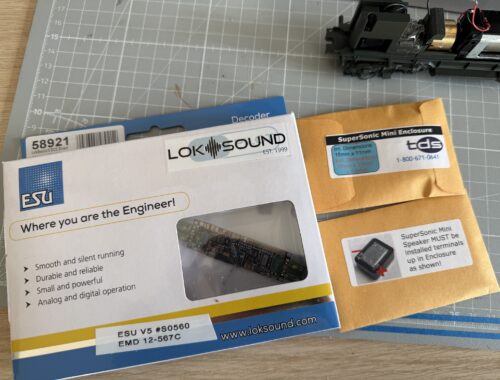
Afterwards, I prepared the lighting for the small scale building by installing a warm white LED with a 3.3 kΩ ¼ W resistor.

See related articles: