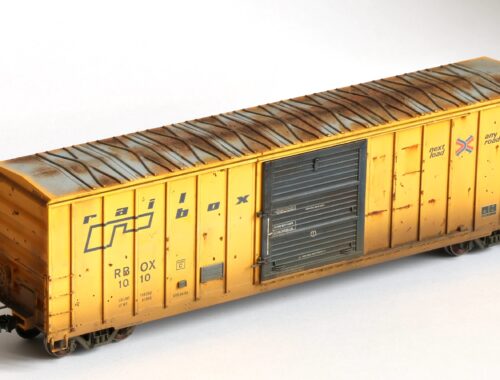
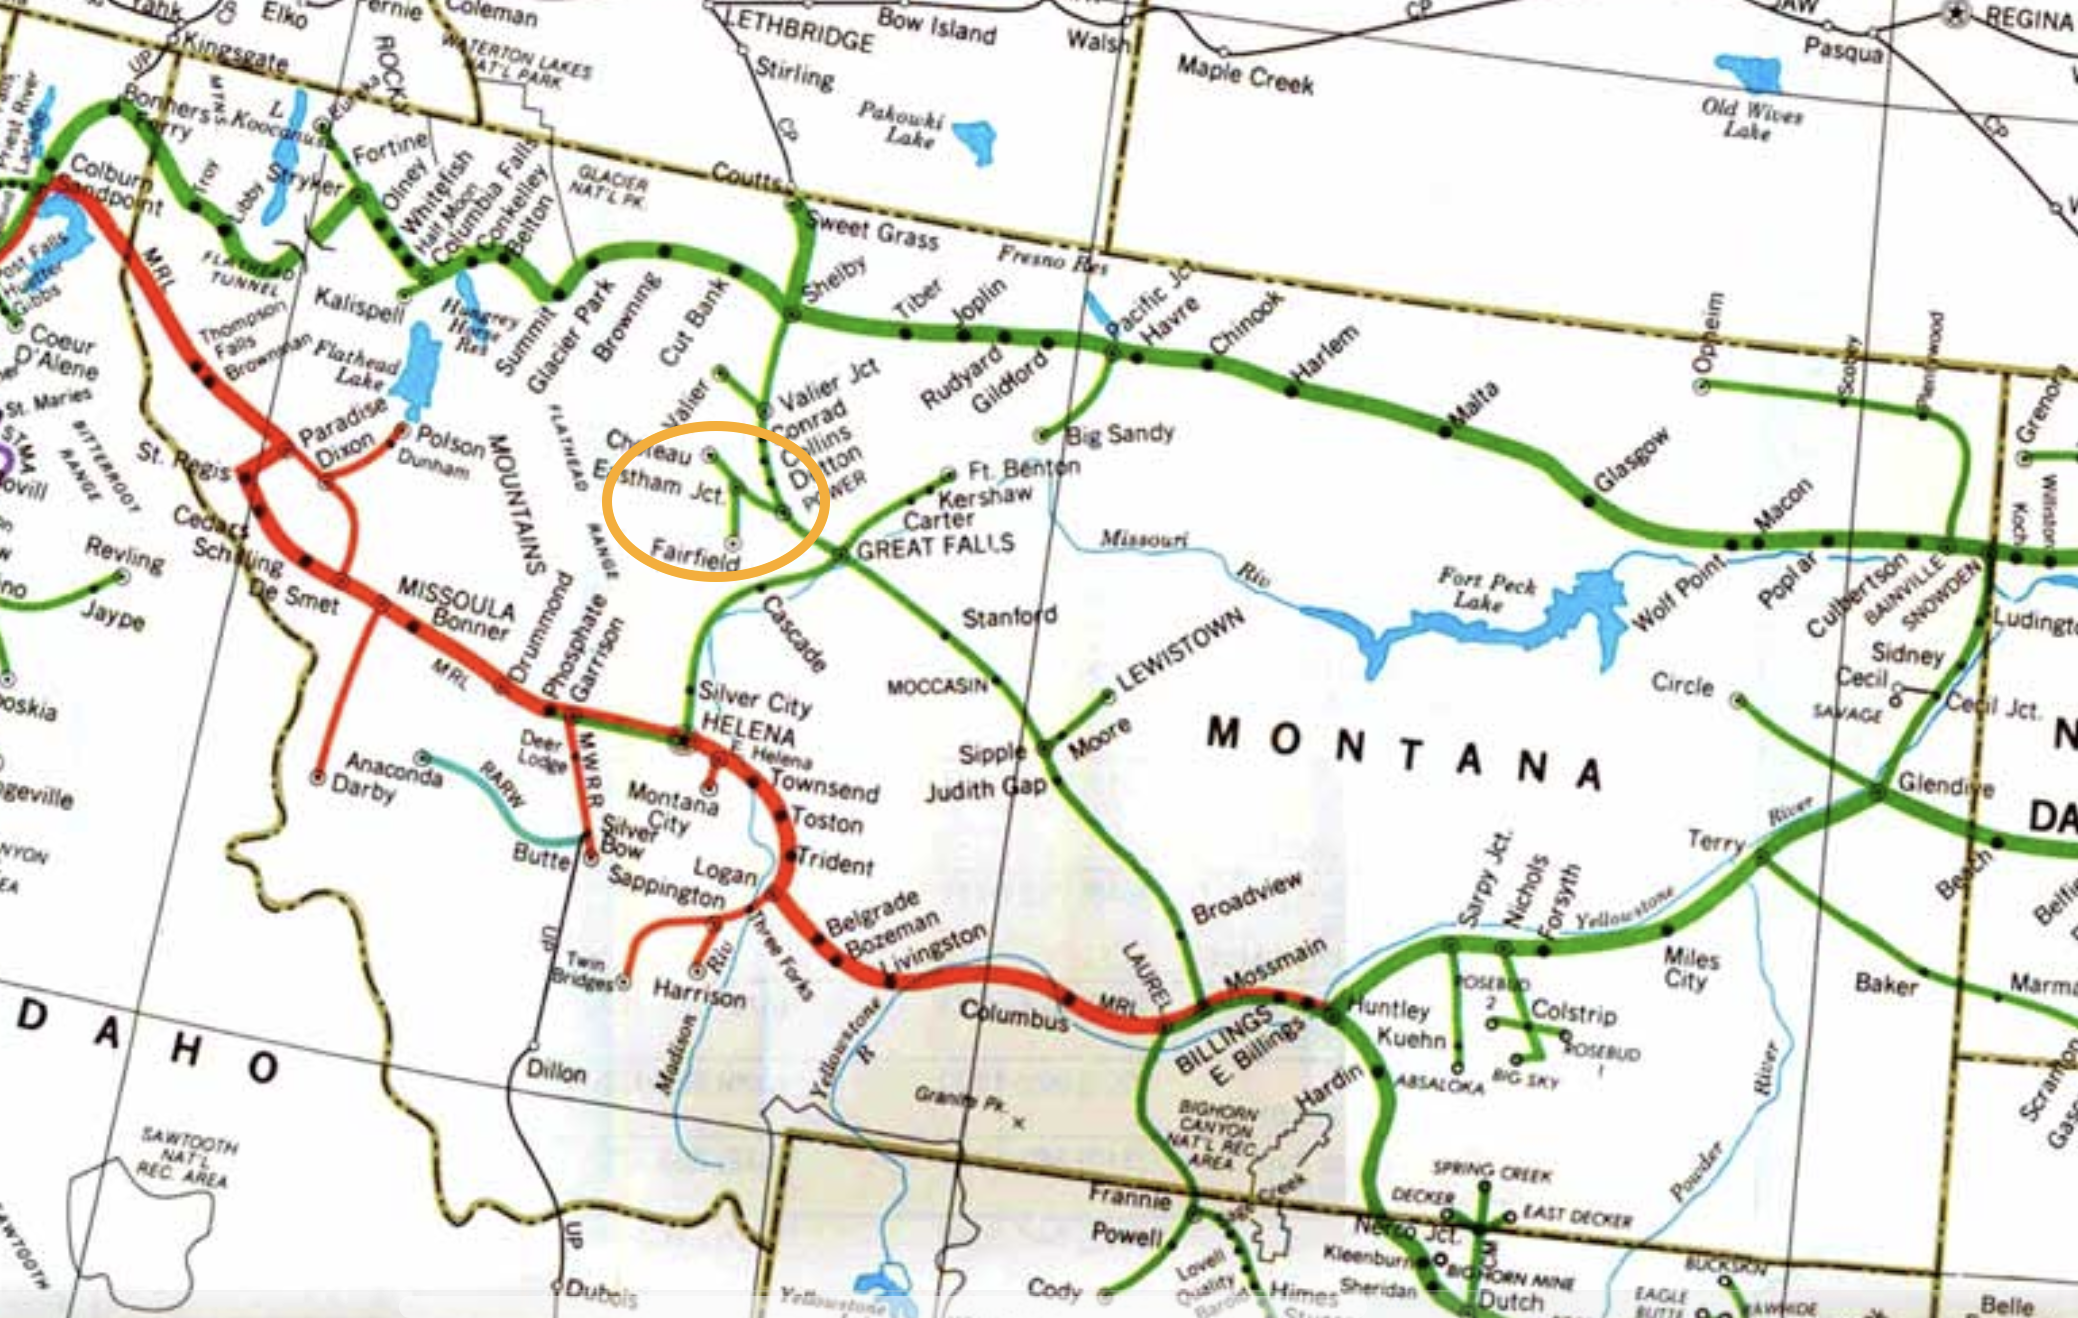
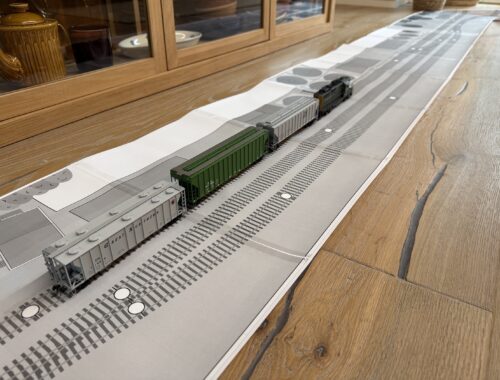
Anderson Grain Co. Elevator Part II
Building and customizing a Walthers Cornerstone kit for the Anderson Grain Co. grain elevator part II.
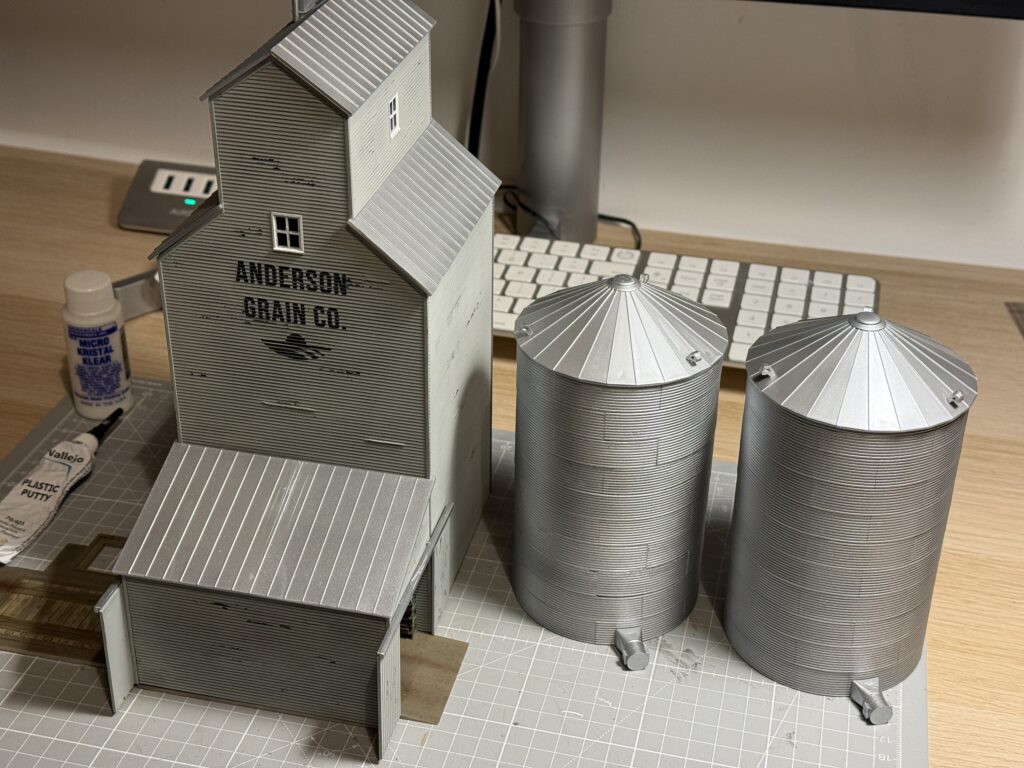
Building the Anderson Grain Co. elevator using a Walthers Cornerstone 933-3036 Farmers Cooperative Rural Grain Elevator kit, part II.
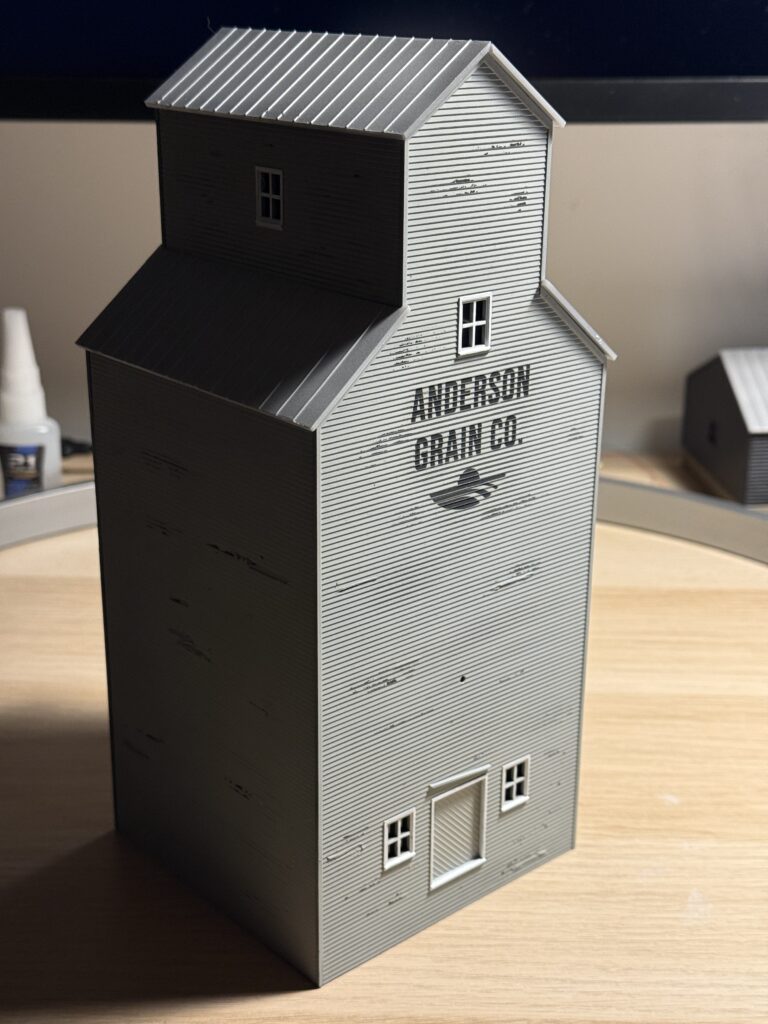
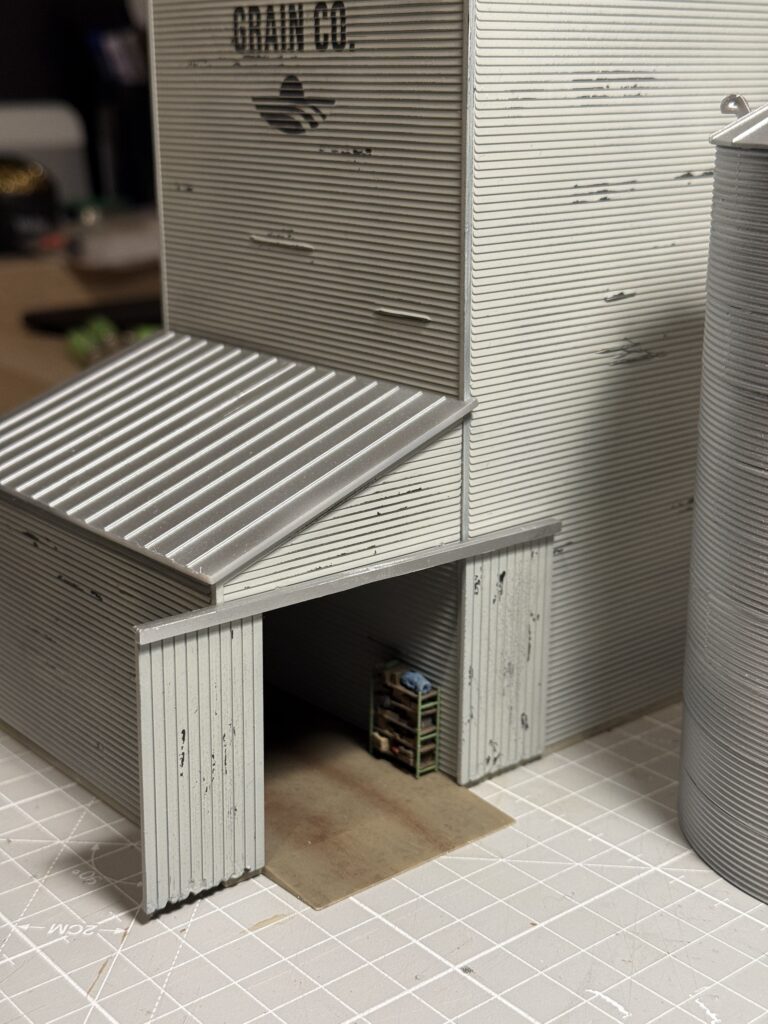
After completing the first part, I finally assembled the main walls and roof of the elevator building using CA glue. I used the base only as a guide and did not glue the structure to it yet.

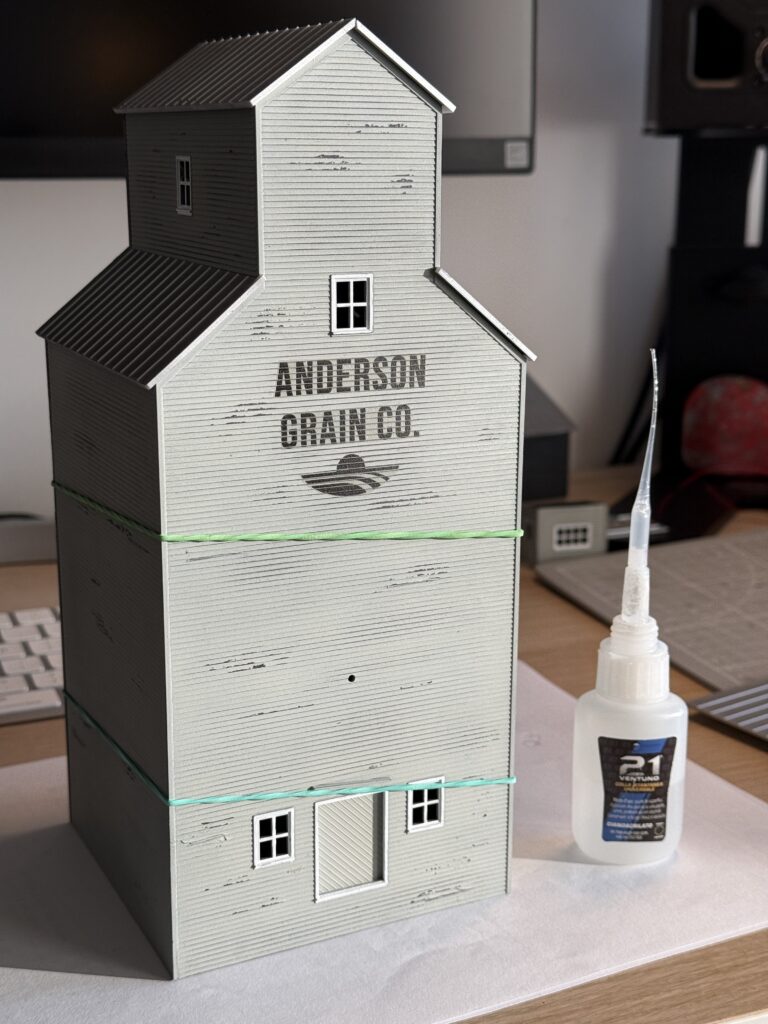
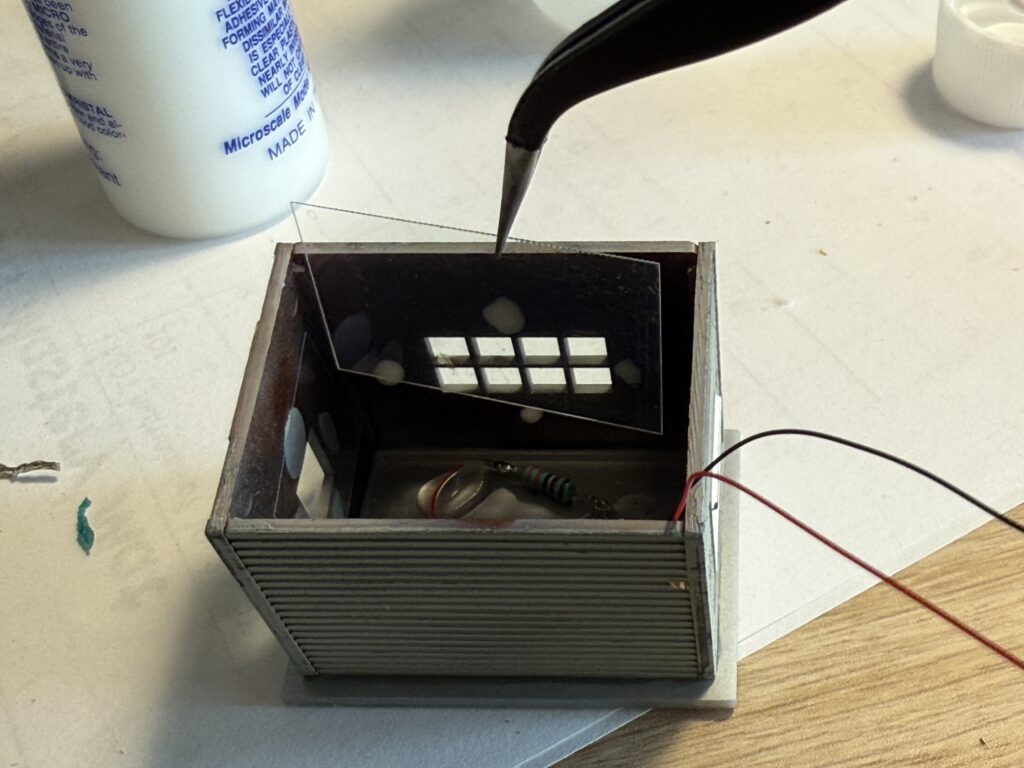
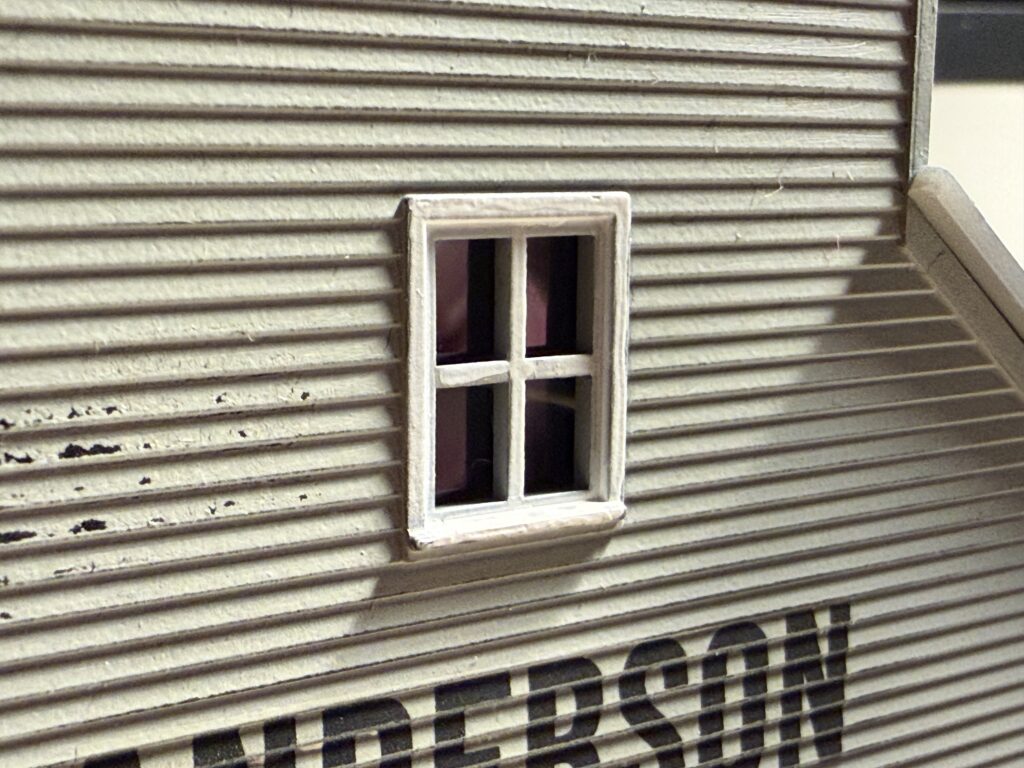
Afterwards, I installed window glass by gluing clear acetate sheets behind the openings with Microscale Krystal Klear. I repeated the same process for both the scale house and the elevator building.
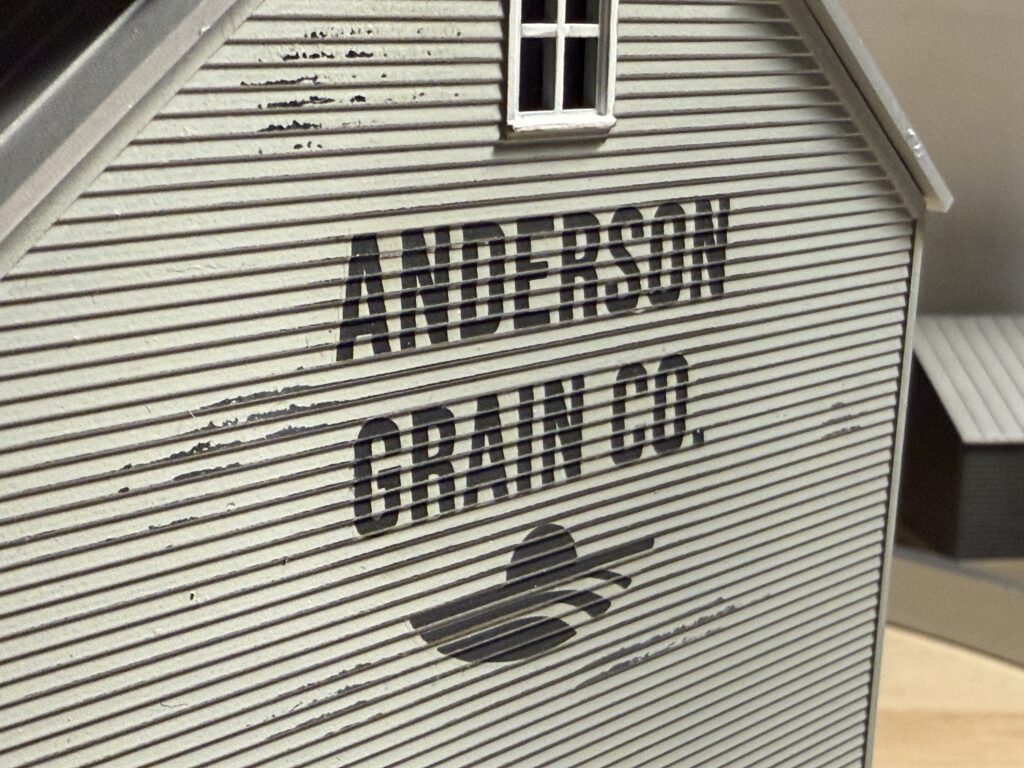
Then, I lightly sanded the logo decals to give them a slightly worn look.
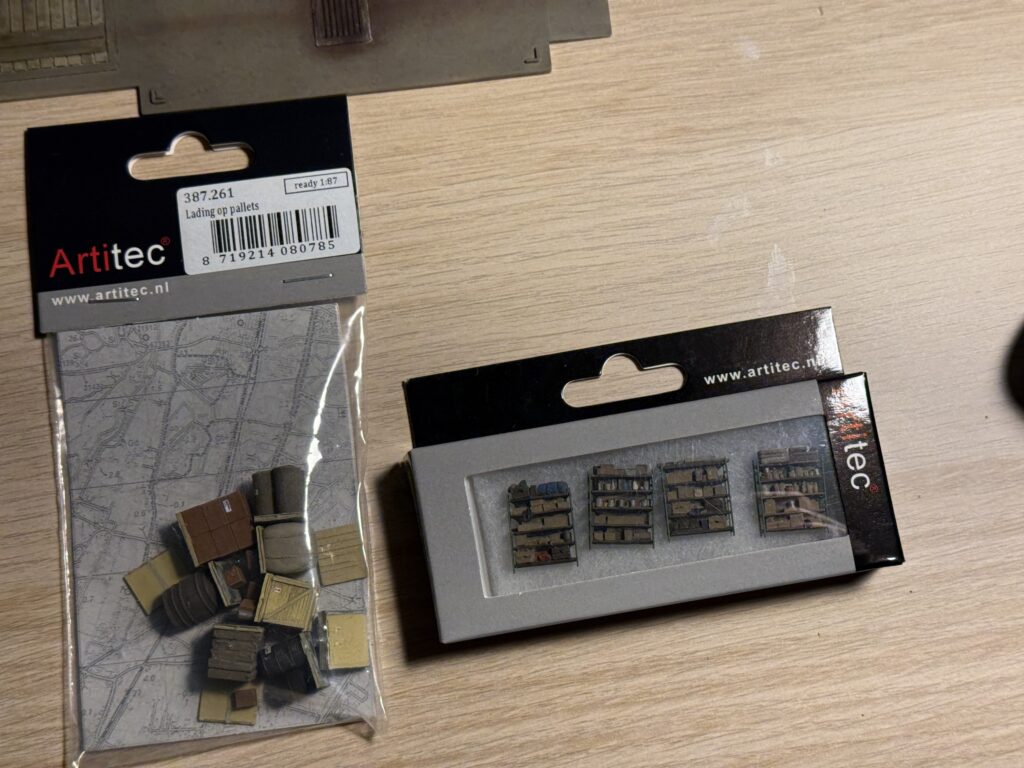
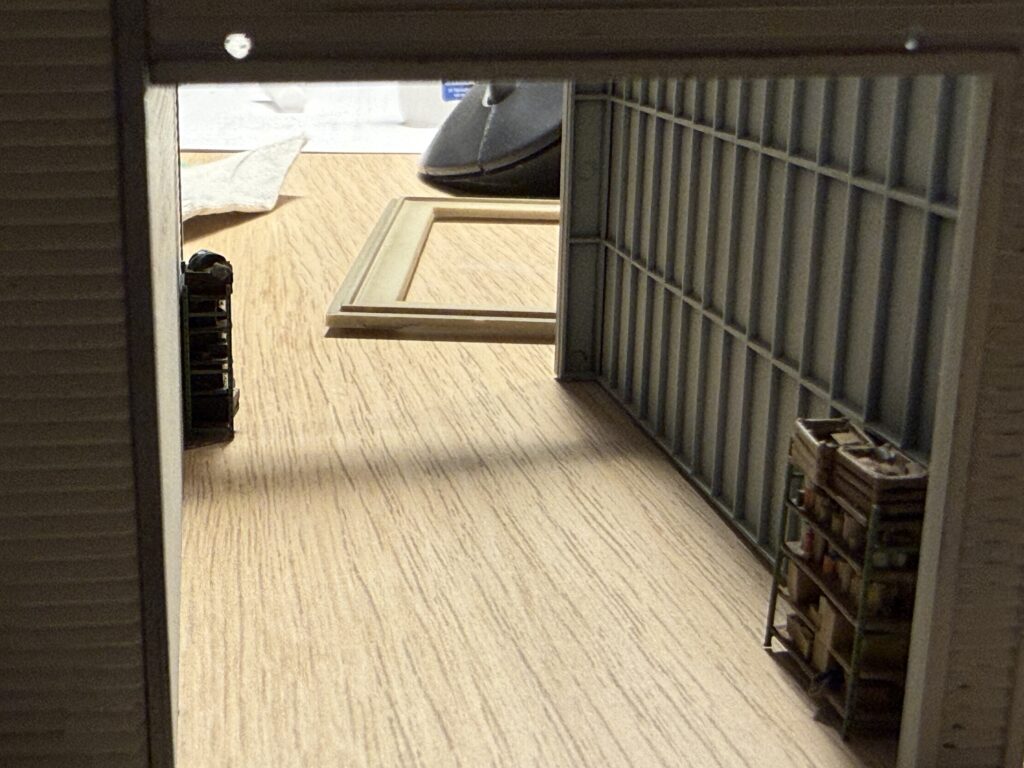
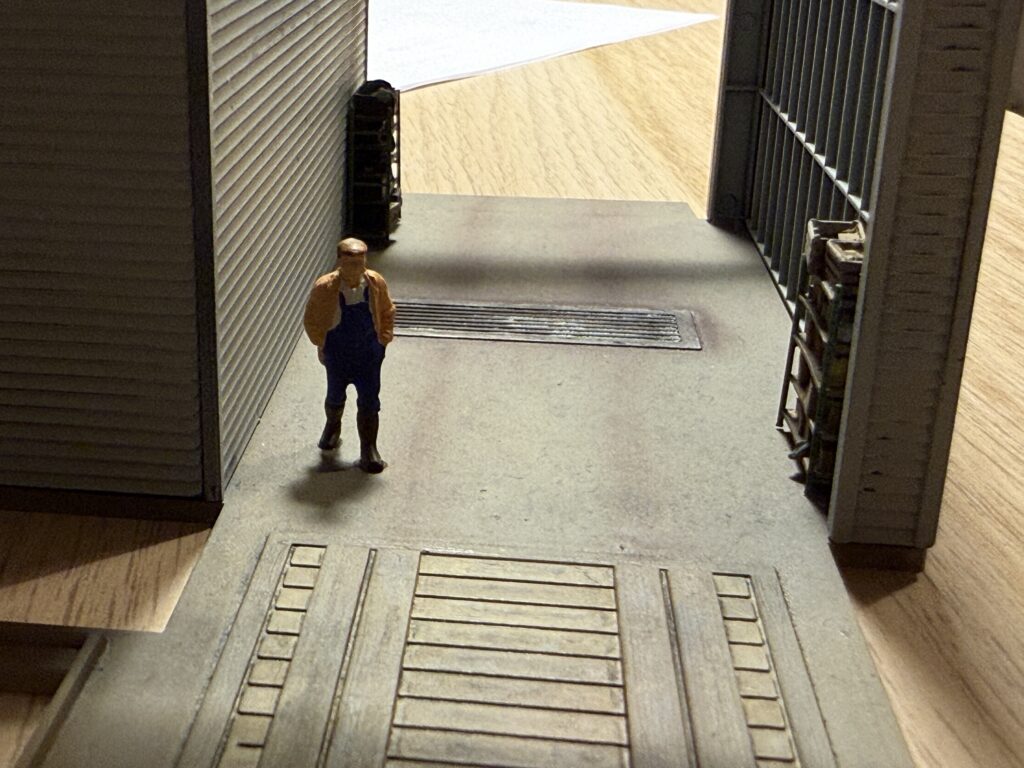
For the unloading area, I added a few Artitec detail parts and glued a couple of rack shelves to the interior walls. I also placed a Preiser figure inside.

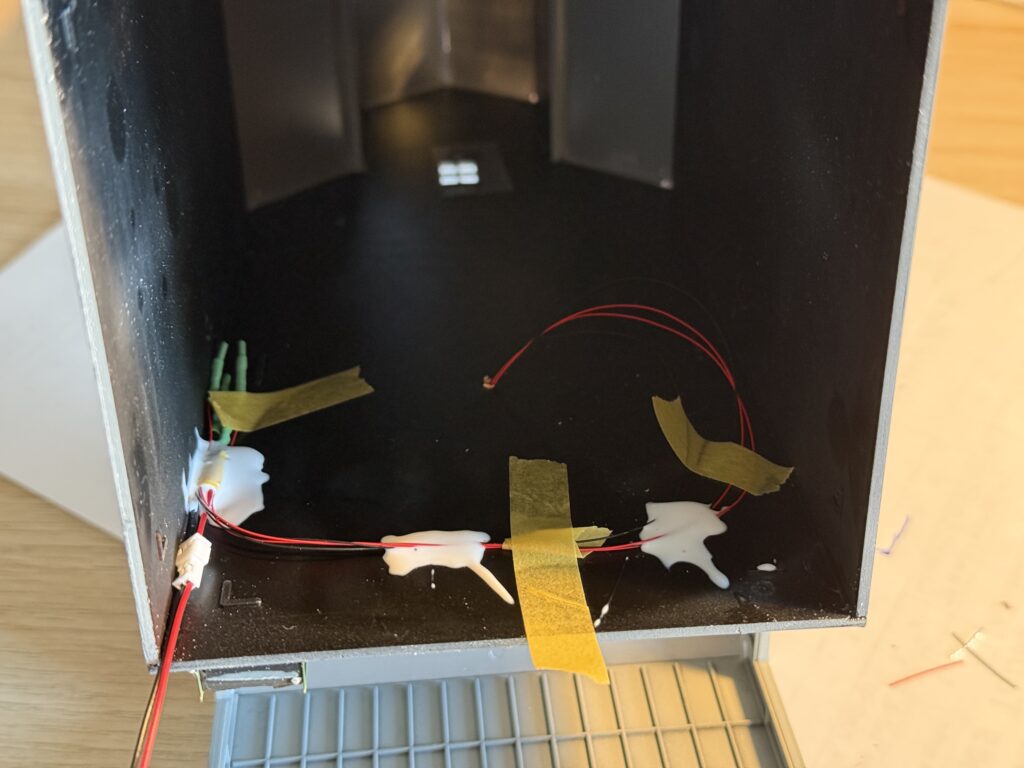
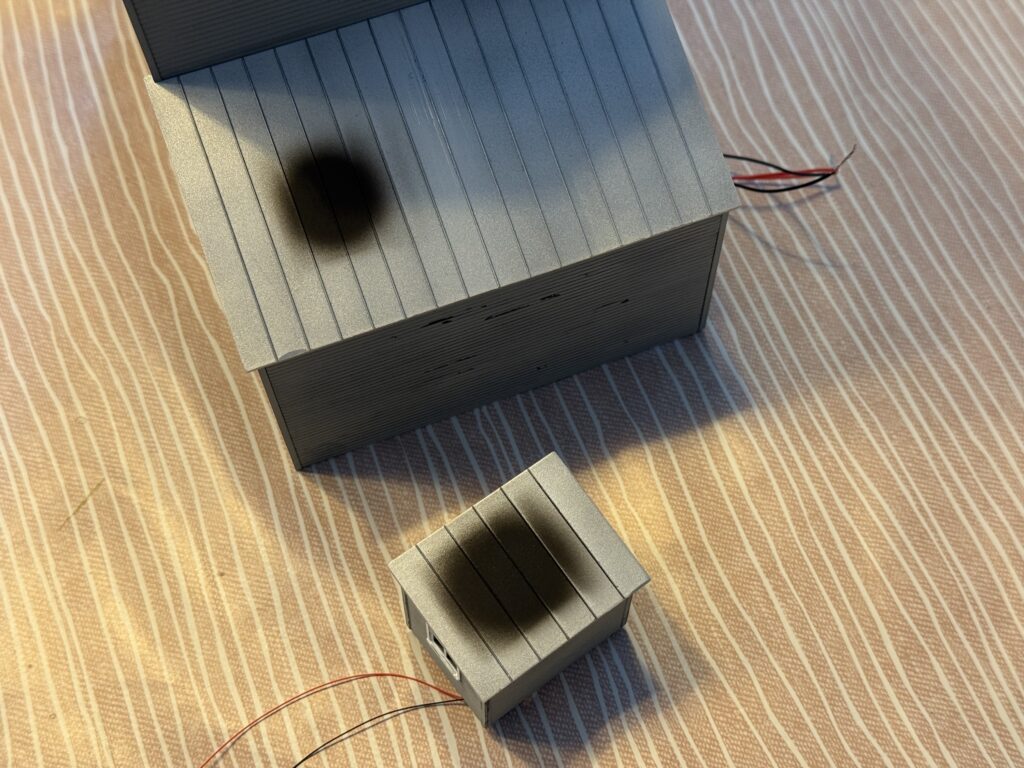
Before attaching the roof, I installed two warm white micro LEDs to light the unloading area. I drilled a hole for the wires.
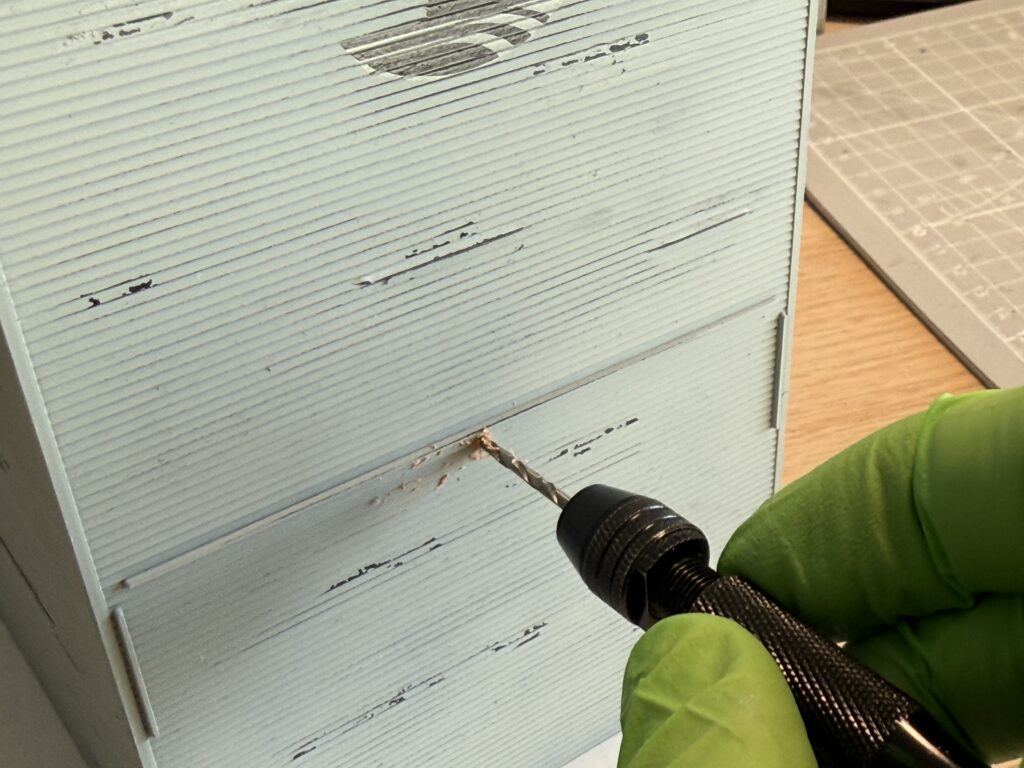
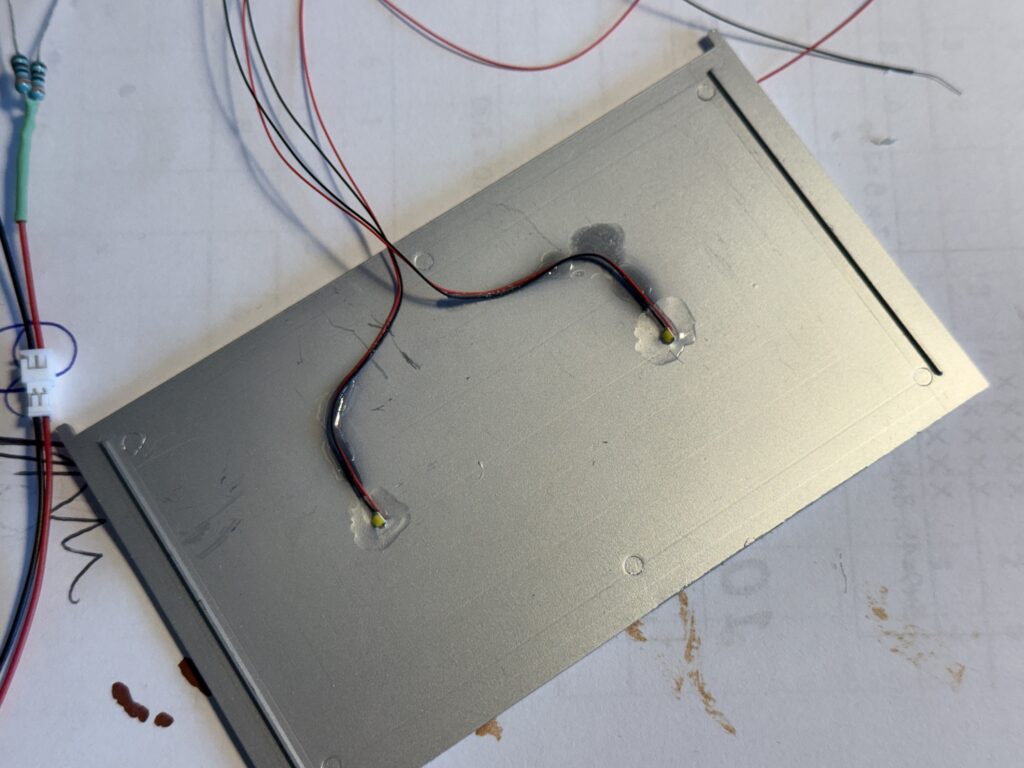
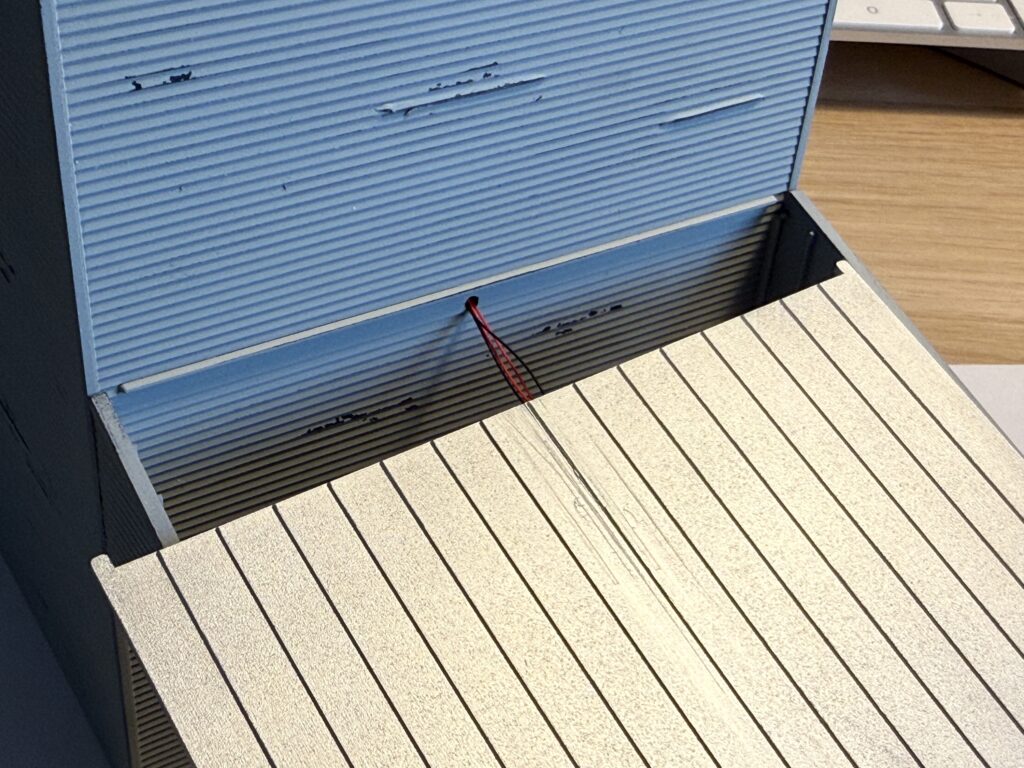
I secured the wires using Microscale Kristal Klear.
After that, I glued the roof and doors to the main structure.
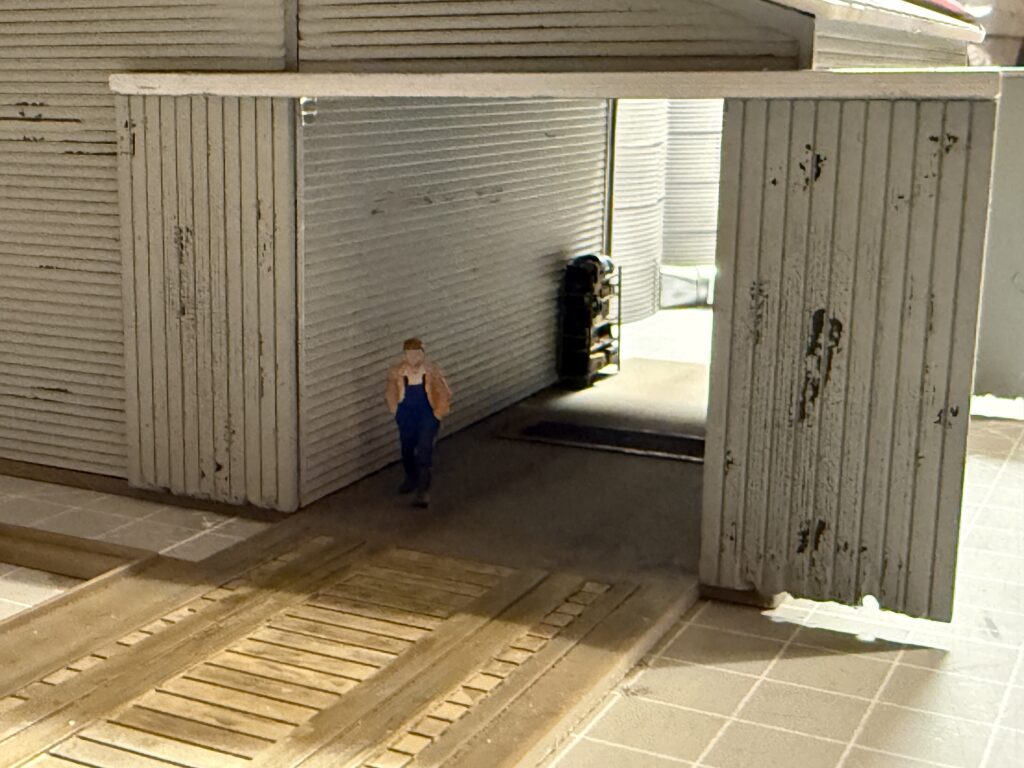
Finally, I added a couple of Woodland Scenics N scale gooseneck lamps on the elevator’s front wall.

I learned the hard way that before installing internal lights, it’s essential to prime the underside of the roof with black paint. Apparently, having aluminum paint on both the inside and outside wasn’t enough, as the LEDs still showed through. So, I carefully applied a thin layer of Vallejo Black Primer, followed by another coat of Vallejo Aluminum. Now the issue is completely solved.
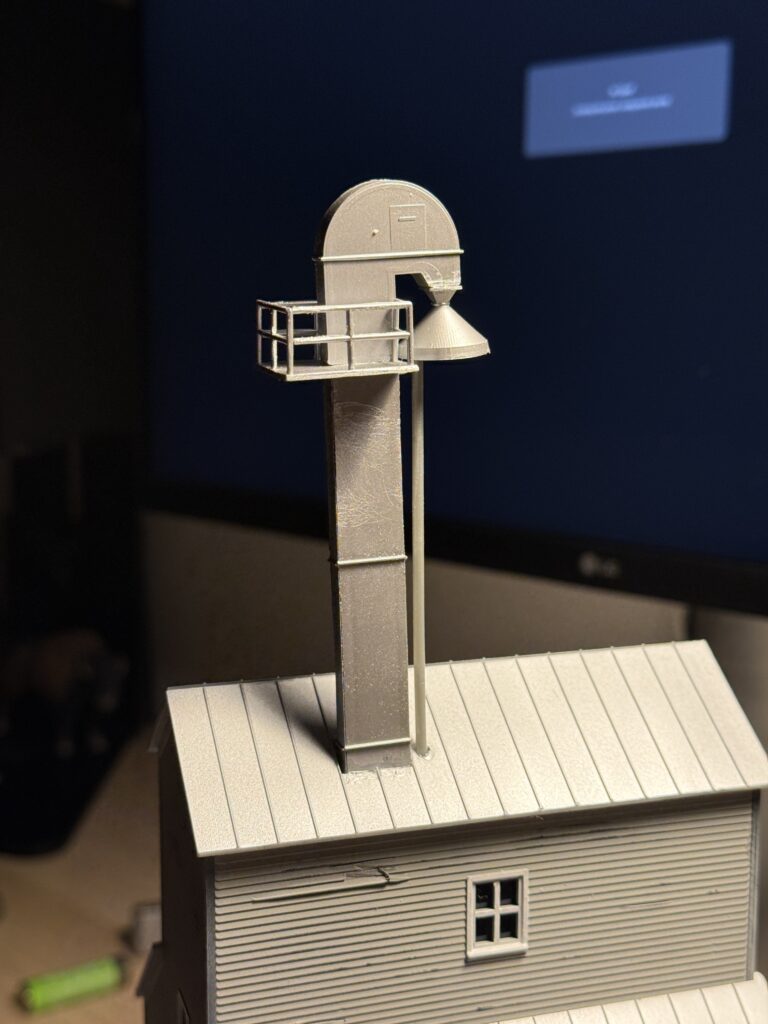
Newer Grain Leg
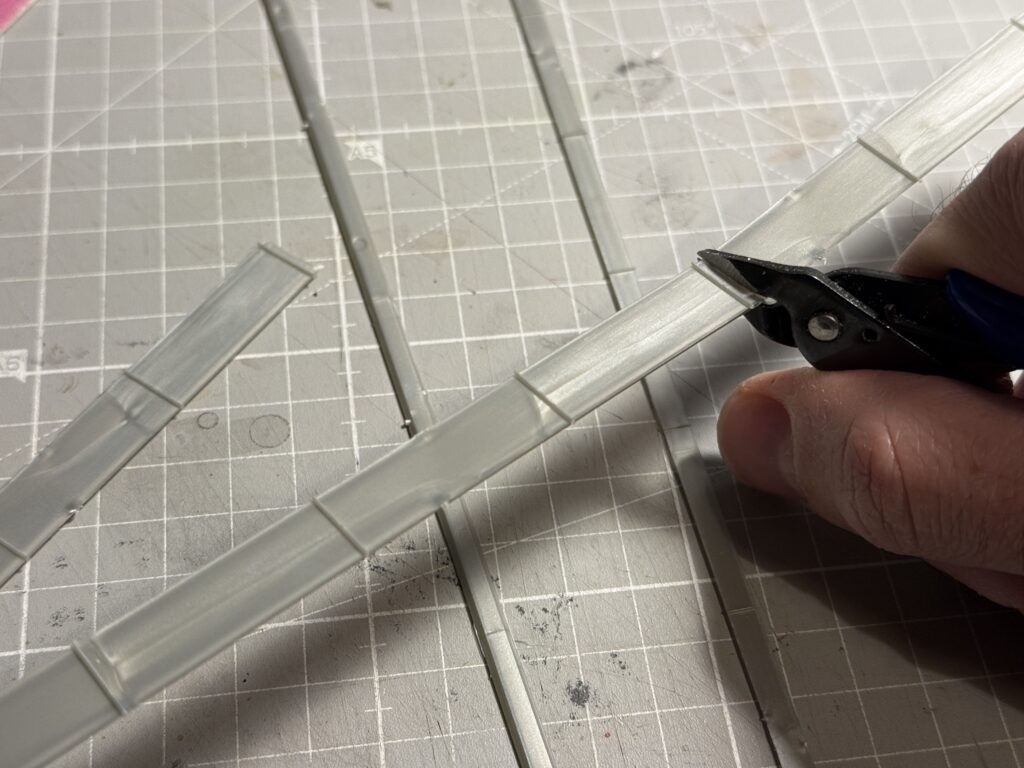
Next, I assembled a Walthers grain leg, shortening it to fit as a newer addition that extends through the roof. I drilled several holes and enlarged the opening with a hobby knife and a small file.

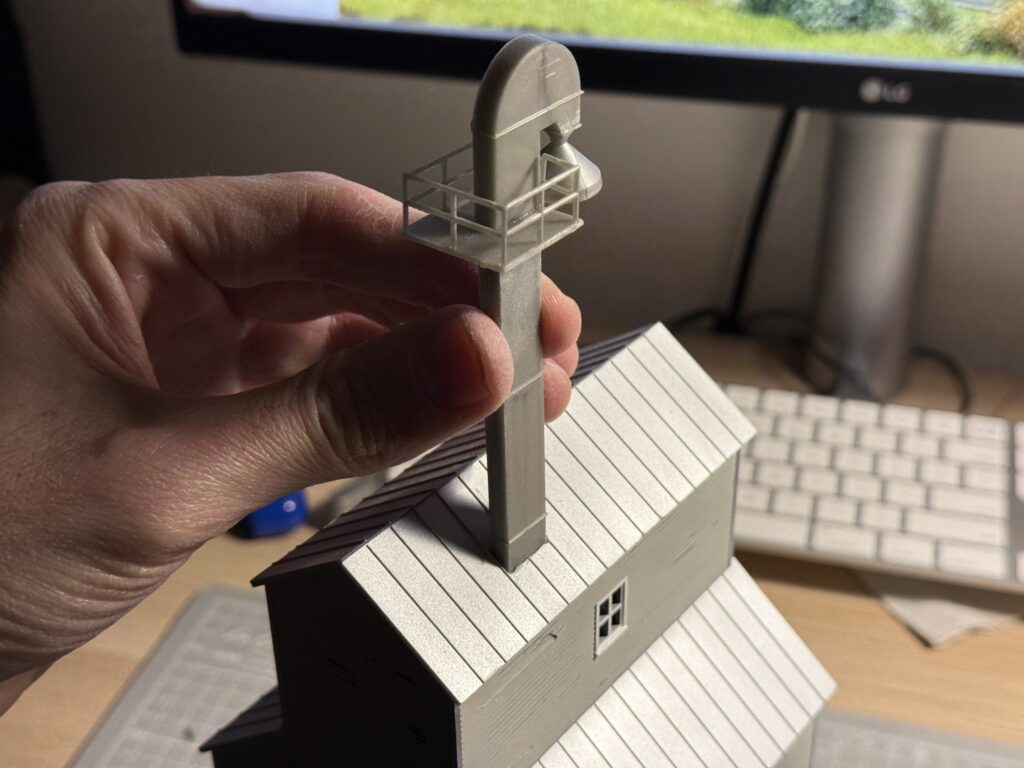
Before installing the leg, I painted it aluminum. Then, I drilled a hole for the spout pipe that runs vertically down into the elevator’s internal storage. Finally, I glued everything securely in place with CA. Additional pipes will be connected to the extra storage bins.
See related articles: