Anderson Grain Co. Elevator Part III
Building and customizing a Walthers Cornerstone kit for the Anderson Grain Co. grain elevator part III.
Building the Anderson Grain Co. elevator using a Walthers Cornerstone 933-3036 Farmers Cooperative Rural Grain Elevator kit, part III.
After having assembled the main components, I started weathering and adding more details to the elevator. The first step was adding a black wash to all the roof parts.

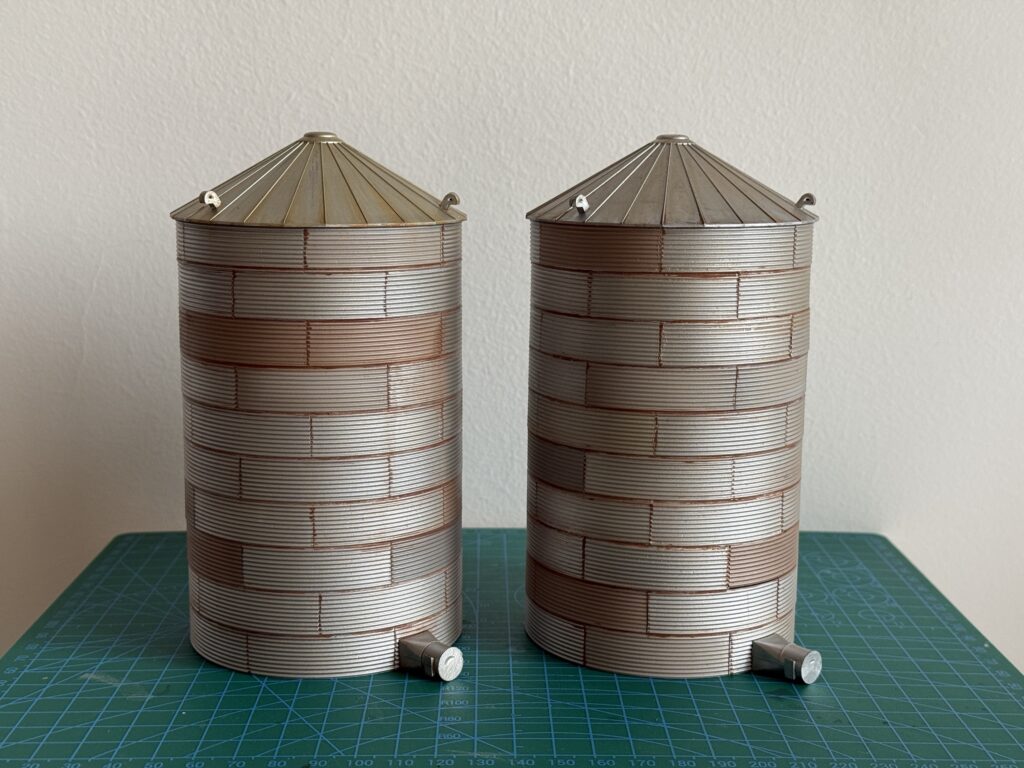
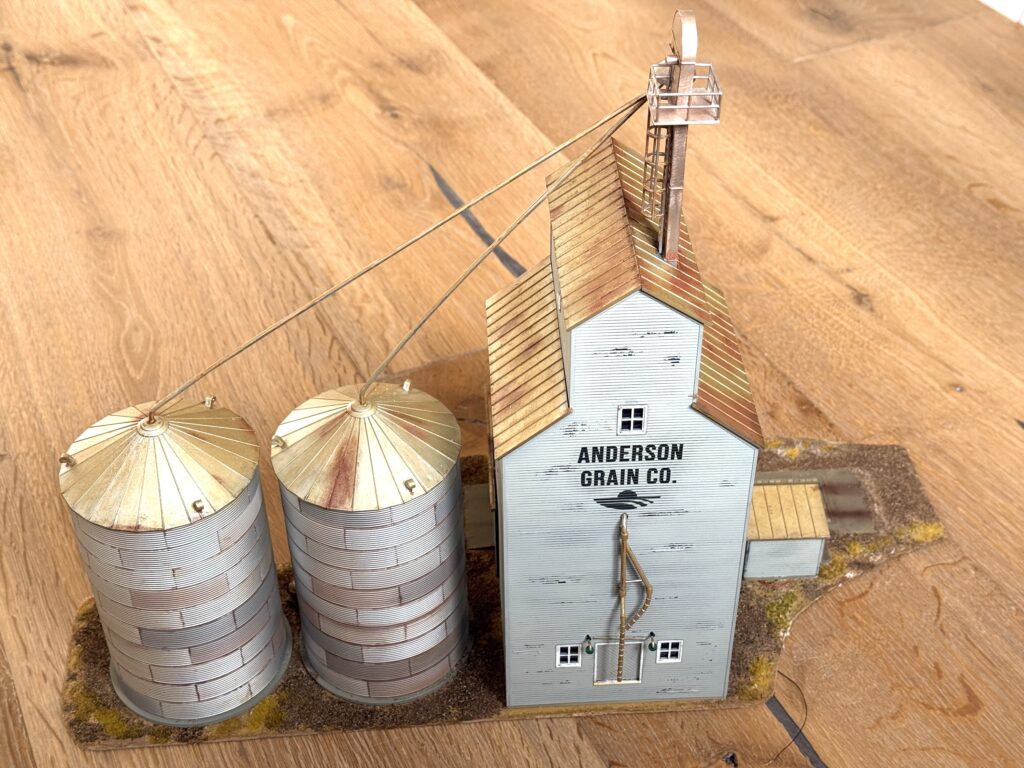
Next, I weathered the grain bins. I highlighted all the metal panel joints with a fine brush and Vallejo Rust Color. It was a time-consuming task, but definitely worth the effort. Afterwards, I weathered the silo roofs, starting with a black wash and finishing with touches of rust.

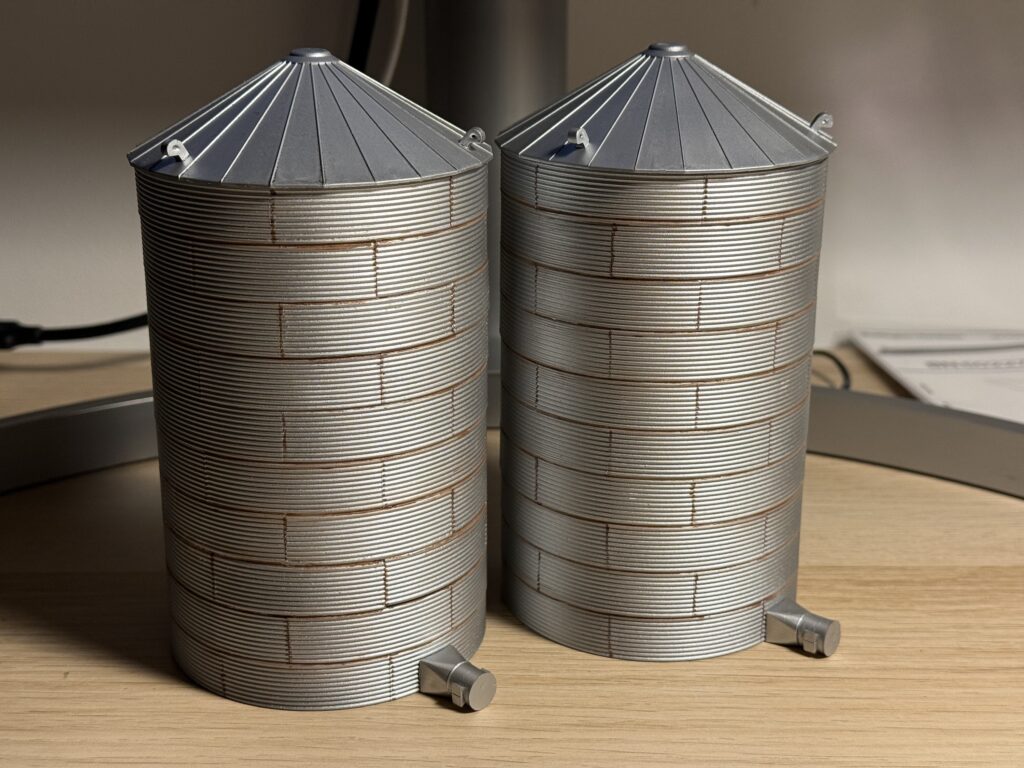
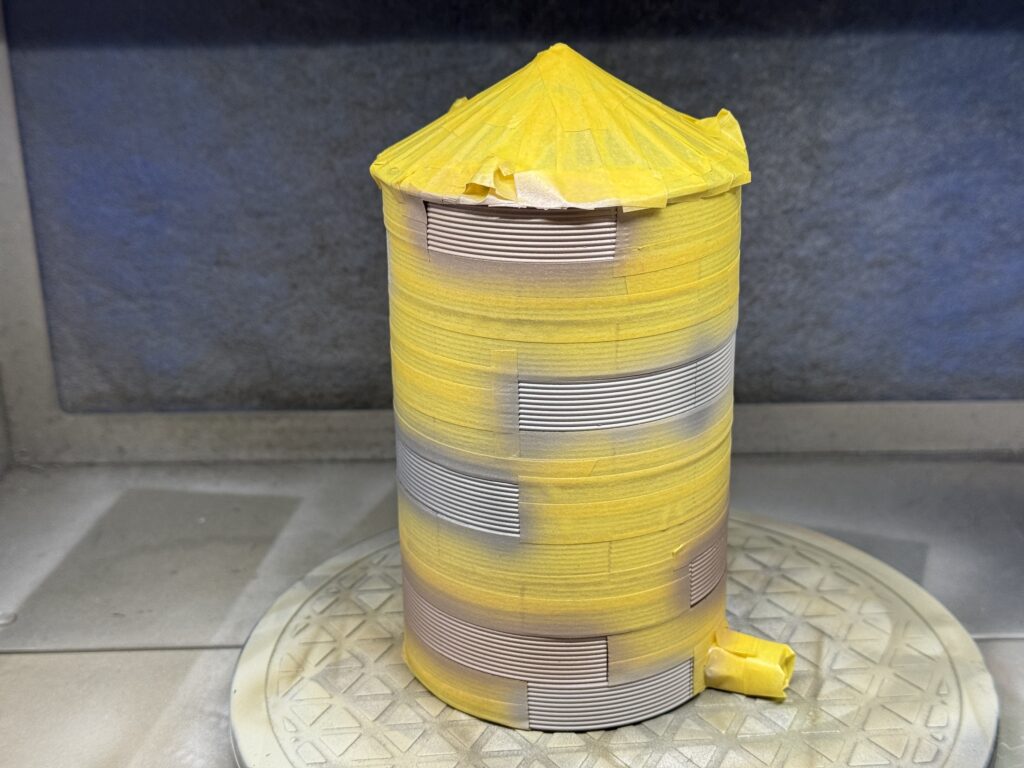
After finishing the joints, I moved on to weathering individual panels. First, I masked a few of them, then airbrushed different shades of thinned rust, aluminum and light/dark gray to create variation and depth.

Here’s how the grain bins look after I airbrushed the panels with various mixes of gray, aluminum, and rust.
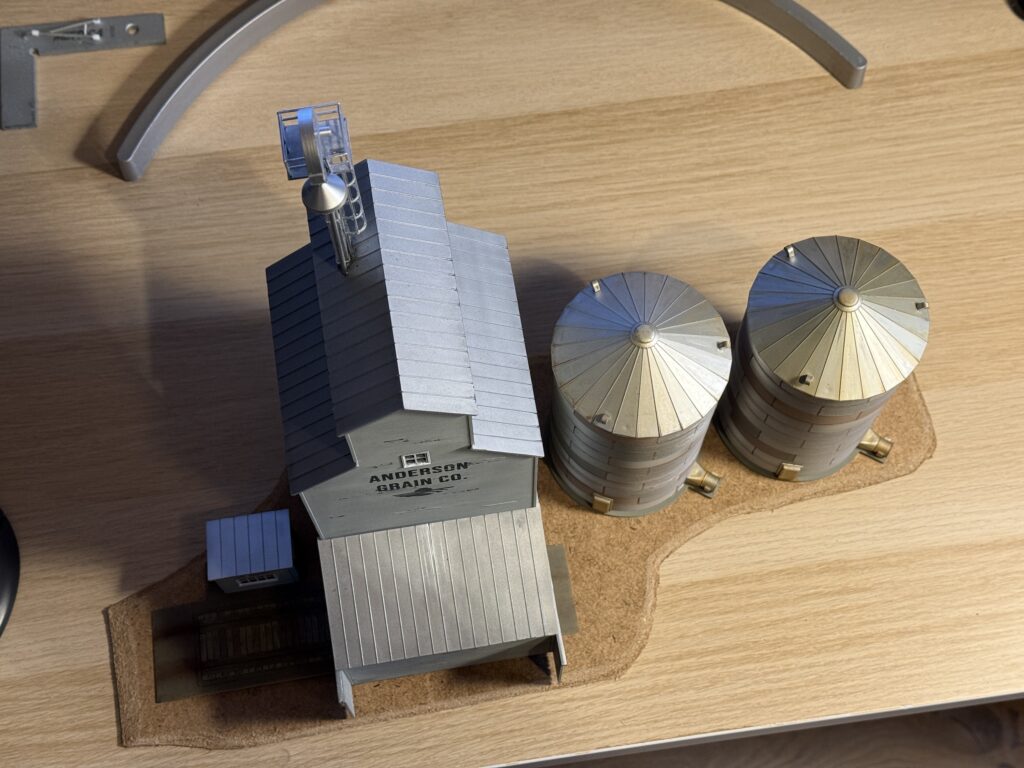
To hold all the parts in place, I used a 3 mm masonite board cut to fit both the elevator and the two grain bins. I beveled the edges with a rasp and a file to create a smooth transition with the layout base where the elevator scene will be glued.
Weathering the Roof
I used enamel paints, including various rust tones from AK and Mig, to weather the roofs. I started by brushing on the lighter colors and blending them with a sponge.

Afterwards, I added several layers of darker shades, again blending them with both a foam sponge and a makeup sponge. Finally, I applied an acrylic rust-colored wash to the top grain leg.

Since the Walthers kit represents an older elevator, the car loading pipe is designed mainly for loading 40-foot grain-converted boxcars. Because my layout is set in 1985, I added a scratchbuilt loading pipe made of styrene to represent a later modification for covered hoppers.
Afterwards, I painted the loading pipe using Vallejo Aluminum paint, I drilled a hole in the elevator wall and glued the pipe.
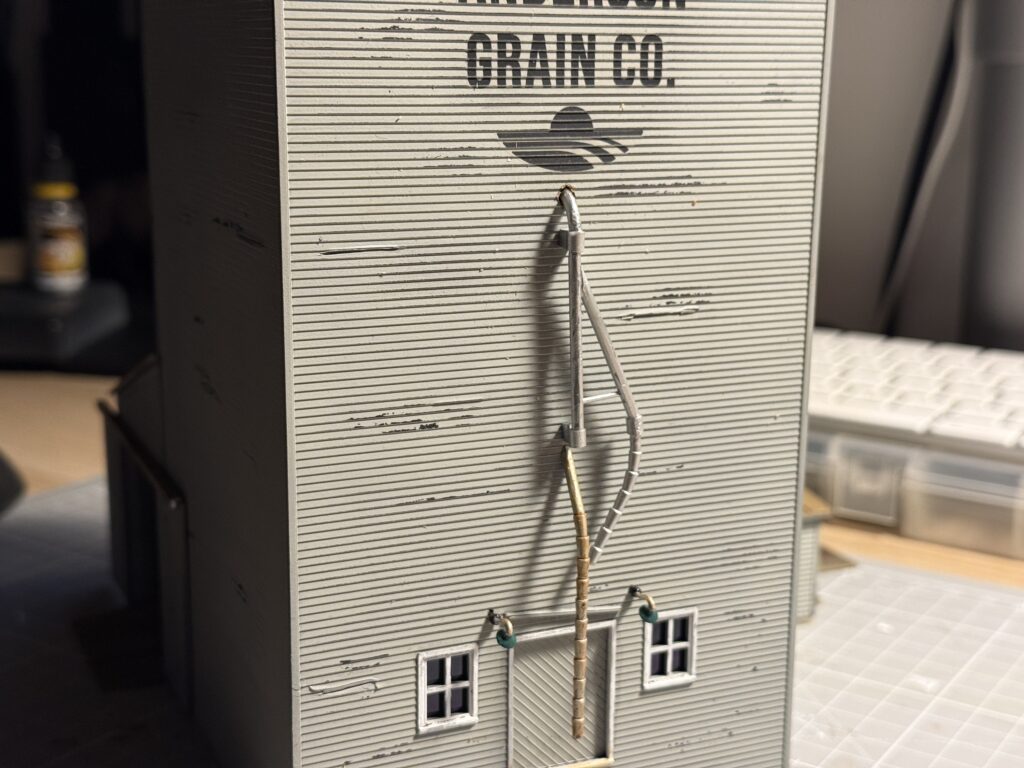
Here is the loading pipe after adding some light weathering.

Anderson Grain Co. Elevator Base
First, I painted the base with a flat earth tone by mixing Vallejo Desert Yellow 72.763 with a few drops of Tan Earth 71.079.

Then, I spread a thin layer of Liquitex Matte Medium and sprinkled Noch Streumaterial Scatter Material item no. 08440 over it.
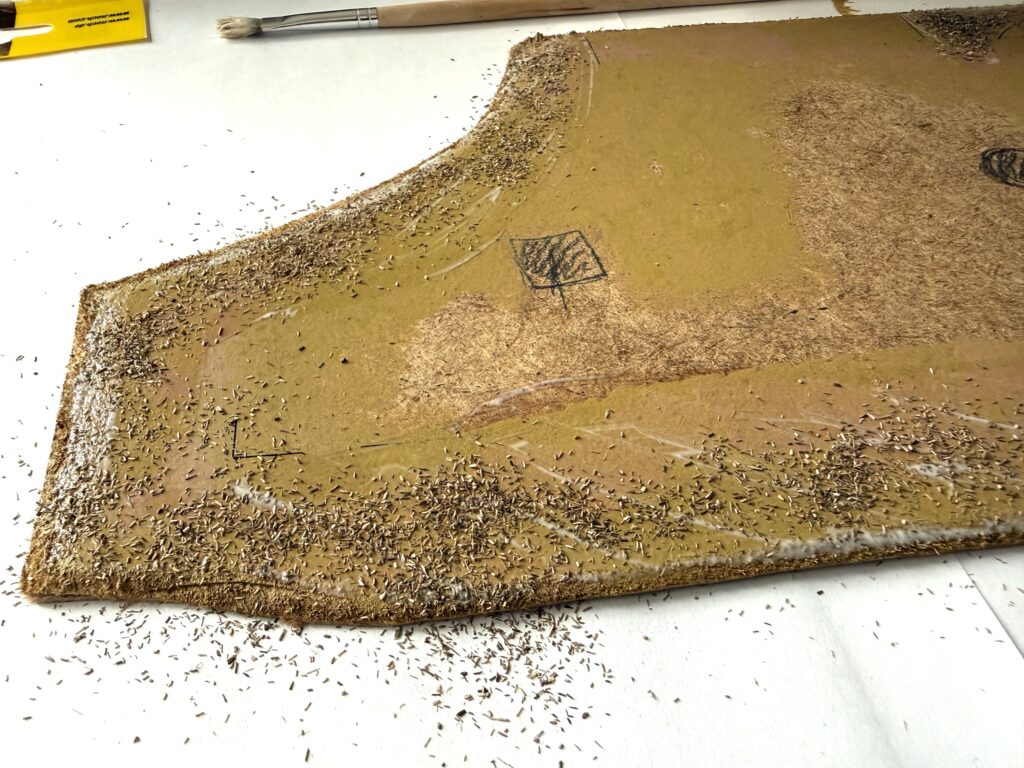
Afterwards, I added a few small grass tufts using my Noch Grasmaster 3.0 static grass applicator. I used WWScenics 2 mm Wild Meadow and 4 mm Hayfield static grass, along with Woodland Scenics Harvest Gold static grass flock.


Finally, I added some sifted real dirt to blend the Noch Streumaterial with the static grass. Afterwards, I glued everything down with diluted Matte Medium to lock it in place.


Downspouts
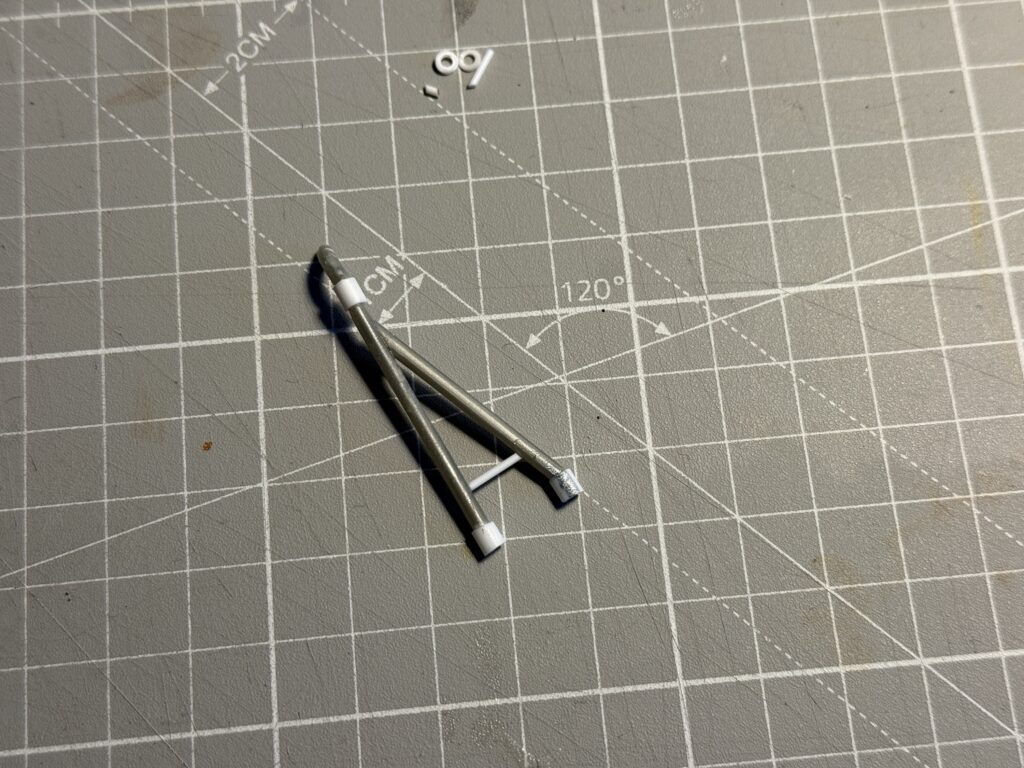
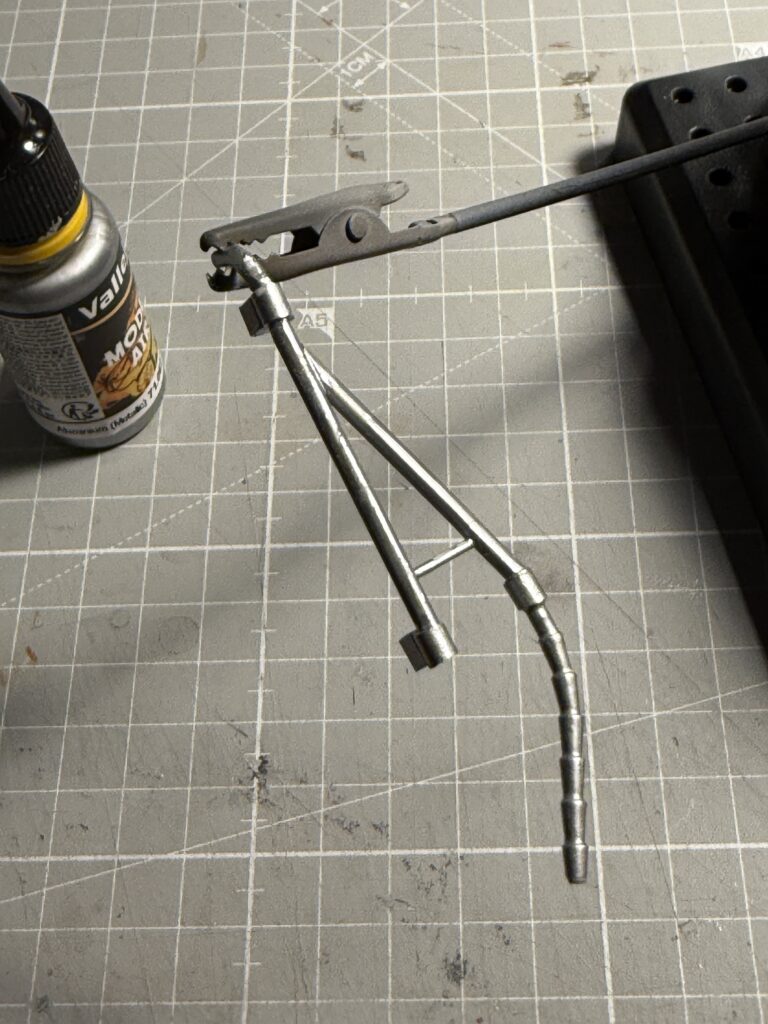
First, I went through my Walthers and Rix Products leftover parts and selected two lengths of pipe. Then, I used them to build the pipes that connect the grain leg to the grain bins. Finally, here is an overview of the grain elevator complex, including the main building and the two grain bins.


Annex Structure
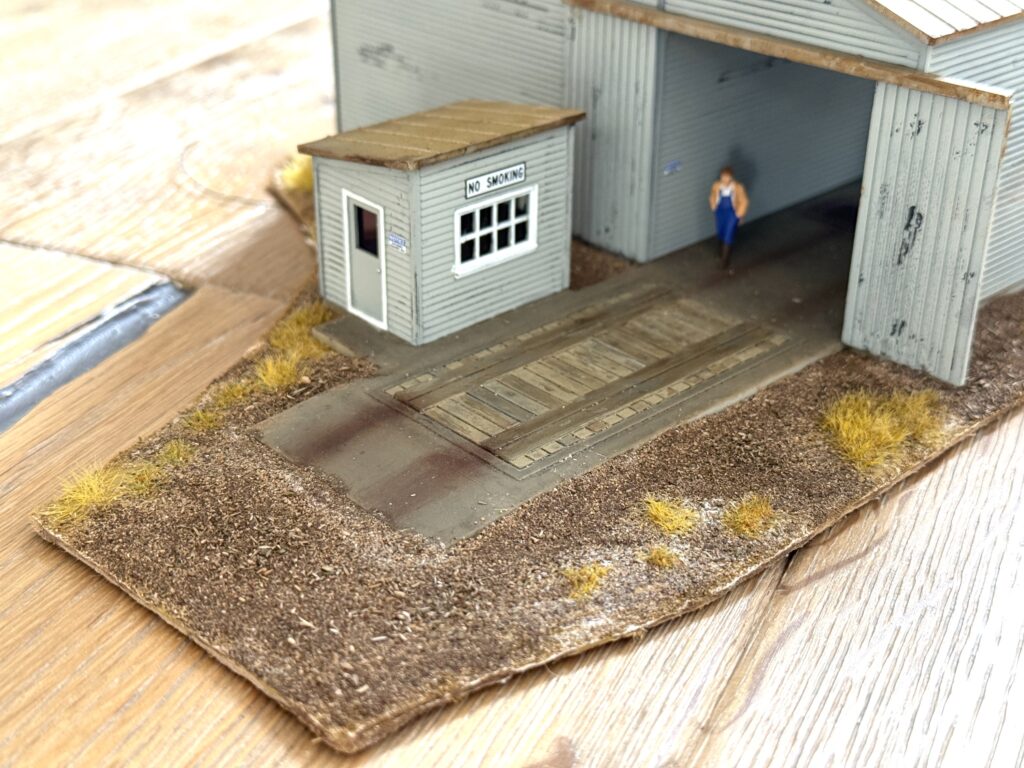
While I was at it, I also assembled and painted the annex structure included in the Walthers kit. I don’t plan to use it for the Anderson Grain Co. elevator, but I’ll find a place for it elsewhere on the layout.

I kitbashed the structure by replacing the short columns under the building floor with a concrete foundation.
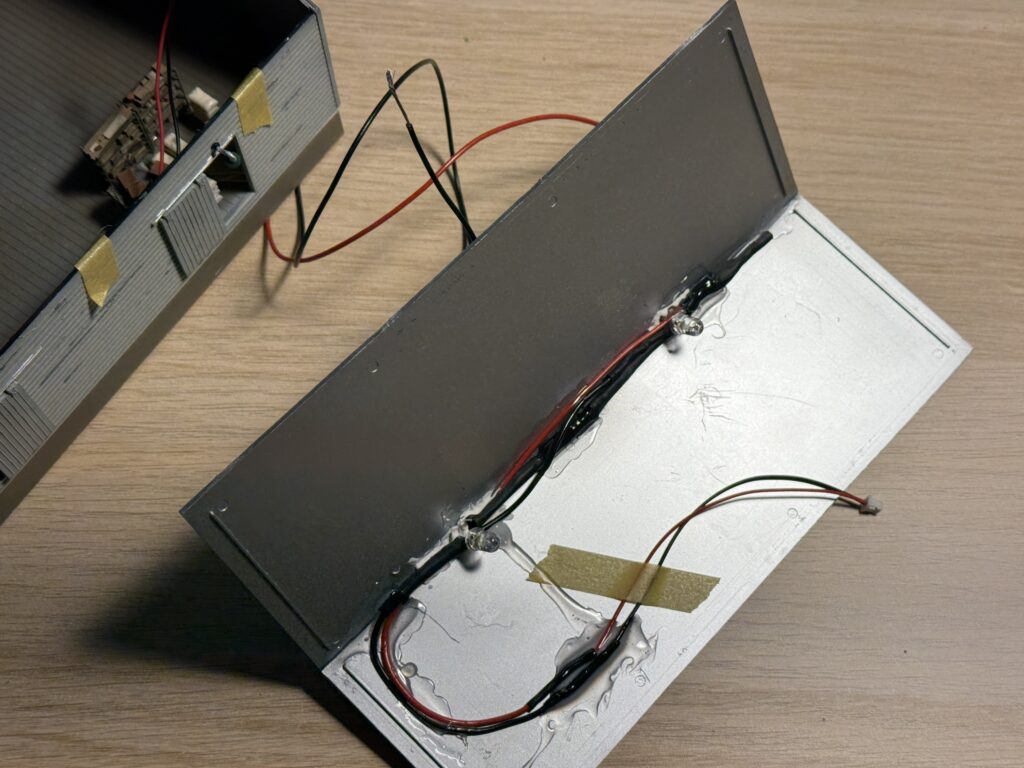
Then, I added two 5 mm LED lights under the roof and installed two N scale gooseneck lamps from Woodland Scenics.
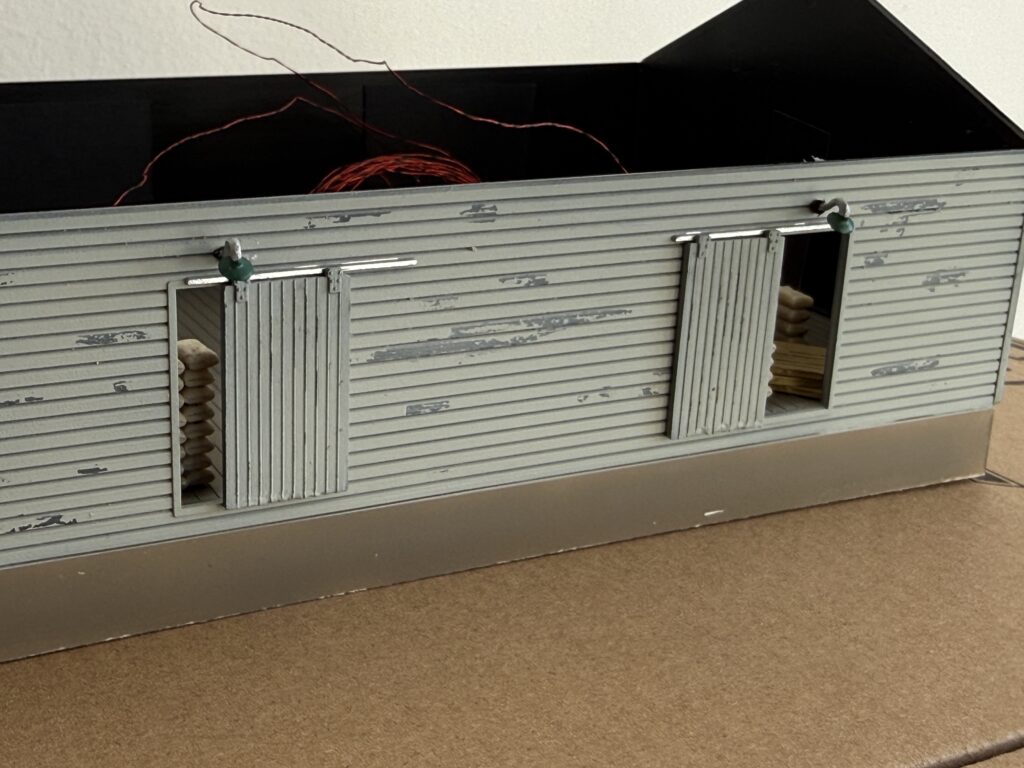

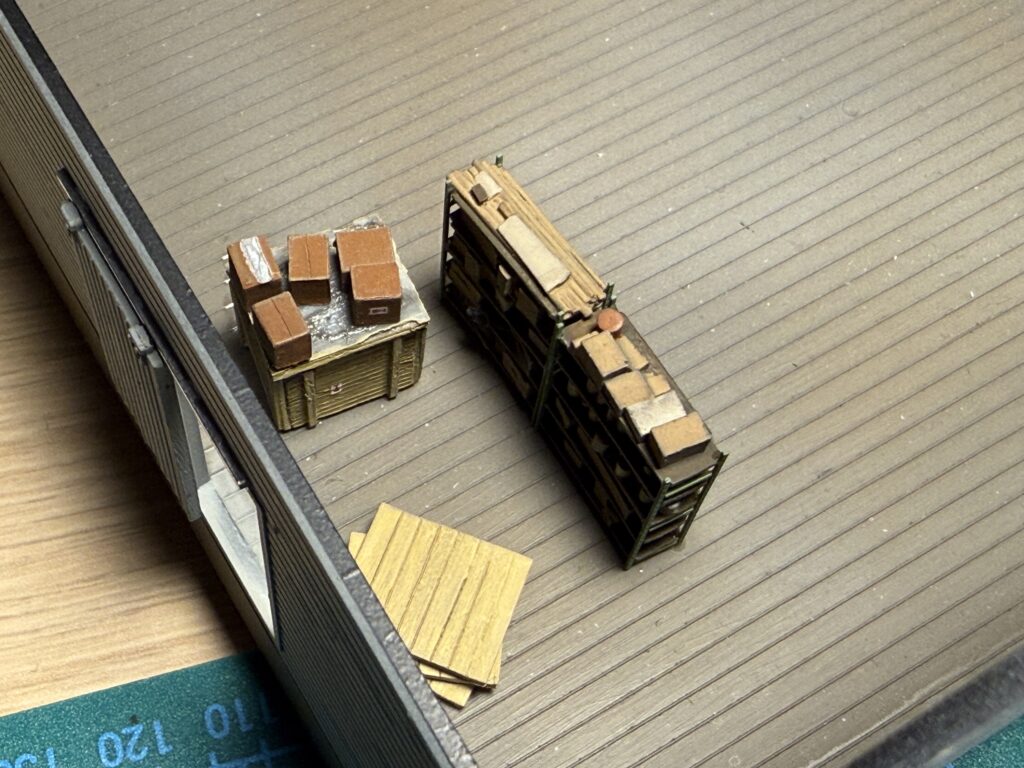
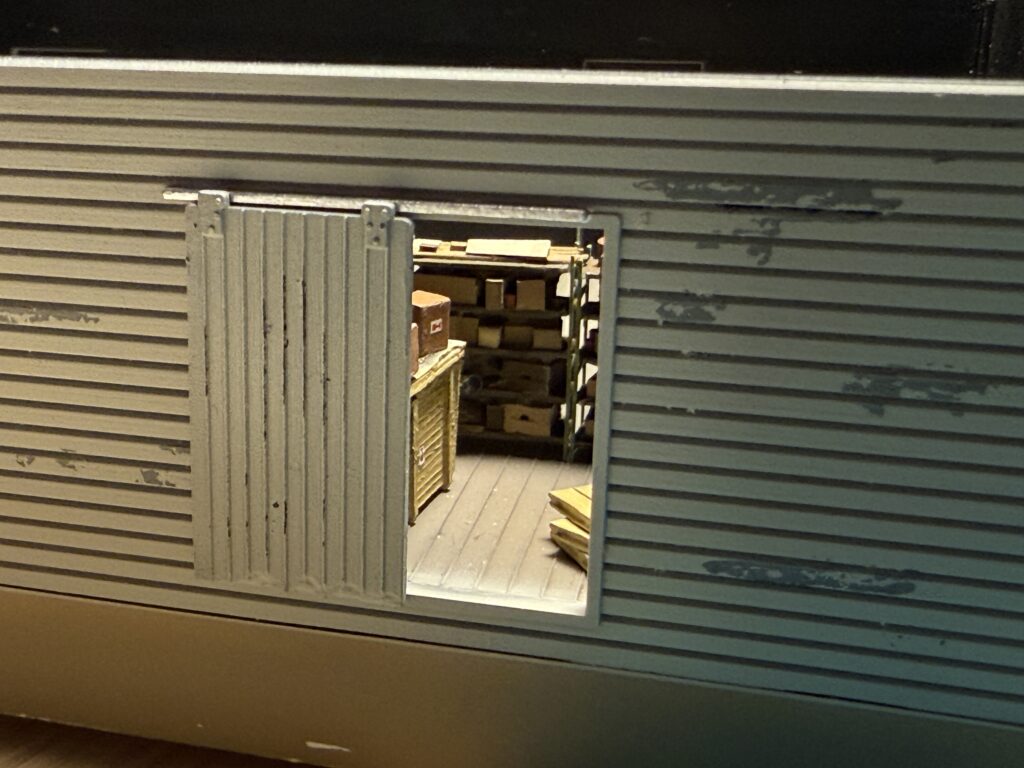
To make the scene more visually interesting, I added some interior details using various Artitec and Faller parts I had on hand.

See related articles: